In this documentation, we will discuss the customization of the Background Image Parallax Extension, brought to you by the Element Pack Pro.
Why the Background Image Parallax Effect?
The Background Image Parallax Effect gives you the opertunity to moves the Background image a different speed than the foreground content while scrolling.
Enabling The Background Image Parallax Extension
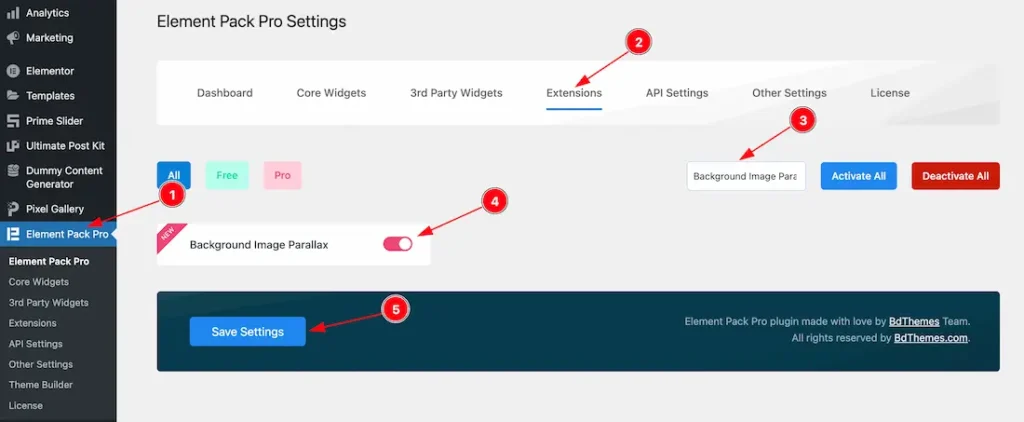
To use the Elementor Background Image Parallax Extension from Element Pack, you must first enable the widget.
- Go to WordPress Dashboard > Element Pack Plugin dashboard.
- Then Click the Extension Tab.
- Search the Background Image Parallax Extension Name.
- Enable the Background Image Parallax Extension.
- Hit the Save Settings Button.
Insert The Image Widget
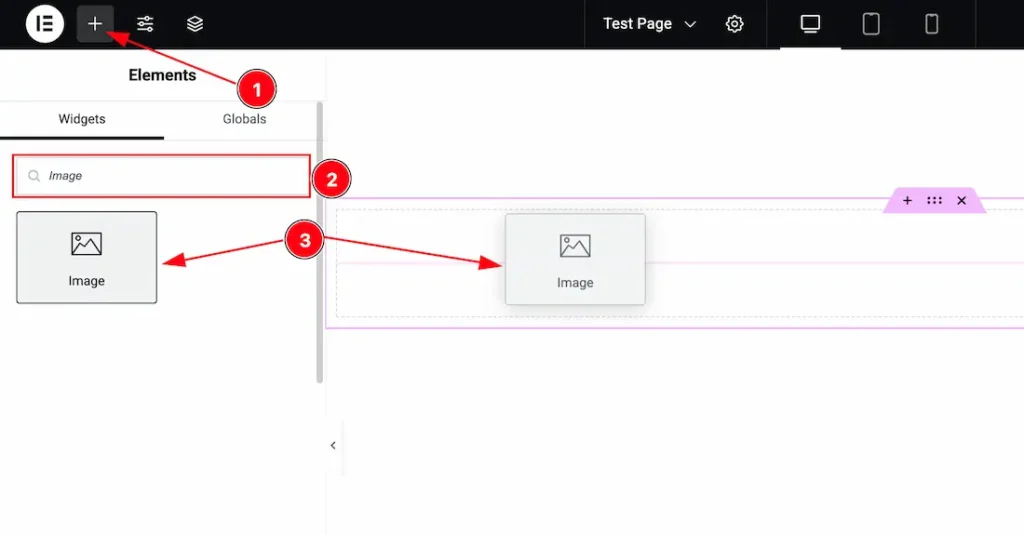
- Go to the Elementor Editor Page and Hit the Get Back To Button.
- Search the Image widget.
- Drag the widget and Drop it on the editor page.
Note: Right now the Background Image Parallax extension support have for the Elementor default image widget.
Start With The Image Widget
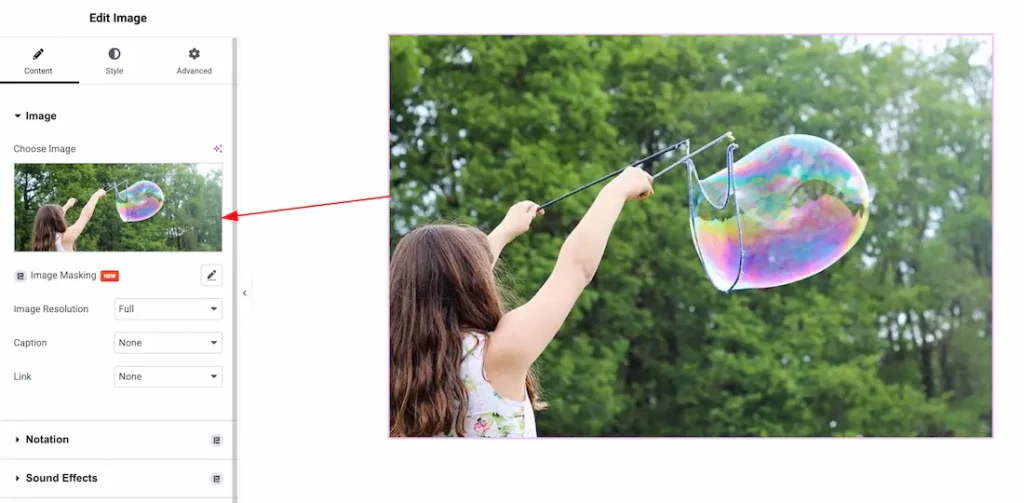
After inserting the Elementor default image widget on your page, just choose an image to show the Background Image Parallax extension work.
Lets Work with the Background Image Parallax Extension
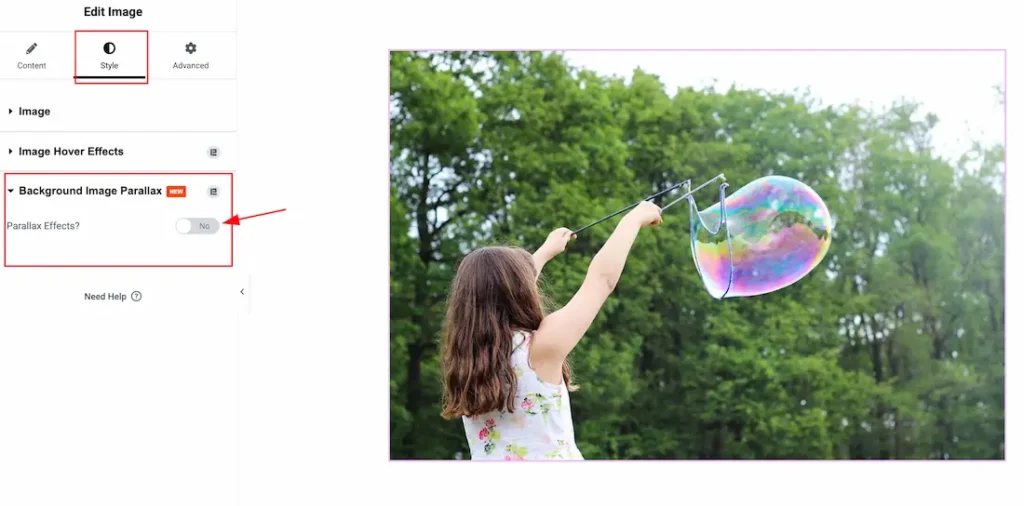
To use the Background Image Parallax Extension, just select the image widget > go to the Style tab > Background Image Parallax > Enable the Parallax Effects switcher button.
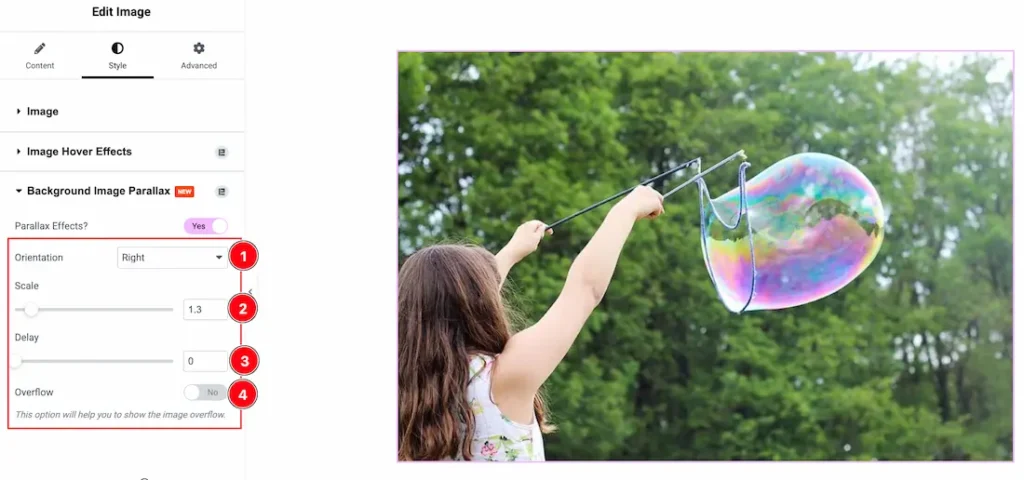
After enabling the Background Image Parallax effect switcher button, then you will get the below customization options-
1. Orientation: You can set the Background Image Parallax orientation as – Up, Down, Left, Right, Up-Left, Up-Right, Down-Left, and Down-Right.
2. Scale: Adjusts the zoom level of the background image during the parallax effect.
3. Delay: Sets the delay time before the parallax animation starts.
4. Overflow: Toggles whether the image can extend beyond its container boundaries.
All done! You have successfully customized the Background Image Parallax Extension on your website.
Video Assist
The video will help you to learn about the feature. Please check the demo page for more examples. Thanks for staying with us.