

In this documentation, we will show you how to use the Template Builder presented by Ultimate Post Kit Pro.
About Template Builder
A Template Builder is different from regular templates because it lets you create dynamic templates that can be synced on a great number of pages at the same time. Since Ultimate Post Kit now has a built-in Template builder, you can easily create global or dynamic templates, archives, single pages, and more.
Create a Single Page Template
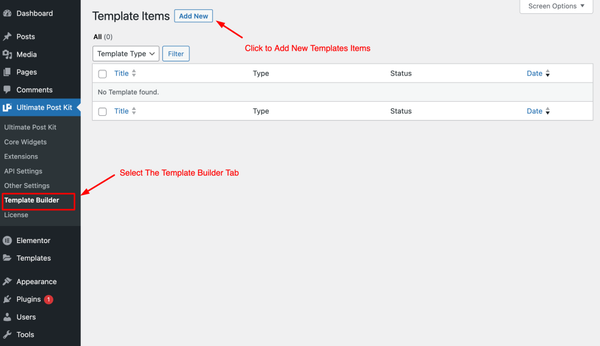
Go to Umtilate Post Kit > Template Builder

Click on the Template Builder tab from the Ultimate Post Kit dashboard and then click on the Add New button to start building your first dynamic template.
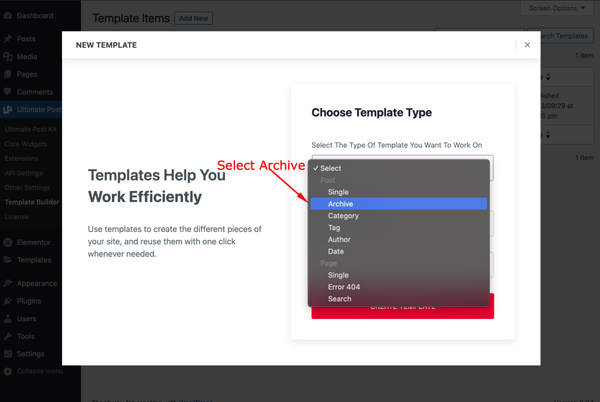
Upon clicking, you will see a floating window where you will have to select the type of template you want to build.
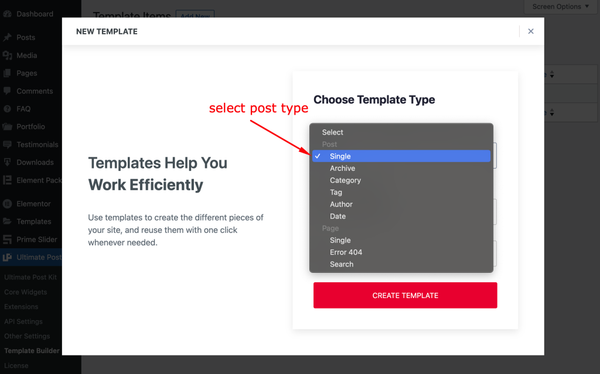
First Choose the Post Type for the Template, Select the Post or Page that you like. For single page template, select Single from the list.
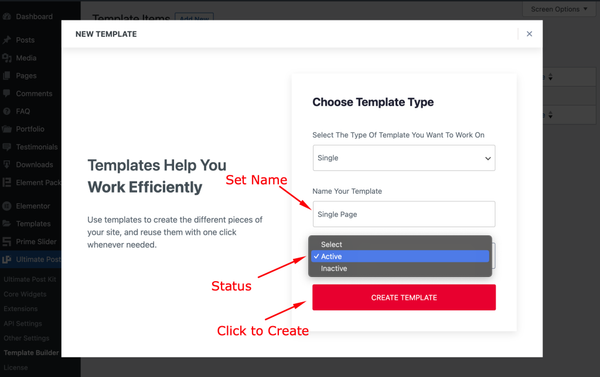
Then Set the name of the Template and Select Activate status for the post template. Click on the “CREATE TEMPLATE” button to add a new template.
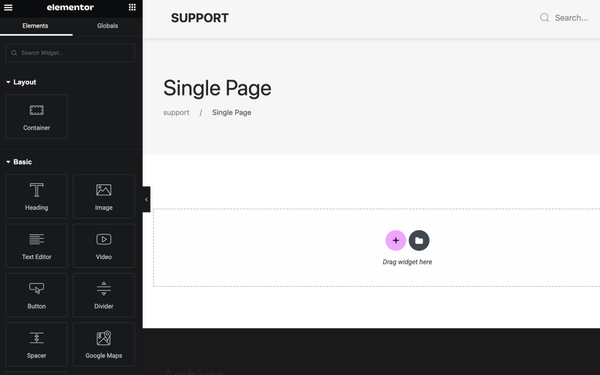
Clicking the button will take you to the editor page where you can start building your single page design.
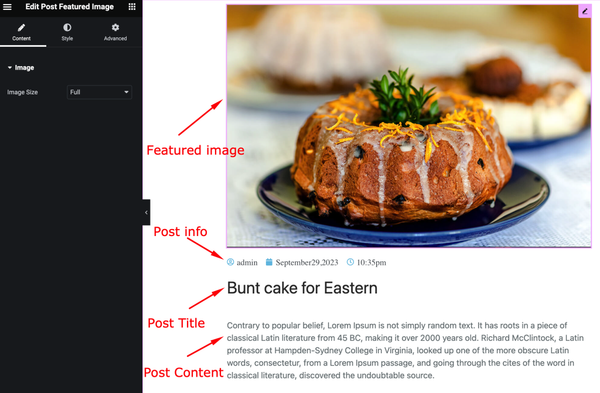
To make the Single Page Template, you can use Post Featured Image, Post Info, Post Title, and Post Content. These are dedicated single page widgets provided by Ultimate Post Kit addon.
And apart from the single page elements, you can use lots of other widgets to enhance your single page layout and make it more engaging and user-friendly.
Video Assist
Watch the complete tutorial for creating a Single Page Template.
Create an Archive Page
Go to Umtilate Post Kit > Template Builder
Select the Template Builder tab there you will see the Template Items, now click on the ” Add New ” button to add a new template for the post archive page.
Select the Archive option from the post type.
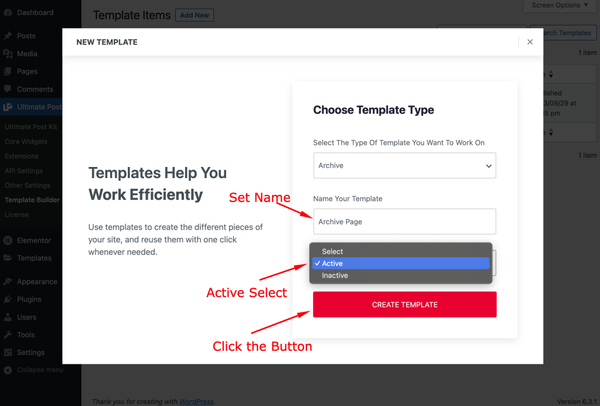
Then Set the Template Name and Select Active or Inactive mode. If Activate is selected, the template will be loaded into your site. So, make sure you have selected Active. Then click on the ” CREATE TEMPLATE” Button.
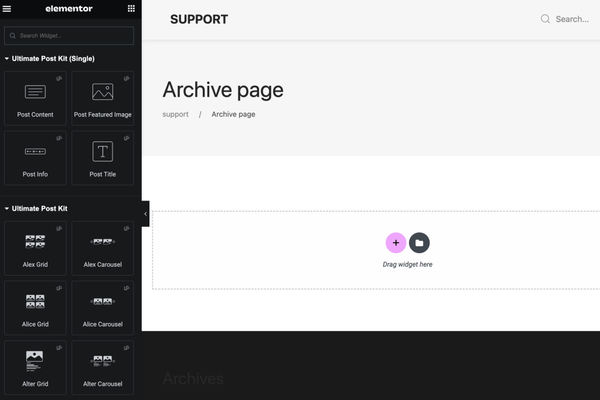
On the new editor page, you can now start building your archive page layout.
Notice, there are single page elements available here also. And all grid, carousel, and list type widgets on Ultimate Post Kit have archive features available (with current query).
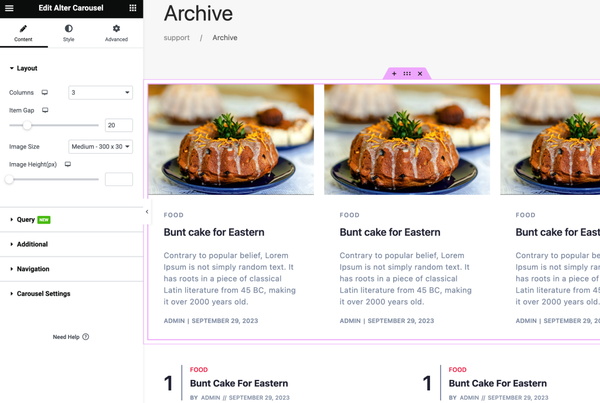
Just go ahead and build your archive page the way you see fit.
Display The Archive Page
Create an Archive Page First
Go to Dashboard Pages > All Pages / Add New
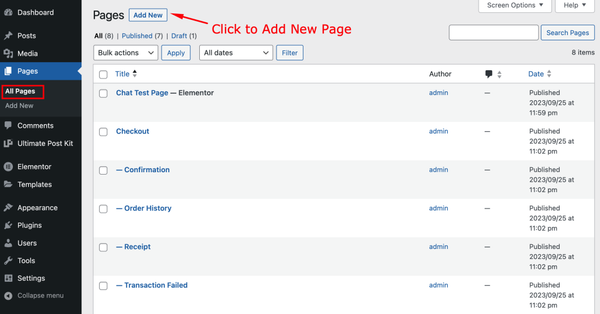
Click on the ” Add New ” Button to add a new page
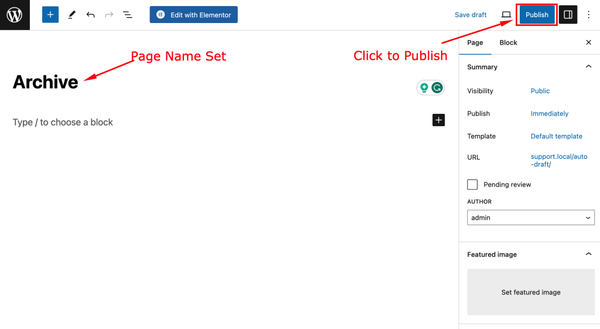
Then set the name of the Page ” Archive ” and Click on the ” Publish ” button.
Set the Static Page
Go to Dashboard Settings > Reading
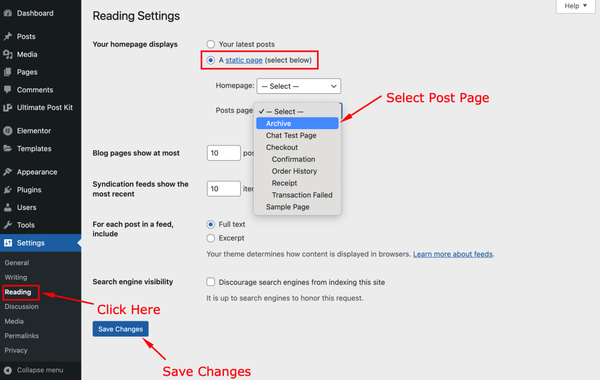
Here select Your homepage displays as A static page then select Archive for the Posts page.
The Final Look of the Archive Page
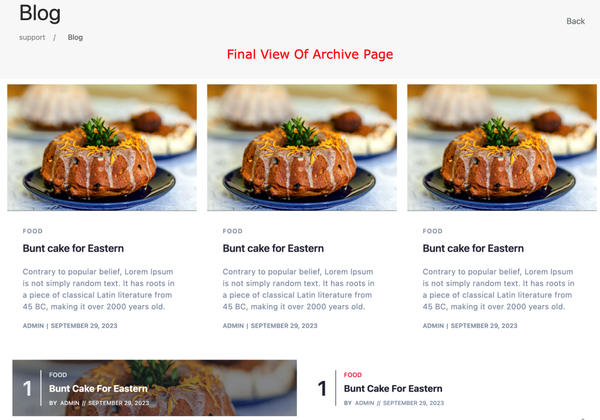
This is the final look of the archive page.
Video Assist
Watch the Complete video tutorial for making a full Archive Page Design.
Thanks for using Ultimate Post Kit addon.