

In this documentation, we will show you how to customize the Post Calendar widget presented by the Ultimate Post Kit addon.
Insert Post Calendar
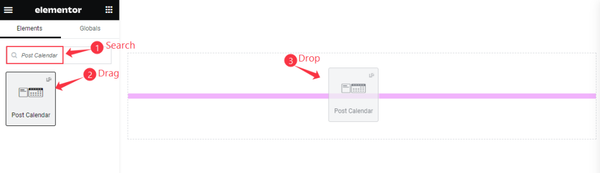
Inside your page opened with Elementor editor, search by the Post Calendar widget name, then drag and drop it.
Default view of Post Calendar
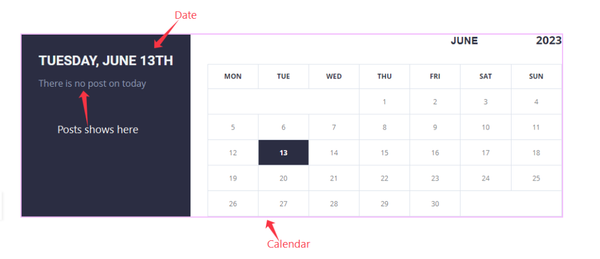
The post Calendar displays Calendar, Date, and Post rooster.
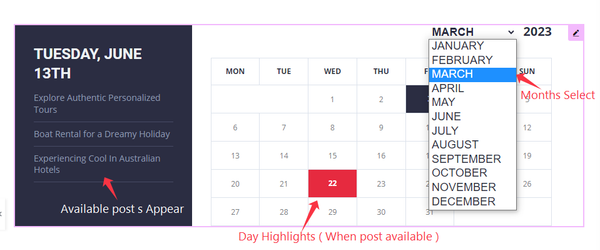
If there are published posts in the selected month, it displays the available post while the Days will get highlighted to indicate post publishing dates.
Content Tab Customization
Layout Section
Go to Content > Layout
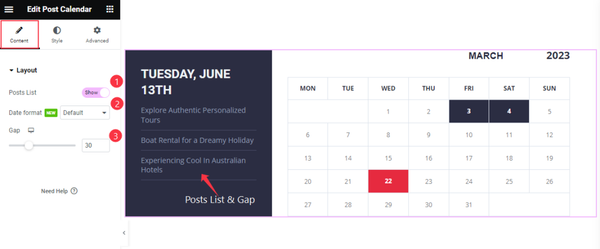
Find the Posts List, Date Format, and Gap options.
Style Tab Customization
Calendar Section
Go to Style > Calendar
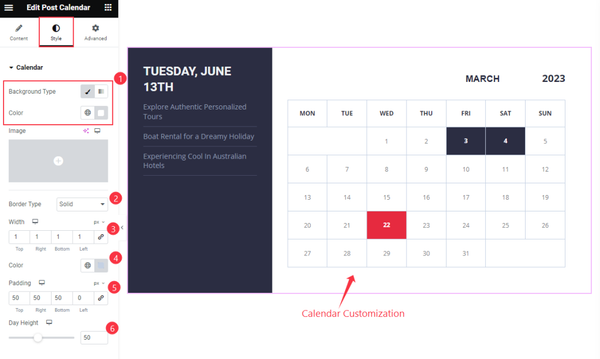
Find the Background Type, Color, Border Type, Width, Color, Padding, and Day Height options.
Calendar Month / Year Section
Go to Style > Calendar Month/Year
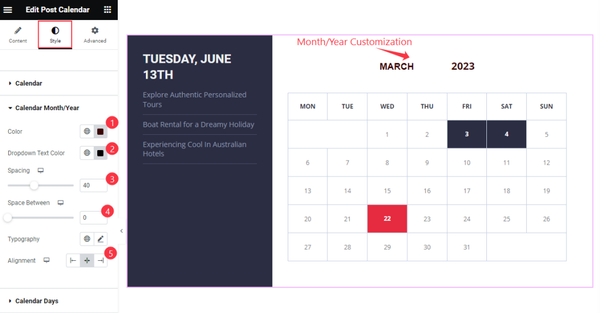
Find the Color, Dropdown Text Color, Spacing, Space Between, Typography, and Alignment options.
Calendar Days Section
Go to Style > Calendar Days
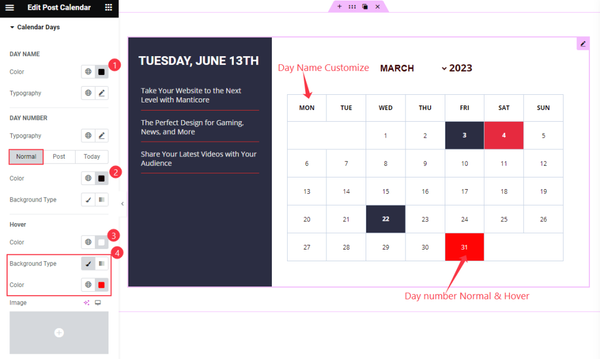
Find the Day Name > Color, Typography, and Day Number > Normal > Color and Background Type, Hover > Color and Background Type options.
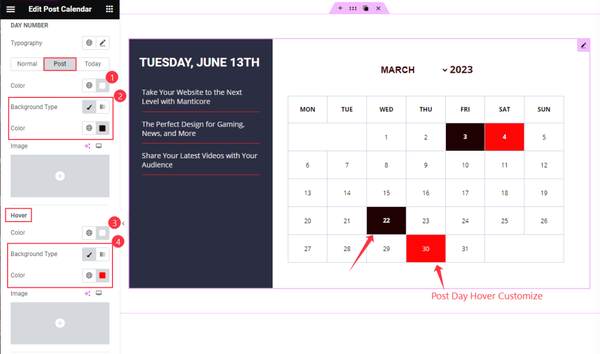
Also find the Day Number > Post > Color and Background Type, Hover > Color and Background Type options.
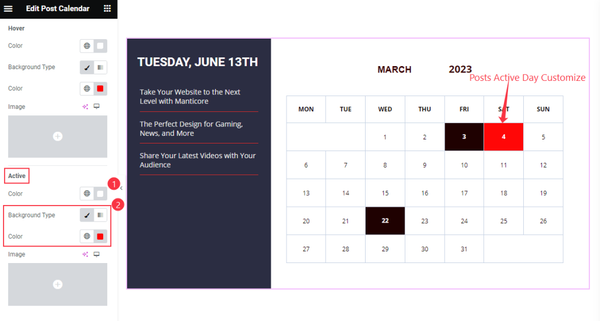
Then also, find the Active > Color and Background Type options.
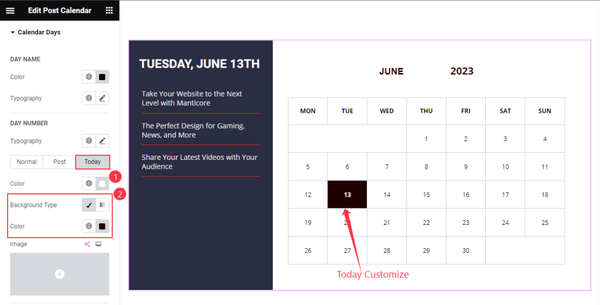
Then find the Today > Color and Background Type Options.
Posts List Section
Go to Style > Posts List
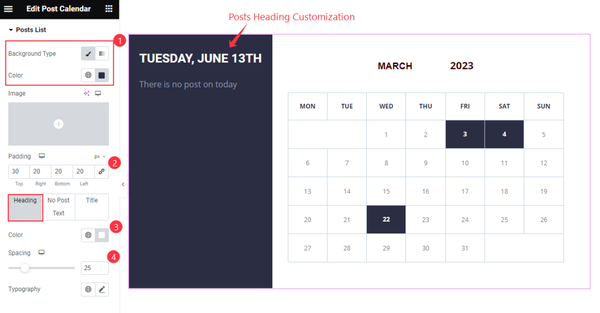
Find the Background Type, Color, Padding, and Heading > Color, Spacing, and Typography options.
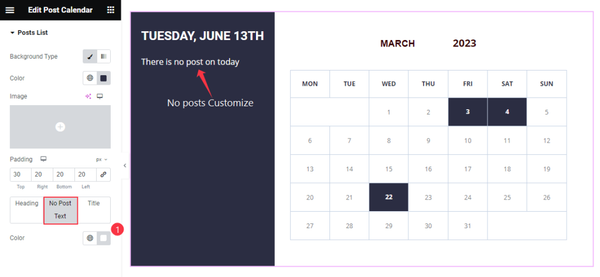
Also, find the No Post Text > Color option.
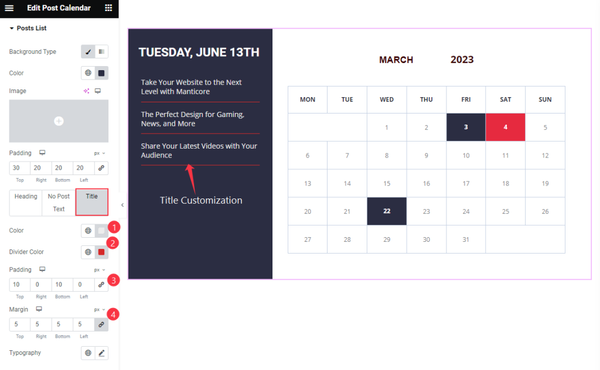
Then find the Title > Color, Divide Color, Padding, Margin, and Typography options.
Video Assist
Watch the Post Calendar video tutorial here. Please visit the demo page for examples.
Thanks for being with us.