

The Charitable Login widget lets you create a simplified login form on your website. This widget acts best paired up with your charitable campaigns.
Now, take a look at how it works.
Inserting widget
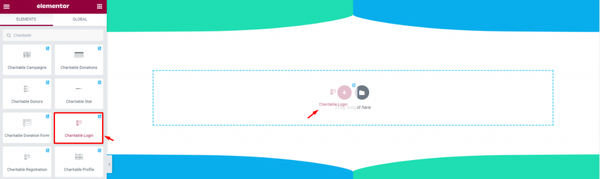
Find the Charitable Login widget from the widget menu and drag-drop it inside your page.
Content tab
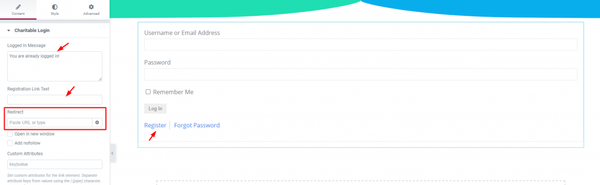
The content tab has three options; a Login message text field, a Registration link text field, and a Redirect link field.
You can redirect users to any page within your website after a successful login. That’s all the basic settings for the charity plugin.
Style tab
This widget has more options for customization in the Style tab. With these options, you can create eye catching and comfortable login form designs on the Elementor Charitable Login widget.
Charitable login
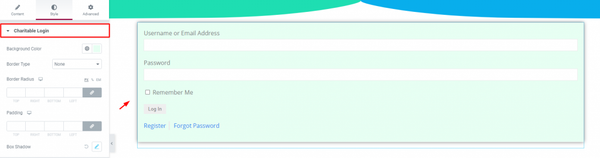
Go to Style> Charitable login
Change the color of the whole login field as well as add border, padding, and box-shadow.
Label
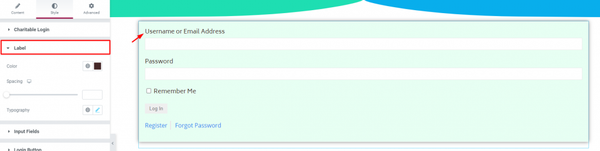
Go to Style> Label
Change the text color, spacing, and typography of the labels.
Input Fields
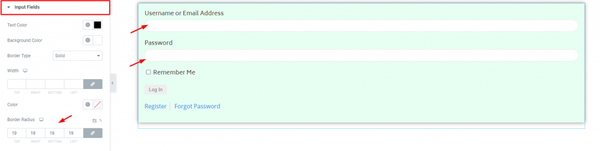
Go to Style> Input Fields
Check here to customize the input fields by changing color or shape (with border-radius).
Login Button
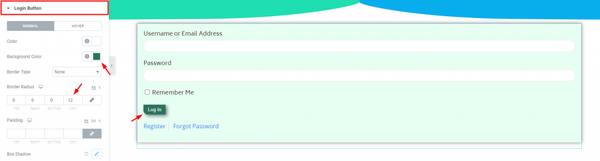
Go to Style> Login Button
Design a smart-looking login button that may leave an impact on your donors. Change color, border, and padding. Typography is also important.
Register/Reset Text
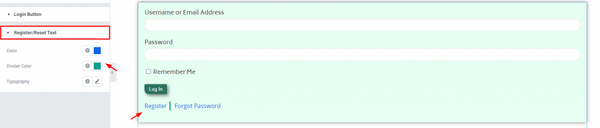
Go to Style> Register/Reset Text
Change the color of the texts below the button as well as the divider in-between. Also, you can change their typography.
Conclusion
Watch this video about the Charitable Login widget and visit the demo page for more examples provided by Bdthemes.
Leave any query in the comment section.
Thanks for staying up.