

Ultimate Post Kit brings the Forbes Tabs widget to let you create stunning post tabs to display featured posts, weekly updates, or top of shelve posts on your blogging site. This easy-to-use & heavily customizable feature offers stunning visuals to captivate your visitors.
Let’s get introduced to its controls & customizations.
Inserting widget
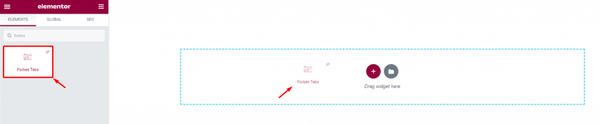
First, open your page with Elementor editor and then search for the Forbes widget from the widget menu on your left. Simply click and drag-drop it inside the page to start.
All Content Tab Customizations
Basically, the Content tab holds the base interface controls that help you directly change the shape of the widget (the interface that you see on display). Get used to it to easily customize the Elementor tabs.
Layout settings you can use
Go to Content> Layout
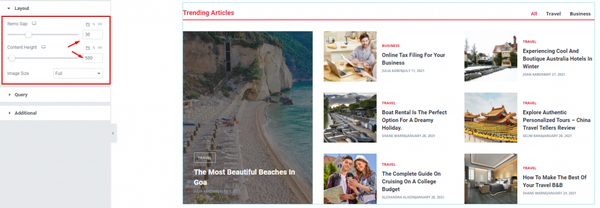
In the first section, you get to adjust the items gap or the white space between the items through a scrollbar. Then you can change the content height scrollbar to find the most suitable height for your page. Also, the image size option lets you change the size or dimension of all images displayed inside the tabs.
Set up Query controls
Go to Content> Query
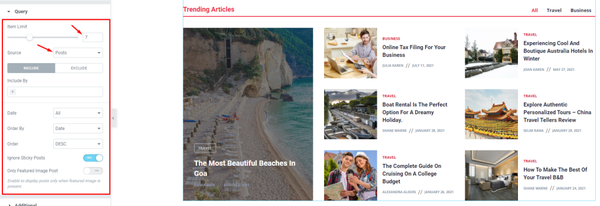
Inside the Query section, you will discover the methods to limit the number of items displayed through Item Limit in the tabs or sort out the post data according to some parameters. The Include field lets you choose specific sources or items to be displayed in the tabs. The Exclude option works exactly opposite where it lets you choose what to not display in the Elementor tabs.
The two switchers (Ignore Sticky Post & Only Featured Image Post) at the bottom can help you not to display sticky posts or display only the posts with featured images.
Additional settings customization
Go to Content> Additional
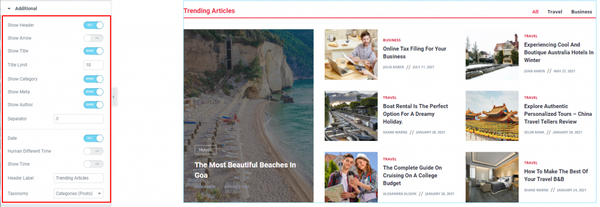
The Additional section mostly comprises switchers that let you show or hide specific elements like header, title, arrow, etc. from the tabs interface. You can tweak the switcher from here to make a final layout containing the information delivery style that you have chosen for the Elementor tabs.
Close to the bottom, you will find date & time settings for the posts and a customizable header label for the tabs.
Style tab customizations
The style tab exists for the sole purpose of letting the users enjoy dynamic appearance customizations to modify the looks of the tabs through different color settings, padding, margin, borders, and many more.
Let’s explore the style options for the Forbes Tabs widget.
Header part customizations
Go to Style> Header
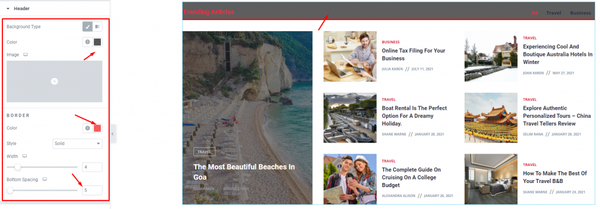
Here, you can customize the header part of the tabs by changing the color of the background. The thin border under the header text has got a separate set of options including border color, style, width, and spacing.
Header Title part customization
Go to Style> Heading Title
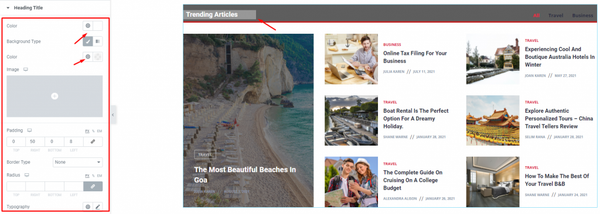
This section contains options for customizing the title part of the header. You can change the text color, and text background color, add padding around the text, add a border, apply border radius, and customize typography. In the picture, we just changed the color and added some padding.
Filter part customization
Go to Style> Filter
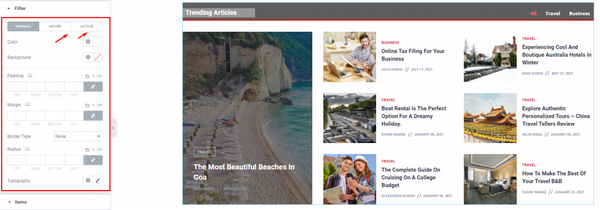
The Forbes tabs widget has filter options inside the header part which is located in the right corner. Through this section, you can customize them to match the design you are making right now. The options give you color, background, padding, margin, border, & typography customizations, just like the title part.
Take a look at the Items section
Go to Style> Items
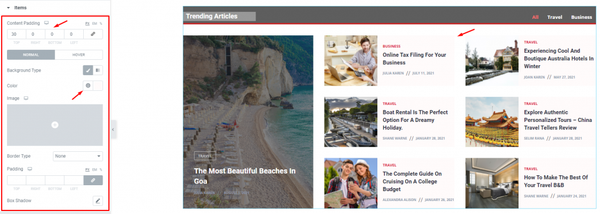
Apart from the featured post, the rest of the posts within the body of the tabs fall under the options from the Items section. Changing the content padding or the background color here will directly affect the body part of the tabs. The image also tells you that. And, you will get additional border, padding, and box shadow options to further customize this part.
Image customization controls
Go to Style> Image
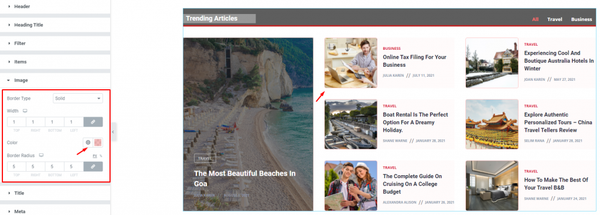
From this section, you can add border, change border color, and customize the border radius around the images of the posts inside the tabs body (or secondary posts).
Title part customization (primary post)
Go to Style> Title
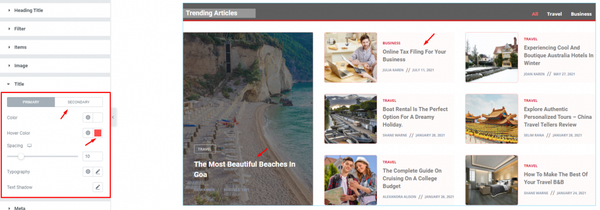
Here, you will find options to modify the color, spacing, typography, and text shadow of the title part of the primary post. These options won’t work on secondary post titles or the header title.
Meta part customization
Go to Style> Meta
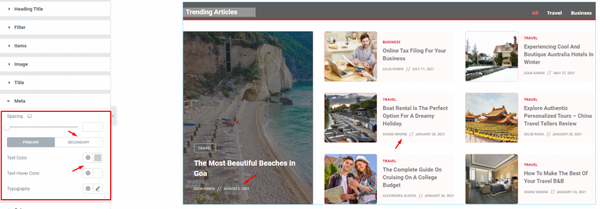
In this section, you will find two subsections to customize the meta text color, hover color, and typography for the primary and secondary posts. The spacing option is global for both.
Category part customization
Go to Style> Category
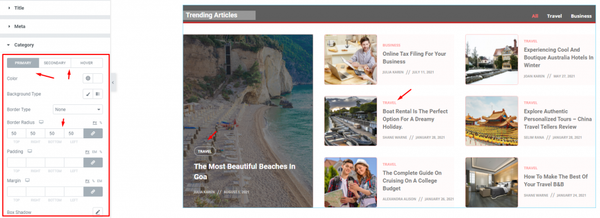
The section holds the options for category customization for both primary secondary and hover. The options include color, background type, border type, border radius, padding, margin etcetera. Make sure to go through these options to create various designs.