

In this documentation, we will show you how to customize the Table of Content widget presented by the Element Pack Pro add-on.
Insert Table of Content widget
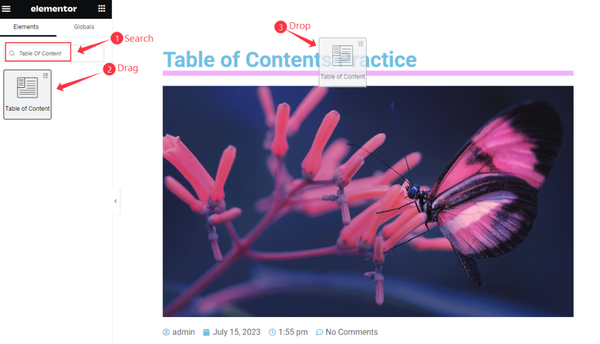
Open your page in Elementor editor, search by the Table of Content widget name, then drag and drop it.
As it works on Blog so open it on Blog Page.
The Default View of the Widget
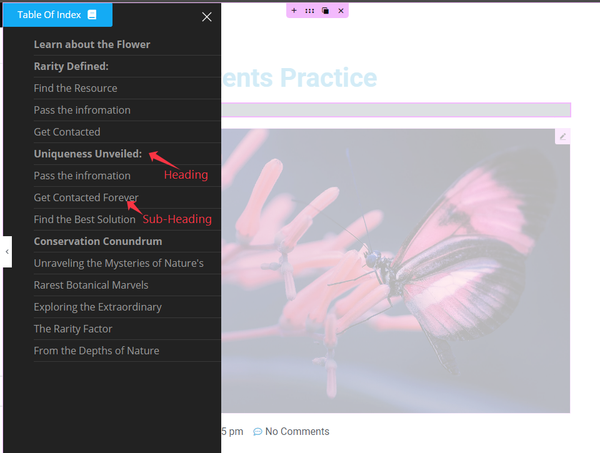
It displays the Blog Heading and Sub Heading.
Content Tab Customization
Table of Content Section
Go to Content > Table of Content
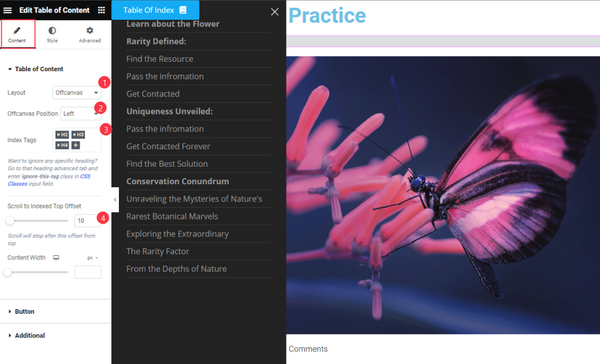
Find the Layout, Offcanvas Position, Index Tags, Scroll to Indexed Top Offset, and Content Width options.
Button Section
Go to Content > Button
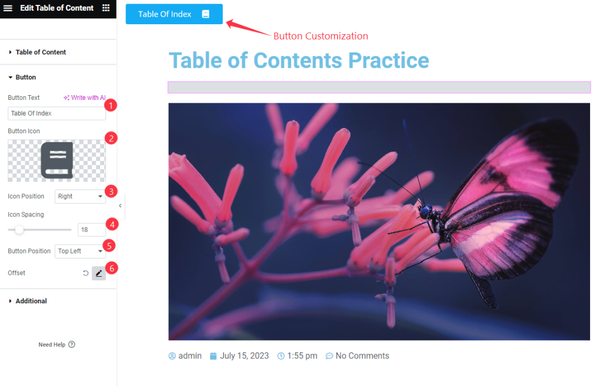
Find the Button Text, Button Icon, Icon position, Icon Spacing, Button Position, and Offset options.
Additional Section
Go to Content > Additional
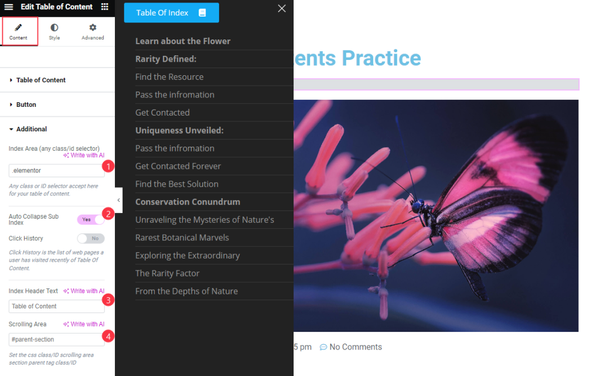
Find the Index Area, Auto Collapse Sub Index, Click History, Index Header Text, and Scrolling Area options.
Style Tab Customization
Box Section
Go to Style > Box
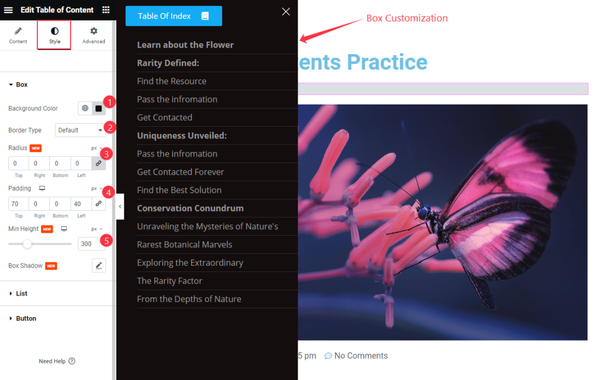
Find the Background Color, Border Type, Radius, Padding, Min Height, and Box Shadow options.
List Section
Go to Style > List

Find the Title Spacing, Normal > Color and Underline options.
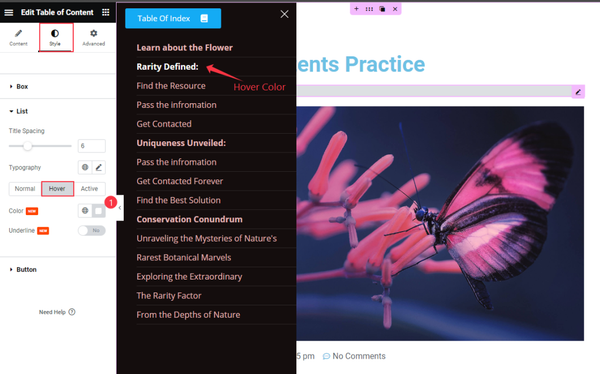
Also, find the Hover > Color and Underline options.
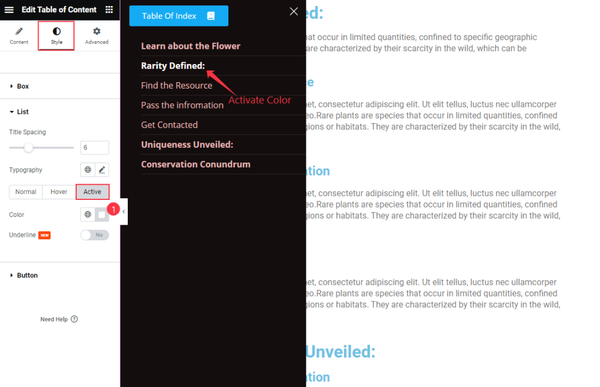
Then find the Active > Color and Underline options.
Button Section
Go to Style > Button
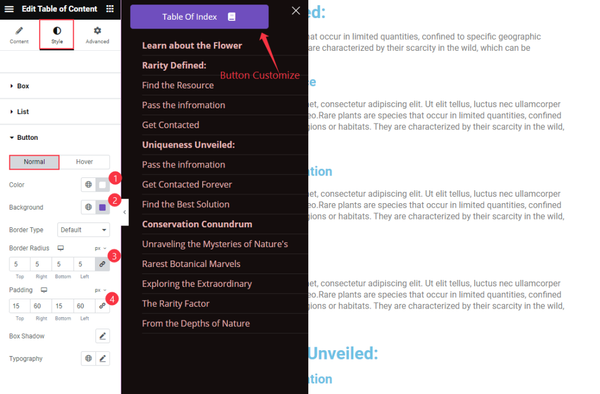
Find the Color, Background Color, Border Type, Border Radius, Padding, Box Shadow, and Typography options.
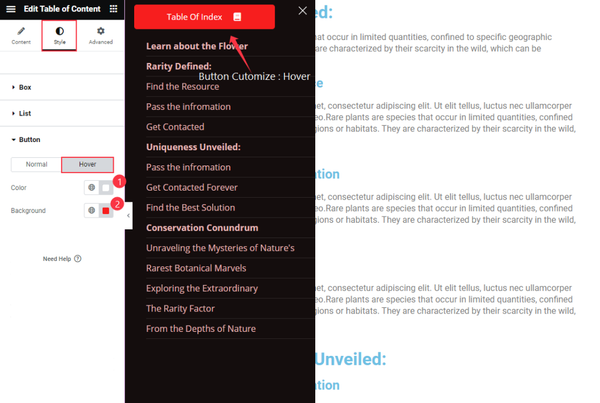
Then find the Color and Background options
Video Assist
Watch the Table of Content video tutorial here. Please visit the demo page for examples.
Thanks for being with us.