The Booked Calendar widget is a smart tool that notes down the important date you mark for it. Here, your visitors can fix an appointment time that you have made using this widget. It’s handy and easy to use.
To use this easy-to-use widget effectively, you need to know how it works. Let me give you a complete guide to it!
Installing Booked Calendar Widget

Go to WordPress Dashboard> Element Pack> 3rd Party Widgets
There, you can see the Elementor Booked Calendar widget in the list. Click on the download button on the box and it will automatically install the widget.
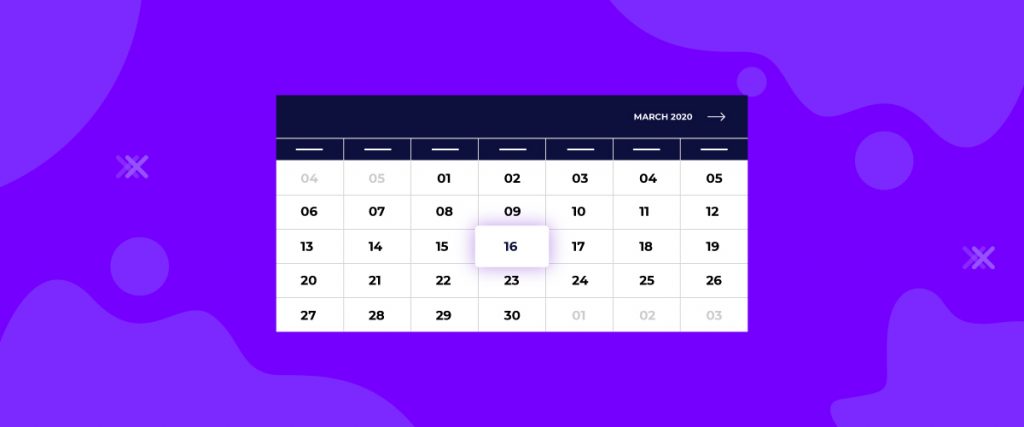
To Insert Widget

Inserting the widget is just a matter of drag and drop. However, click and hold on the widget icon from the menu and drag the calendar widget to the drop point. Follow the picture above.
Content Tab
Using the Content tab, you can basically make a layout of a particular part of the website.
Layout

Go to Content Tab> Layout
From the first section Layout, you can change the date, calendar size, and layout of the calendar. There is a switcher, turning it on will make the calendar accessible by members only. The layout is set to Default.

When you change the layout to List, the booked calendar will look like this.

Moreover, if you change the booked calendar widget size to Small for the List layout, the appointment buttons will appear as full-width.
Note that, the Default layout and the List layout both have a different set of sections in the Style Tab.
Style Tab (Default Layout)
Now, time for some Style. In this Style tab, you will have more options to create your unique Booked Calendar widget as you like. Let’s have a look.
Header

Go to Style Tab> Header
You can change the color of the header section and border.
Date

Go to Style Tab> Date
With this section, you can change the colors of the parts in the main body of the calendar.
Appointments

Go to Style Tab> Appointments
When you click on a date, it will show the appointment message box. In this section, you can edit the color of the appointment message box.
Style Tab (List Layout)
Now let’s explore the section of the style tab.
Heading

Go to Style Tab> Heading
Here, you can change the color and typography of the heading.
Time

Go to Style Tab> Time
In this section, you can change the color of text and icon as well as the typography of the times.
Navigation Button

Go to Style Tab> Navigation button
This section lets you customize the navigation button. You change its color, background, border, etc.
Appointment Button

Go to Style Tab> Appointment Button
In this section, you can change the appearance of the appointment button.
Additional

Go to Style Tab> Additional
Lastly, you can customize the small calendar button at the top-right corner of the calendar. Also, you can change the row borders’ color and width. Clicking on the calendar button will show you a mini-sized calendar. You can pick any date from there.
Video Assist
Well done. Seems you have learned the whole thing and how it works. It is easy and fun. Watch Video Assist and to get more in-depth ideas about the usage of the Booked Calendar widget, take a tour to the demo page.
[Note: on-page video link]