

The Animated Heading widget from Element Pack Pro lets you create eye-catching headings with animated text effects. It offers multiple animation styles and customization options to highlight important content. This documentation explains how to use and customize the Animated Heading widget in Elementor.
Enable The Animated Heading Widget
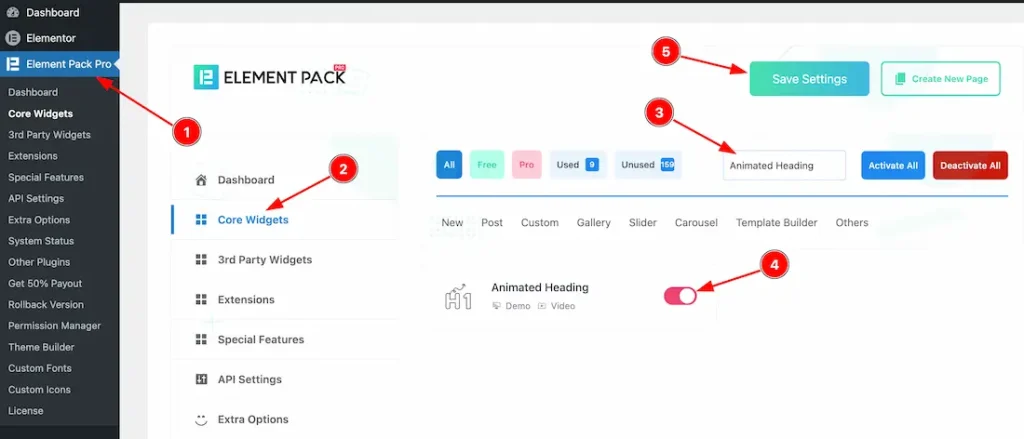
To use the Animated Heading widget from Element Pack Pro, first, you have to enable the widget.
- Go to WordPress dashboard → Element Pack Pro Plugin dashboard.
- Then, Click the Core Widgets Tab.
- Search the Animated Heading Widget Name.
- Enable the Animated Heading Widget.
- Hit the Save Settings Button.
Inserting the Animated Heading widget
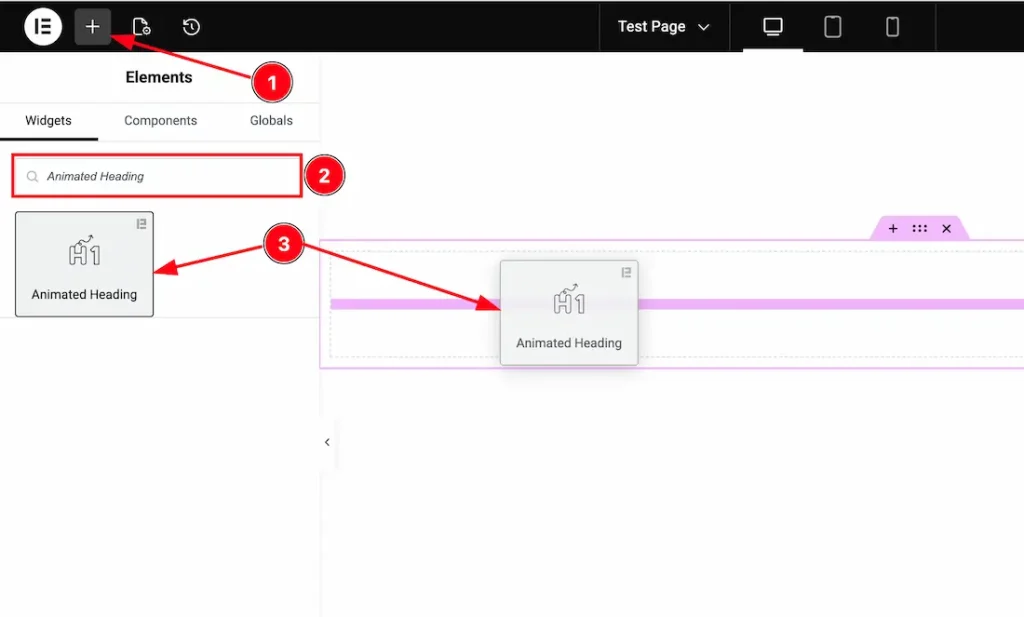
1. Go to the Elementor Editor Page and hit the “+” icon Button.
2. Search the Animated Heading name.
3. Drag the widget and drop it on the editor page.
Work With Content Tab
Heading section
Go to Content > Heading
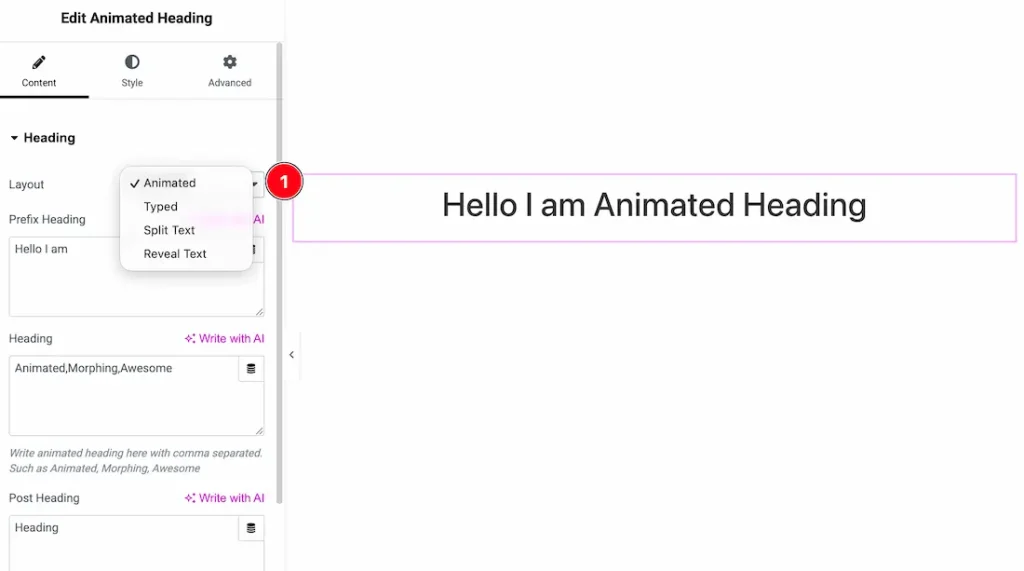
1. Layout: You can choose your preferred layout type from here. Here you will get the layout type- Animated, Typed, Split Text, and Reveal Text.
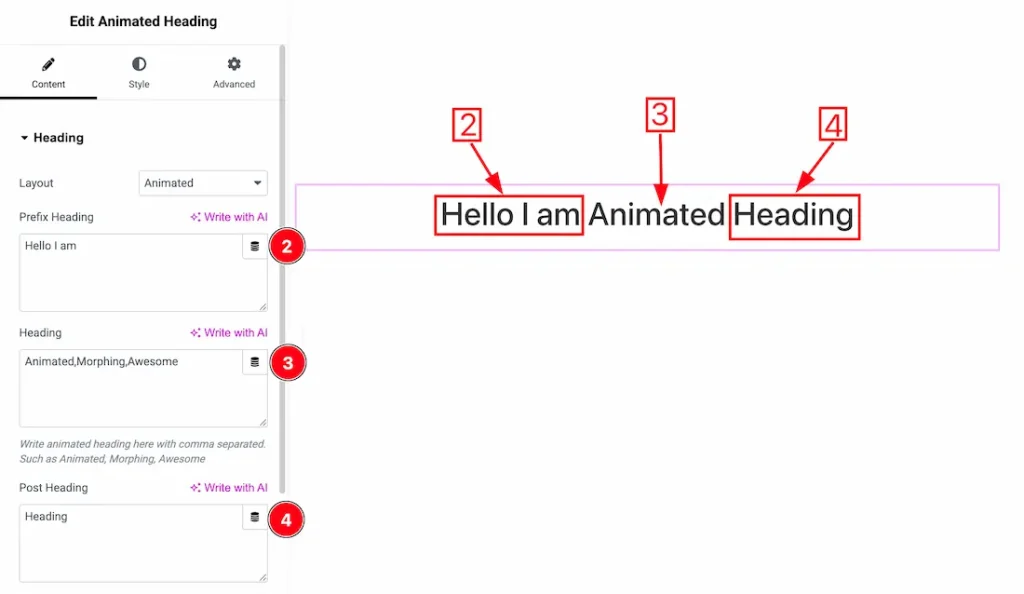
2. Prefix Heading: This option lets you change the prefix heading text.
3. Heading: This option lets you change the heading text.
4. Post Heading: This option lets you change the prefix heading text from here.
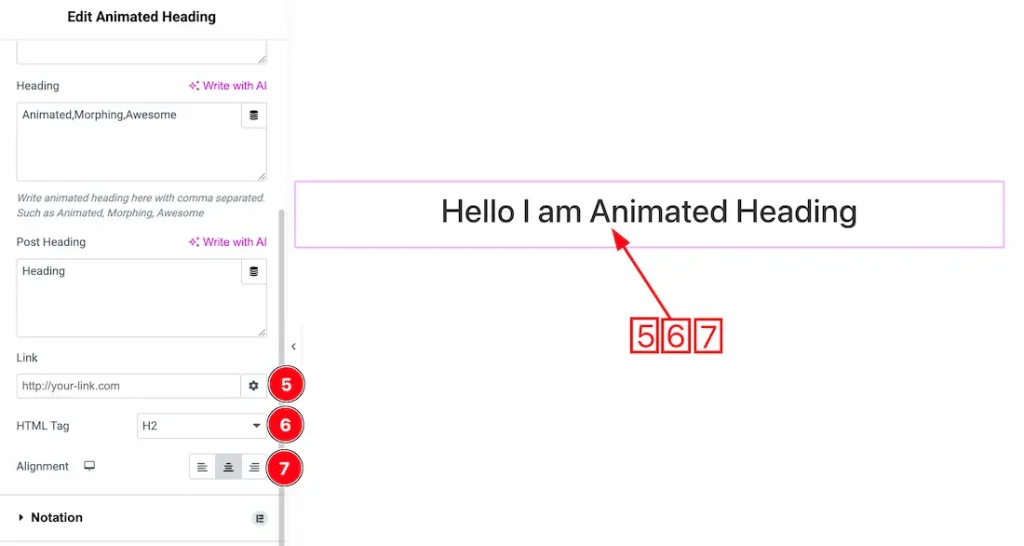
5. Link: You can add a link under the heading from here.
6. HTML Tag: You can set the title HTML tag H1 to H6 and Div, span, and P.
7. Alignment: You can set the heading Alignment- Left, Center, and Right.
Work with The Style Tab
Animation Section
Go to Style → Animation
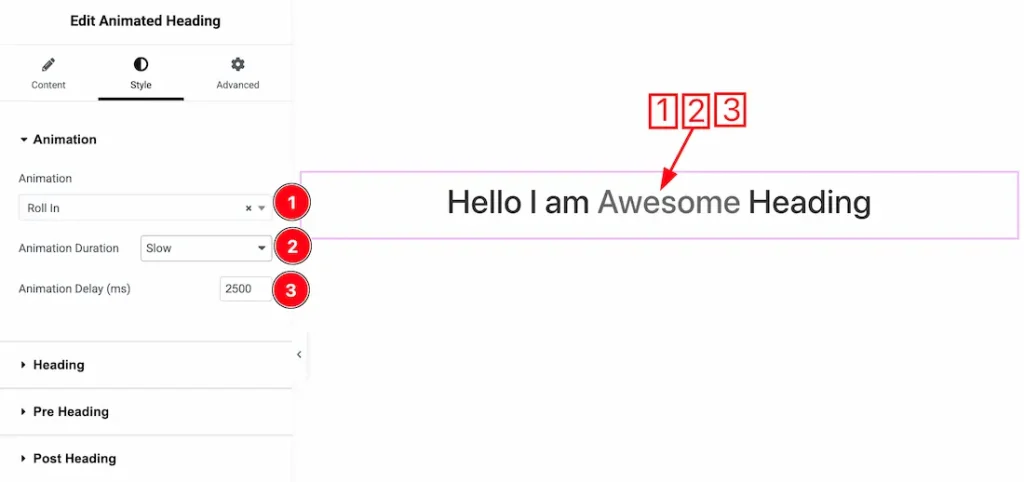
1. Animation: Here, you will get a set of animation types and select an animation that you prefer.
2. Animation duration: You can set the animation duration type- Normal, Slow, or Fast.
3. Animation Delay: You can adjust the animation delay time from here.
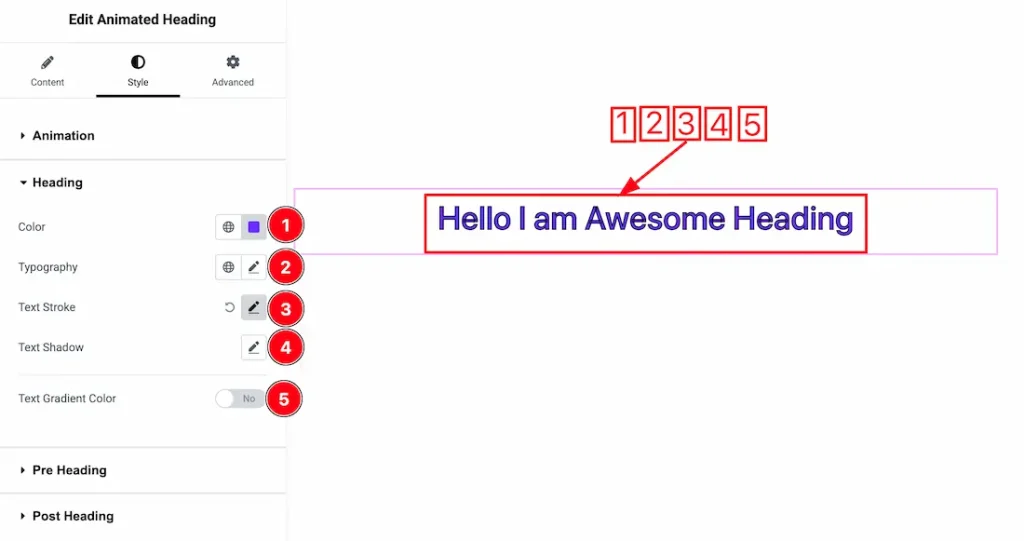
1. Color: This option lets you change the heading text color.
2. Typography: Change the font family, size, weight, style, transform, decoration, line height, letter spacing, and word spacing from here.
3. Text Stroke: You can add the heading text stroke from here.
4. Text Shadow: You can add heading text shadow from here.
5. Text Gradient Color: Enable/disable the Text gradient color switcher button to show/hide the heading gradient color.
Pre Heading Section
Go to Style → Pre Heading
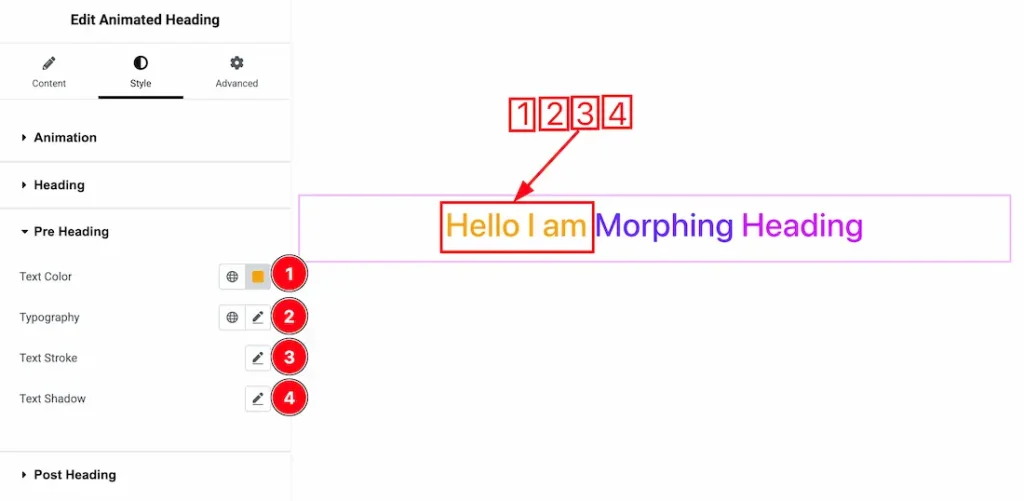
1. Color: This option lets you change the pre-heading text color.
2. Typography: Change the font family, size, weight, style, transform, decoration, line height, letter spacing, and word spacing from here.
3. Text Stroke: You can add the pre-heading text stroke from here.
4. Text Shadow: You can add pre-heading text shadow from here.
Post Heading Section
Go to Style → Post Heading
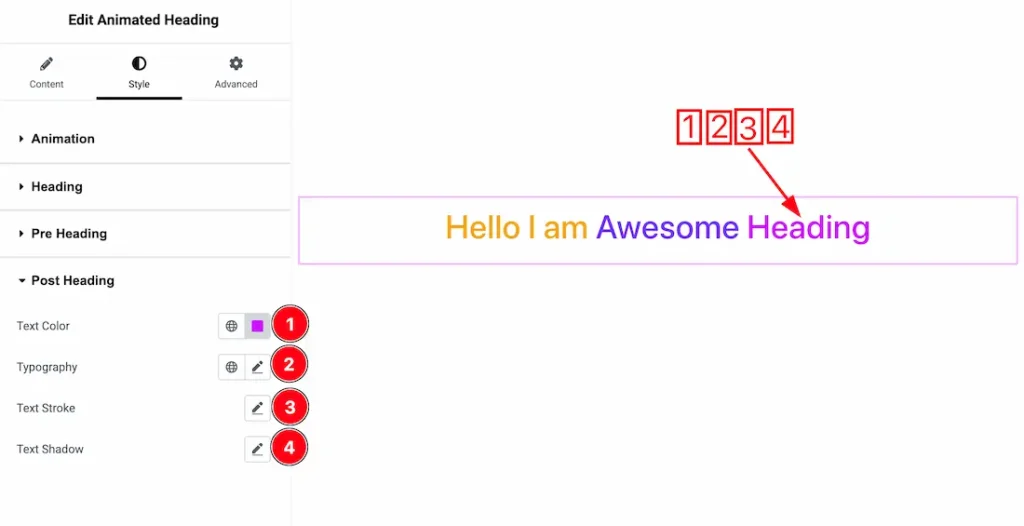
1. Color: This option lets you change the post-heading text color.
2. Typography: Change the font family, size, weight, style, transform, decoration, line height, letter spacing, and word spacing from here.
3. Text Stroke: You can add the post-heading text stroke from here.
4. Text Shadow: You can add post-heading text shadow from here.
All done! You have successfully customized the Animated Heading widget on your website.
Video Assist
You can watch this quick video to learn about the Animated Heading widget. Please visit the demo page for examples.
Thanks for staying with us.