

In this documentation, we will discuss the customization of the Image Masking Extension, brought to you by the Element Pack Pro.
Why the Image Masking Effect?
Image masking is used to display images in various creative custom shapes, allowing designers to control which parts of an image are visible.
Enabling The Image Masking Extension

To use the Elementor Background Image Masking Extension from Element Pack, you must first enable the widget.
- Go to WordPress Dashboard > Element Pack Plugin dashboard.
- Then Click the Extension Tab.
- Search the Image Masking Extension Name.
- Enable the Image Masking Extension.
- Hit the Save Settings Button.
Insert The Image Box Widget
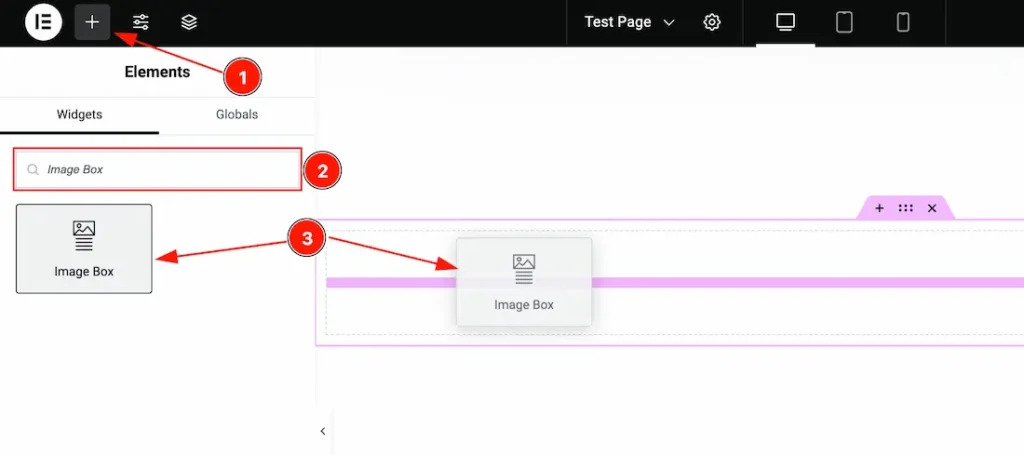
- Go to the Elementor Editor Page and Hit the Get Back To Button.
- Search the Image Box widget.
- Drag the widget and Drop it on the editor page.
Note: Currently, the Image Masking extension is supported only for Elementor’s default Image Box widget. You also can access the extension features inside the Mask option located under the Advanced tab of the selected widget. For detailed instructions, please refer to the Enable and Configure Global Image Masking section of the documentation.
Start With The Image Box Widget
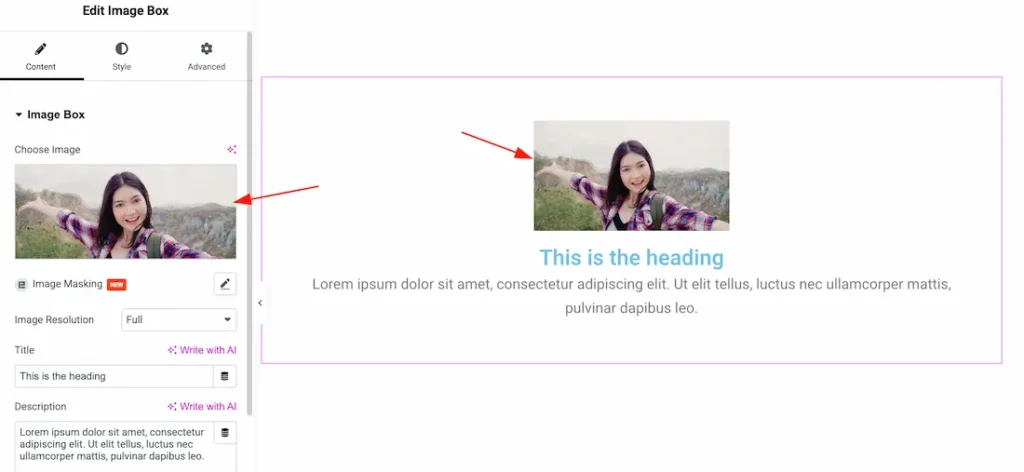
After inserting the Elementor default image box widget on your page, just choose an image to show the Image Masking extension work.
Lets Work with the Image Masking Extension
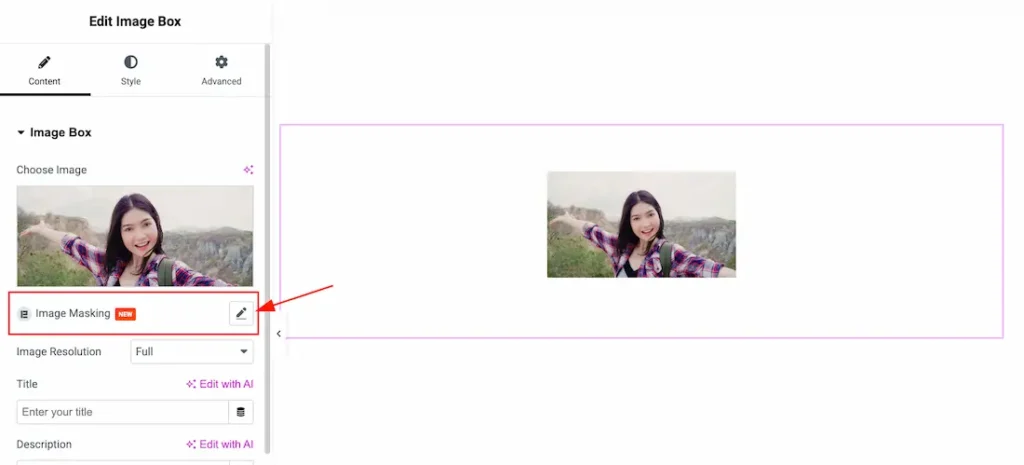
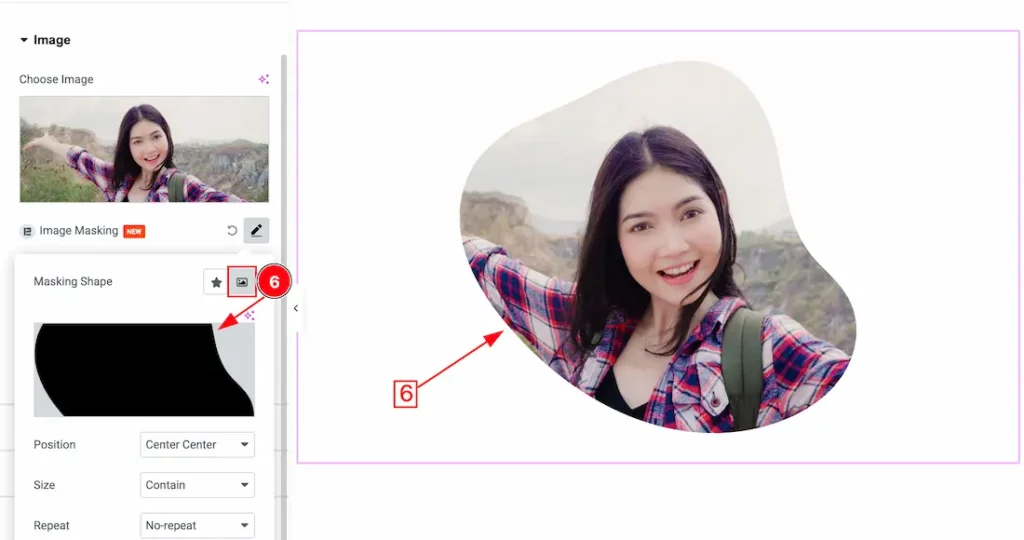
After choosing an image, you will get the Image Masking feature below of the choose image option.
After click over the image masking option, you will get the below customization options-
1. Masking Shape: From here, you will get two type of masking shape – Default Shape, and Custom Shape. Lets explore with the Default Shape.
Default Shape: If you select the masking shape type- default then you will get 1 to 31 ready mades image shapes. I set the image shape 8 to show the masking effects.
2. Position: You can set the shape position as – Center Center, Center Left, Center Right, Top Center, Top Left, Top Right, Bottom Center, Bottom Left, and Bottom Right.
3. Size: You can set the shape size – Auto, Cover, Contain, and Custom. Here we set the size – Contain.
4. Repeat: You can set the image shape Repeat type- Repeat, No repeat, Repeat X, Repeat Y, Space, Round, Repeat Space, Round Space, and No Repeat Round.
When the Image Shape Size – Custom
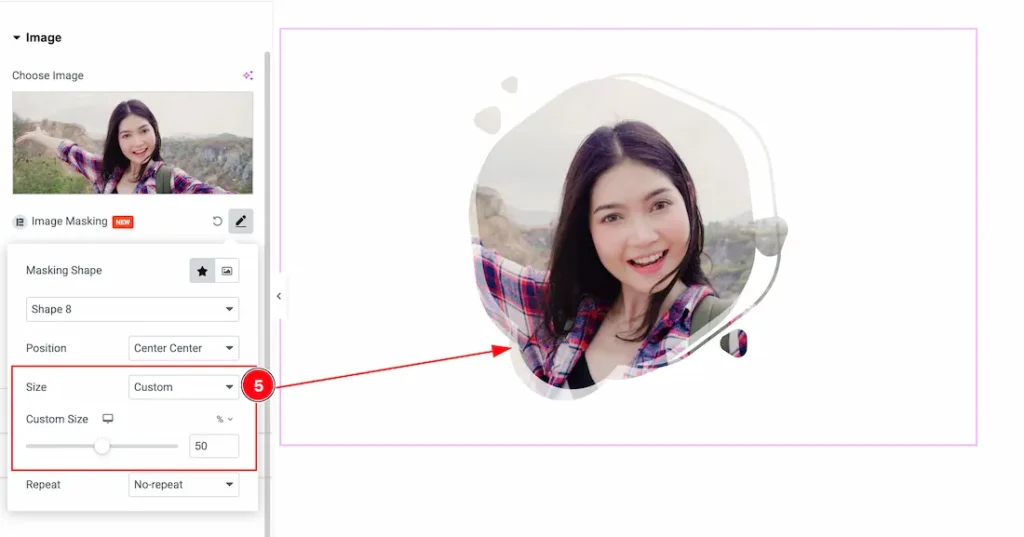
5. Custom Size: You can set the image shape size- custom. When you select the custom size then you will get the custom size option and you can adjust the shape size to your working demand.
When the Masking Shape Type- Custom
6. Custom Shape: This option lets you select the custom image shape that you created. We set a custom shape from the media library to show the custom shape. If you want then you also can set the custom shape from here.
Enable and Configure Global Image Masking
To use the Global Image Masking feature, Just follow the below instructions-
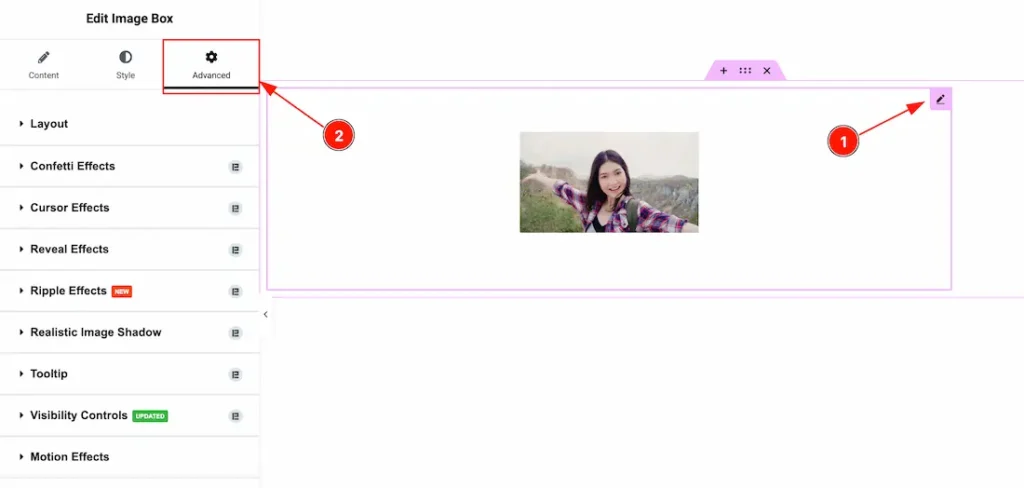
1. Select the widget first.
2. After, selecting the widget, Just go to the widget Advanced Tab.
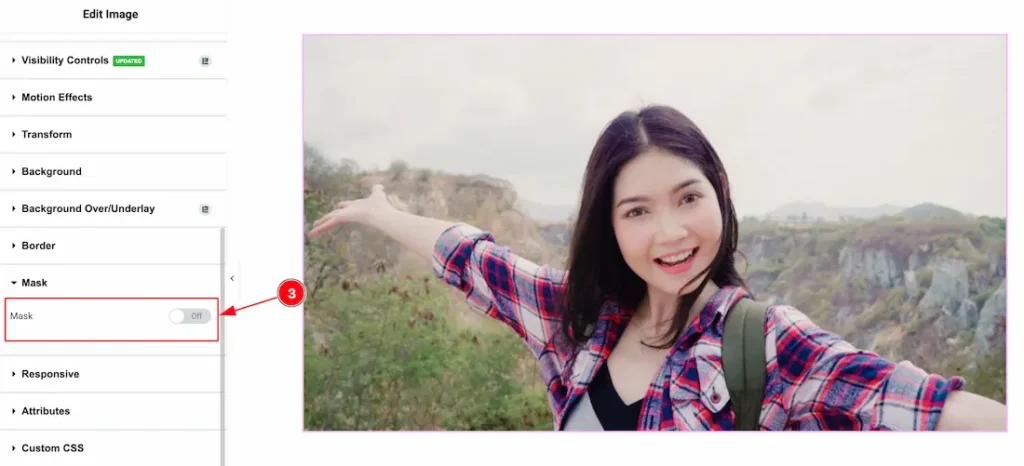
3. From Advanced Tab > go to the Mask section and enable the Mask switcher button.
After enabling the mask switcher button, you will get the below customization options-
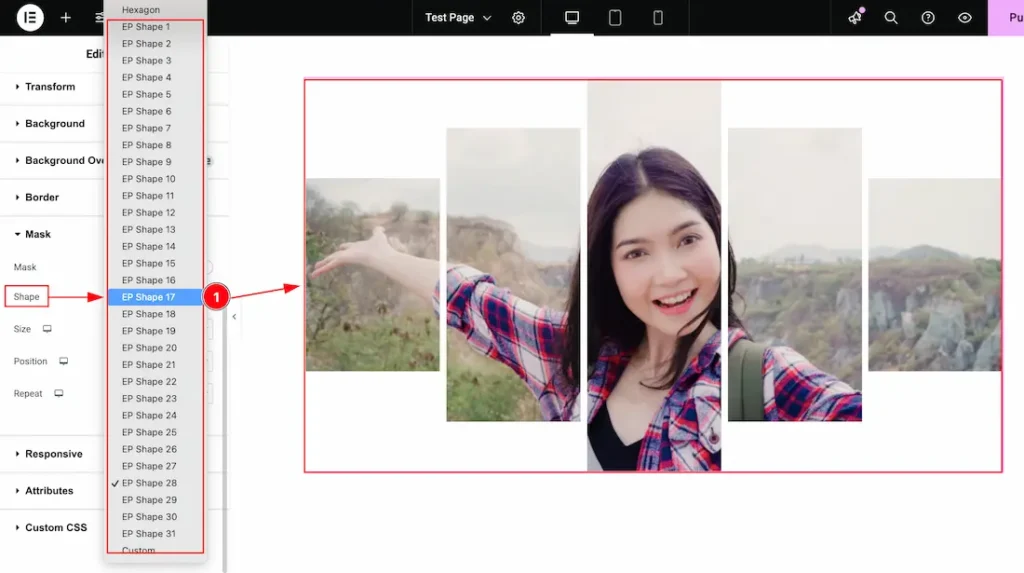
1. Shape: Here you will get 1 to 31 EP induvisual Shapes and you can choose any one of them. If you want then you also can select the custom shapes from here.
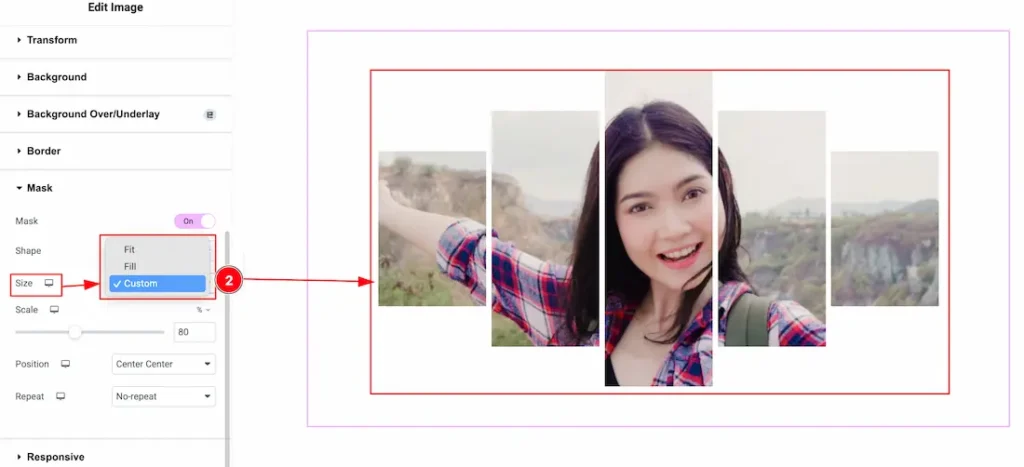
2. Size: You can select the Size – Fit, Fill, and Custom. If you select the size type- custom then you will get the Scale option to manage the custom size.
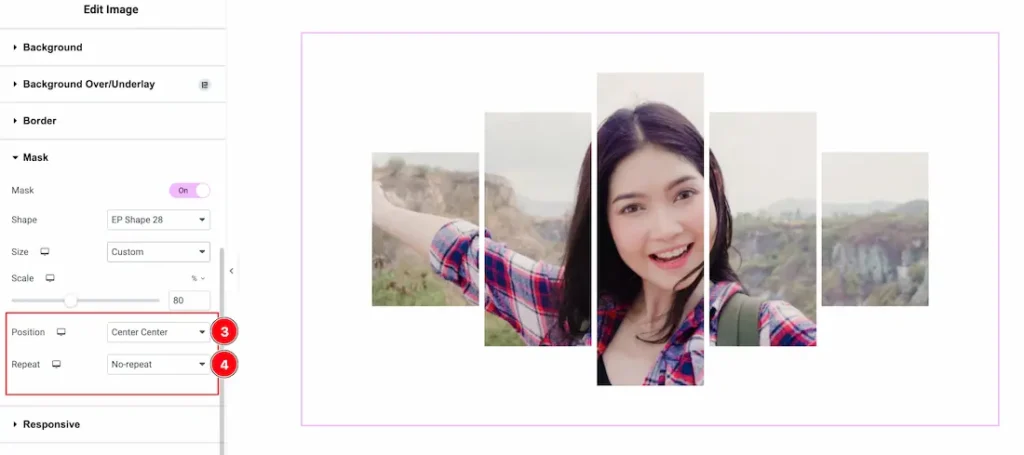
3. Position: You can set the shape position as – Center Center, Center Left, Center Right, Top Center, Top Left, Top Right, Bottom Center, Bottom Left, Bottom Right, and custom.
4. Repeat: You can set the image shape Repeat type- Repeat, No repeat, Repeat X, Repeat Y, Space, Round, Repeat Space, Round Space, and No Repeat Round.
All done! You have successfully customized the Image Masking Extension on your website.
Video Assist
The video will help you to learn more about the feature. Thanks for staying with us.