

This documentation provides comprehensive insights into to create Post Archieve Page in Theme Builder using Element Pack Pro.
Add New Template Of Post Archive Page

- Navigate to Element Pack Pro > Theme Builder from Dashboard.
- Click on the ” Add New Template ” button and click on it.
Create Post Archive Page Template
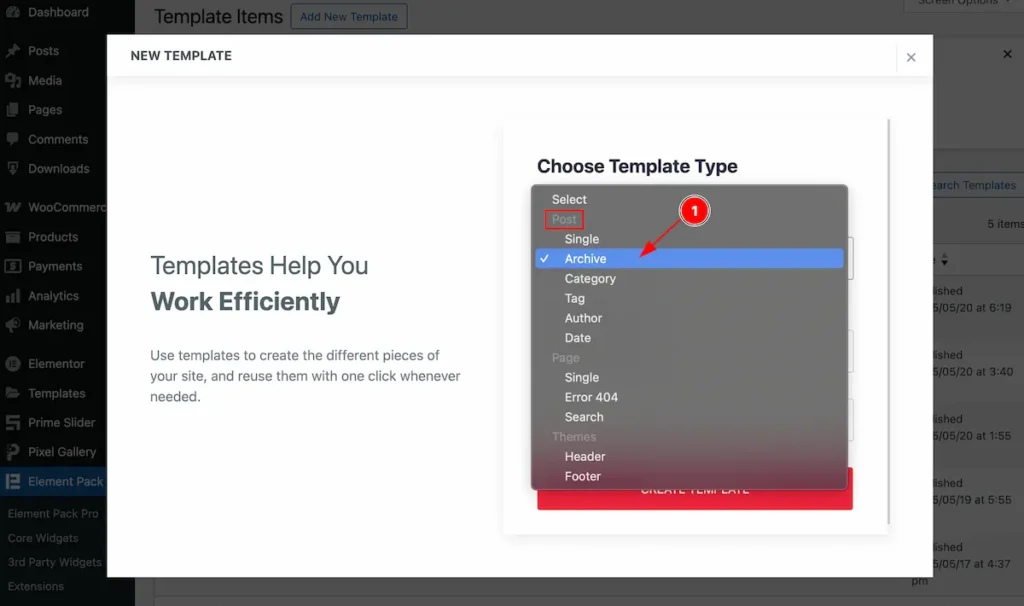
- Select the Template Type Archive from Post Section.
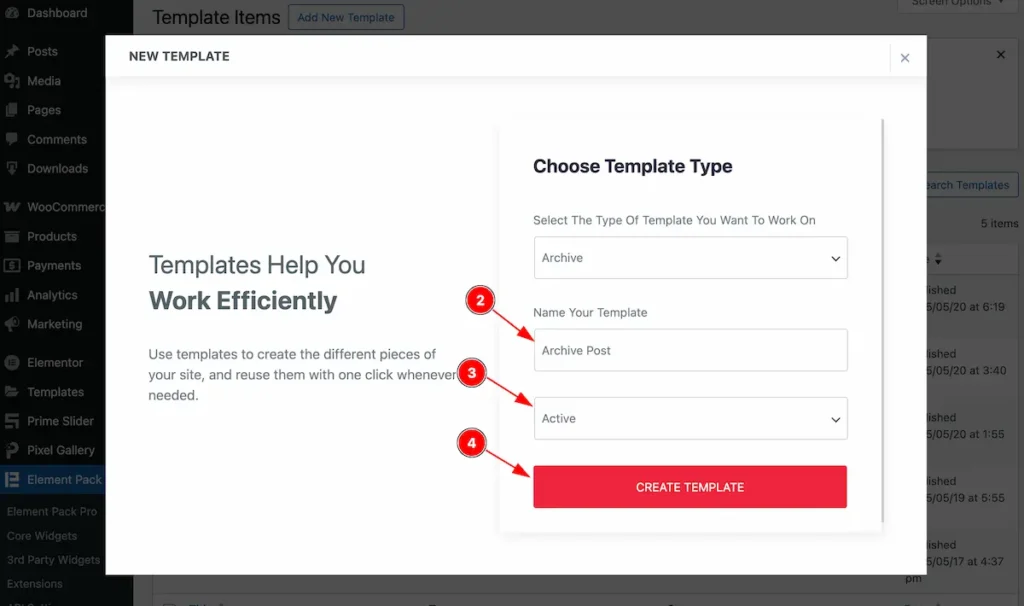
- Name your Template: Set the name for the Template e.g.: Archive Post.
- Status: Select the Status Active.
- Click on the ” CREATE TEMPLATE ” button and it will create a new template page and redirect to the Editor page.
Edit Archive Post Page
Set Heading for the page
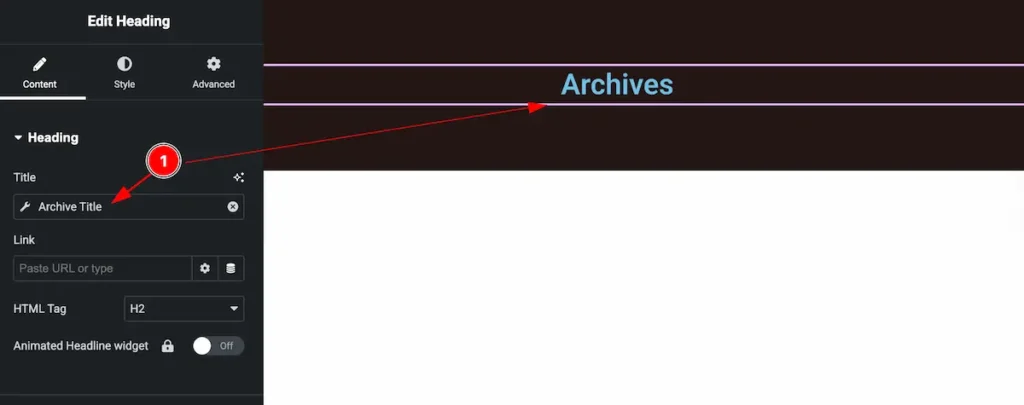
- Set the Archive Post for the Heading Section.
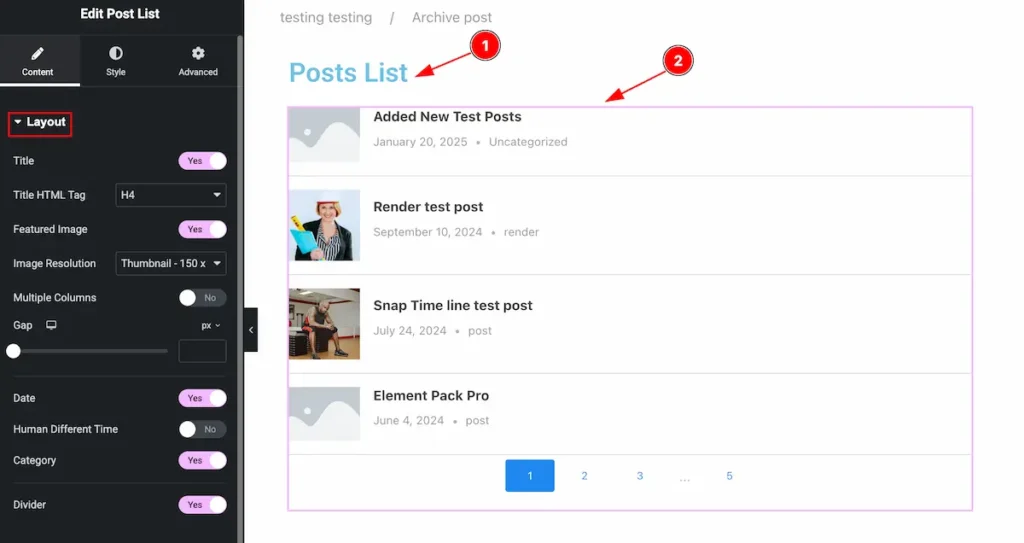
Design with Widgets
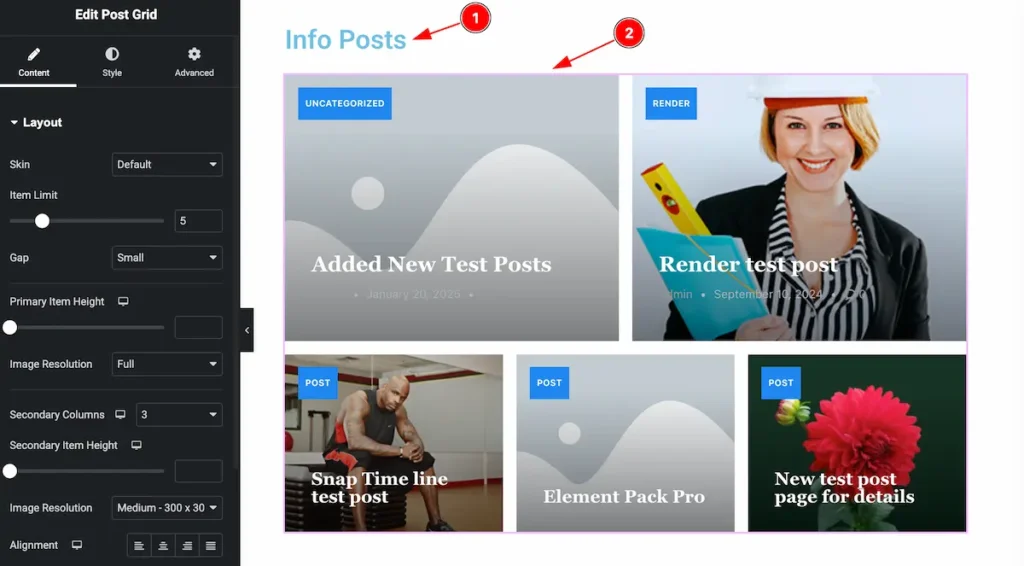
- Set the Heading for the post.
- Choose any widget want to demonstrate, e.g.: Post List and customize the full design.
- Another Section Header added.
- Set another Widget added on the page.
Set the Blog Post Page
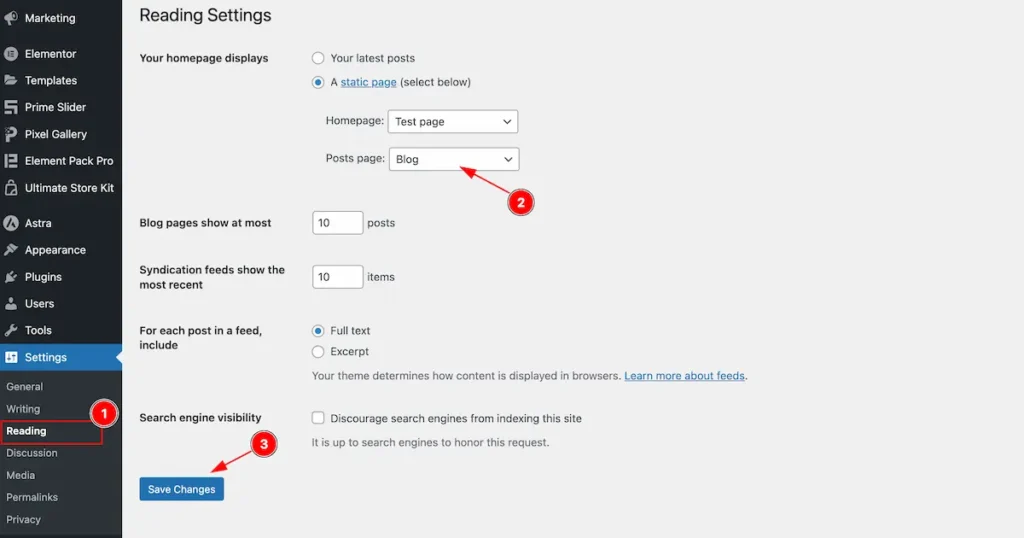
- Navigate to the Settings > Reading section, It will appear a Reading Settings.
- Posts page : Select the Blog for the Homepage Displays of the website.
- Hit enter on ” Save Changes ” button to save the changes.
View Blog Post Pages
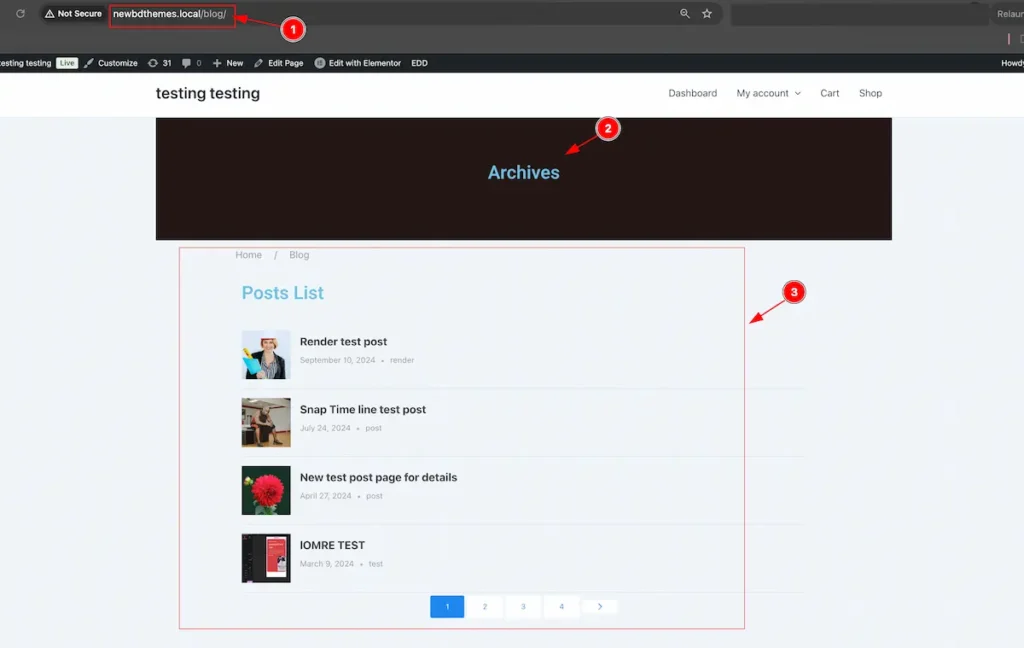
- Navigate to the Blog Page. Link e.g.: https://yourdomain/blog
- The Page name appear on the top section.
- All the design page appear on there. As design Breadcrumbs, Title, Post List Widget.
By following you can use the Post Archive Page Themes Builder easily.
Video Assist
Please check the video tutorial of Archive Page to learn more about the feature.
Thanks for stying with us.