

This documentation provides comprehensive insights into to Add Custom Fonts on Axvart Theme process step by step.
Add Custom Fonts
Show Fonts Typography
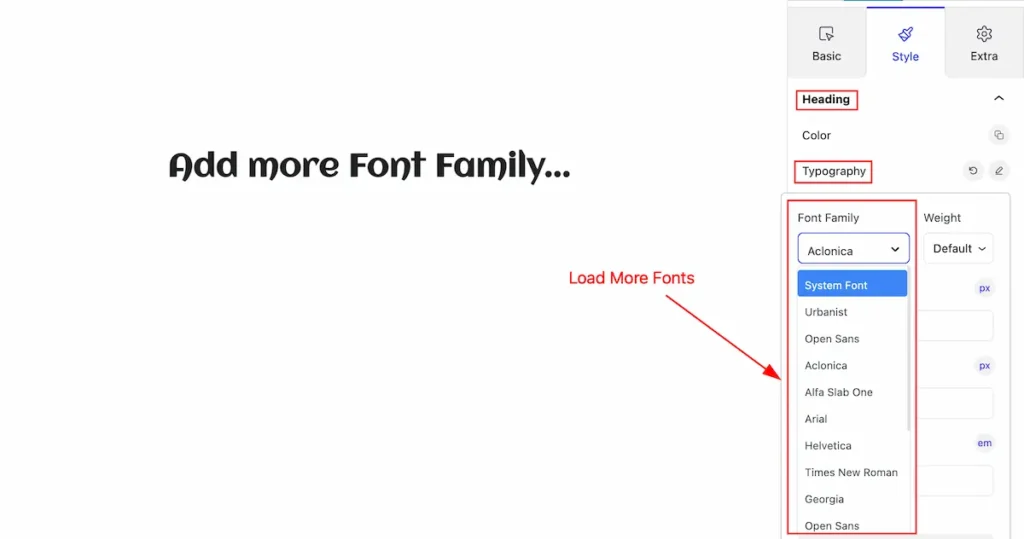
Wondering about the limitation of Font Family on Typography section. Don’t worry follow the instruction to add more fonts.
Navigate Axvart Theme
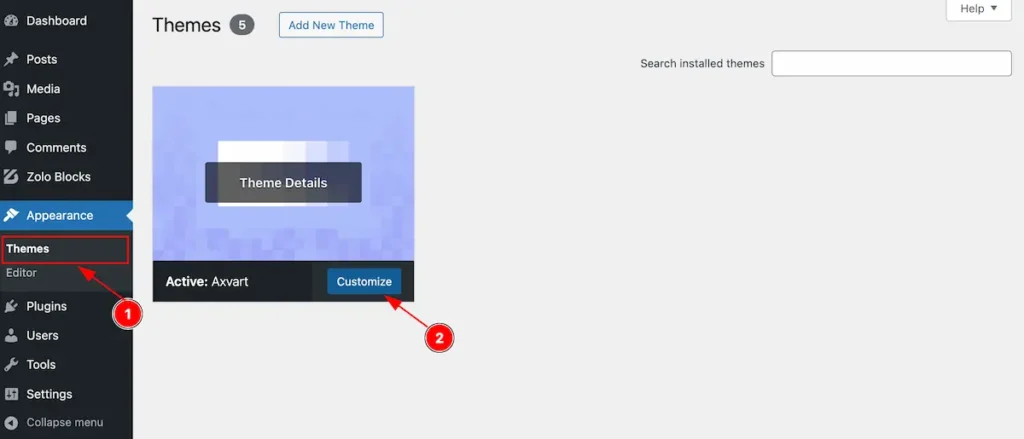
- Select the Themes on the Appearance tab.
- Click on the ” Customize ” button on the Axvart Themes.
Don’t have the Axvart theme, Follow this to Install Axvart Theme.
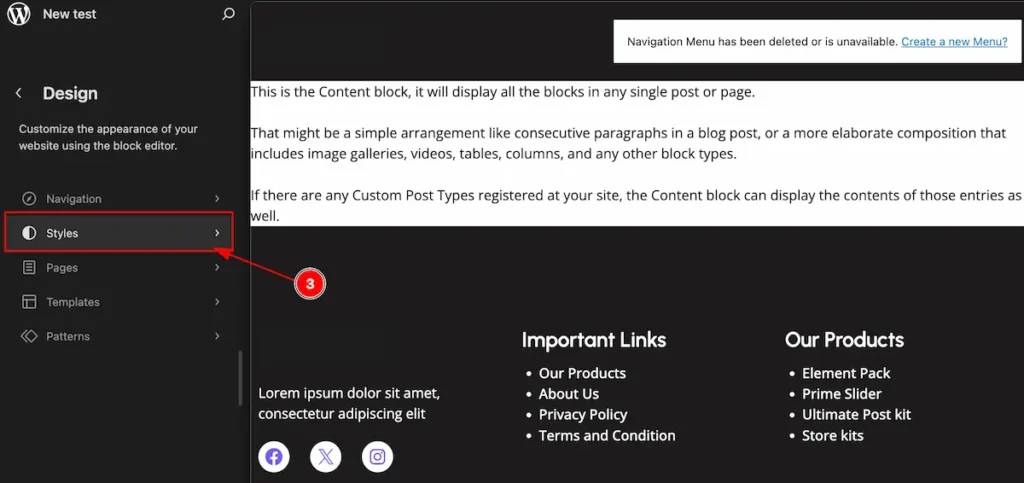
It appears all the controls for customization,
- Find the ” Style ” tabs and click on it.
- On the Styles section find the ” Edit ” Icon and click on it.
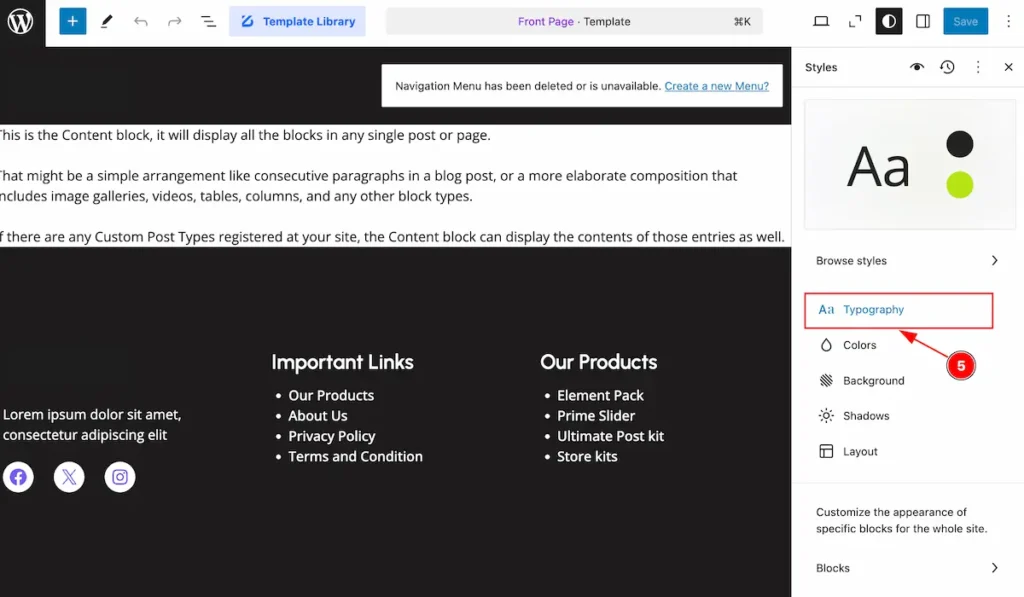
- On the right side there all the options available for the Fonts . Select the Typography and click on it.
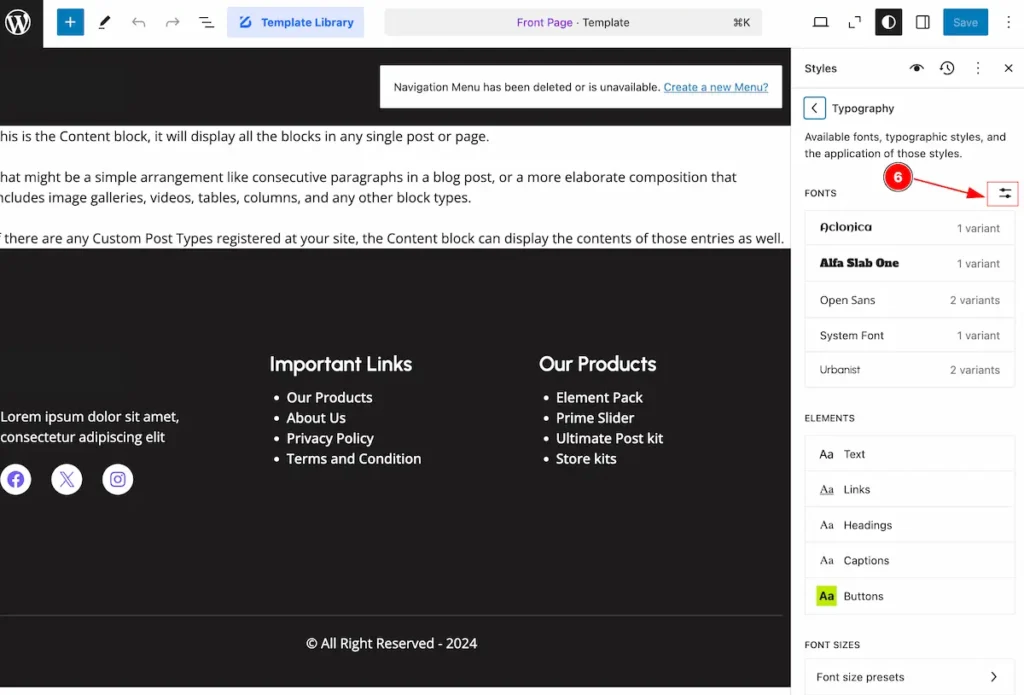
- There will appear all the fonts, Click on the ” Adjust ” icon and click on it. It will appear a popup window where you can upload, install fonts.
Install Fonts
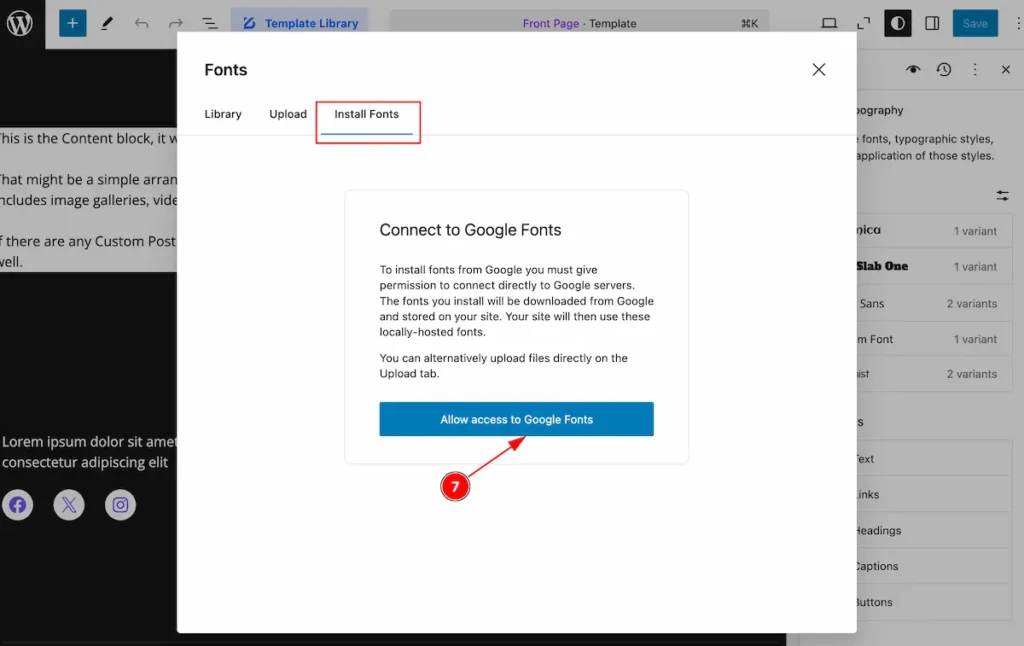
- A pop will appear, Now find the ” Install Fonts ” tab and navigate it. A message will appear and Click on the ” Allow access to Google Fonts ” button.

- All the google fonts are available on there Search by or navigate to find suitable fonts.
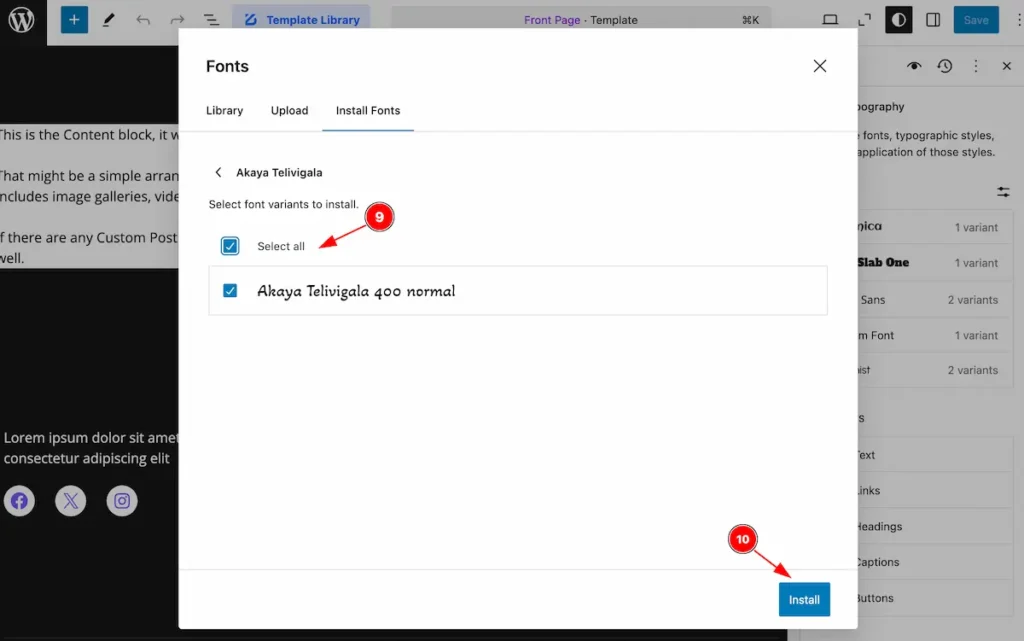
- Select all on the check box.
- Click on the ” Install ” button to install the new fonts.
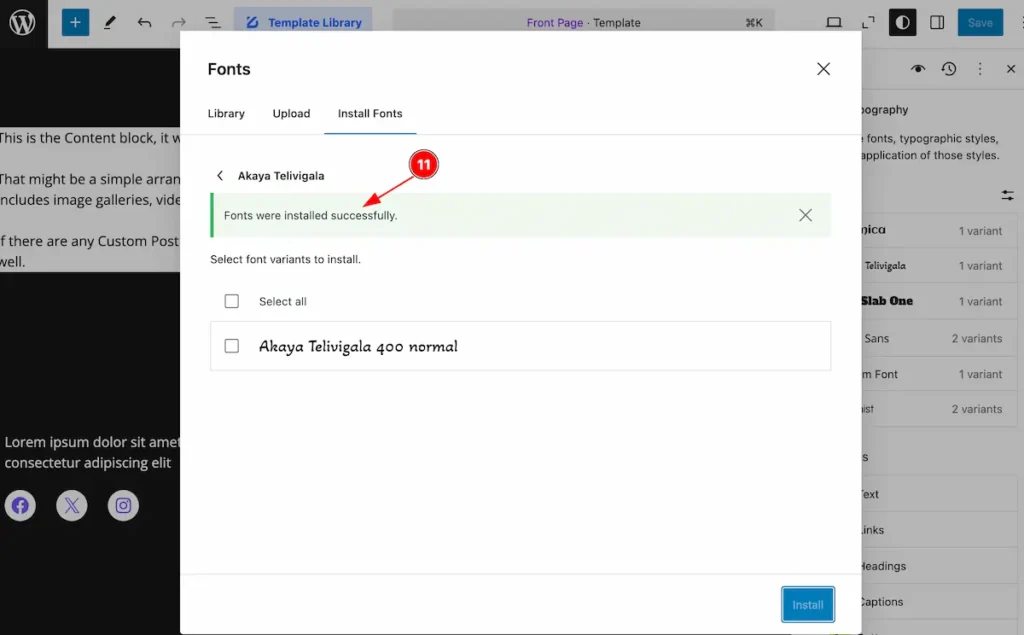
- After successfully added new fonts message will appear.
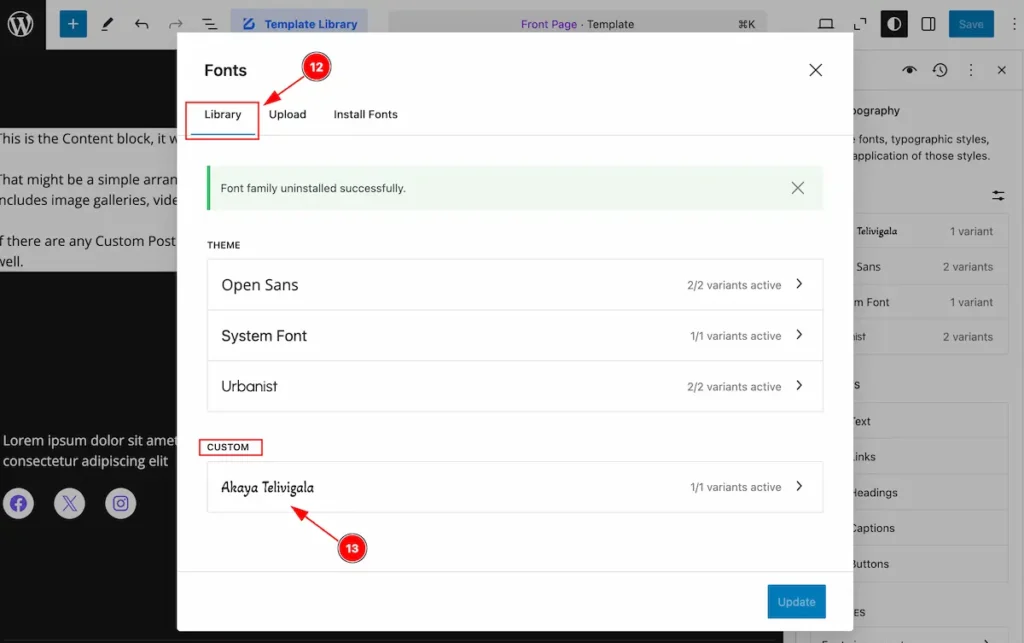
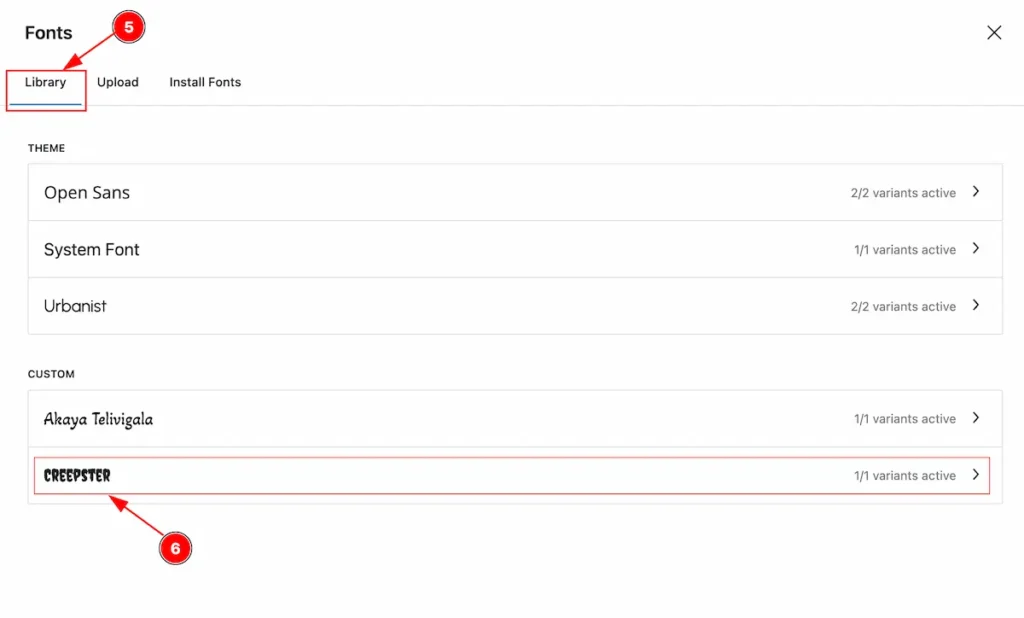
- Now navigate to ” Library ” tab and all fonts appear here.
- On Custom section, the new installed fonts appear.
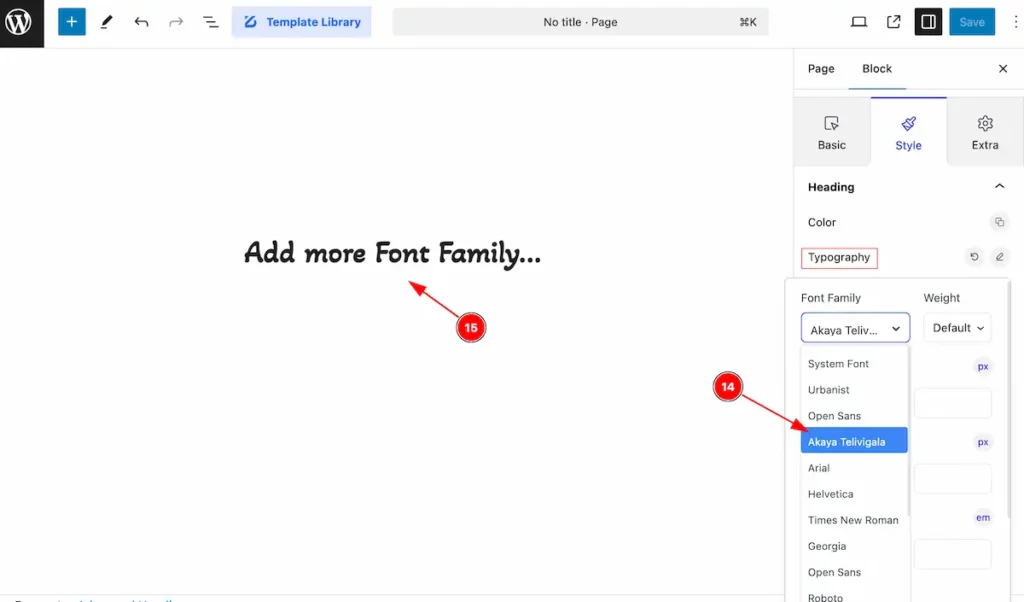
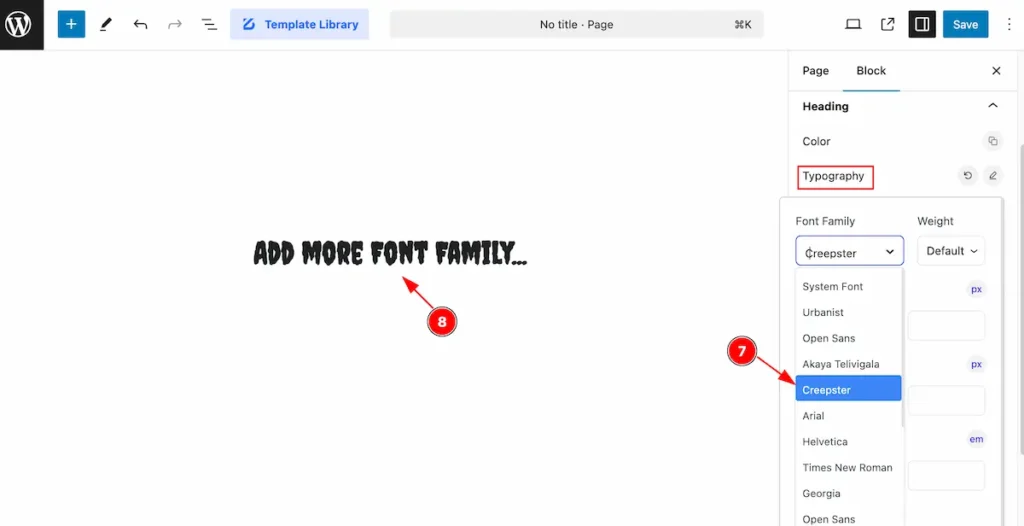
- New uploaded fonts appear on the Font Family selection. Select the font for the typography.
- The fonts appear on the typography section.
Upload Fonts
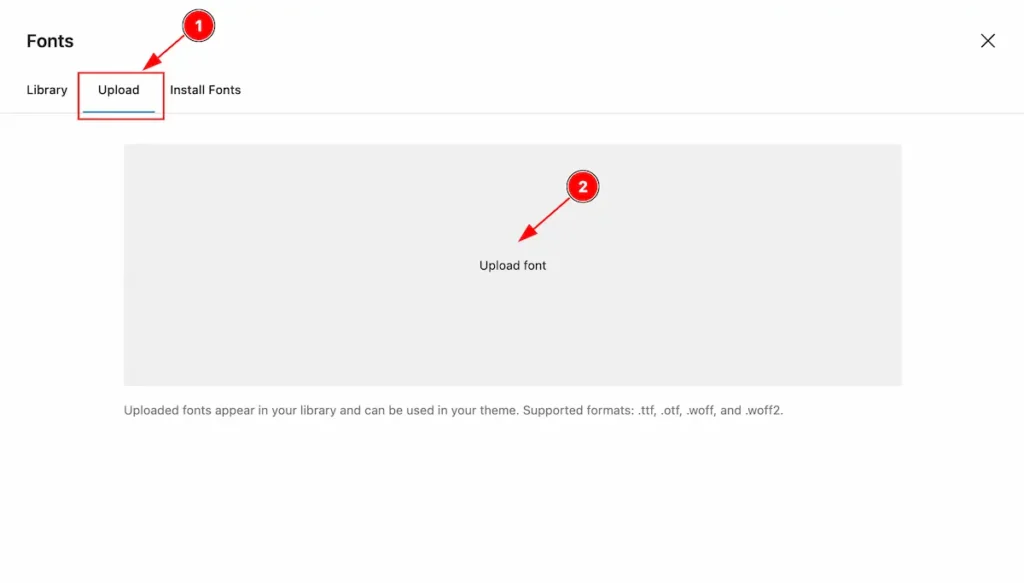
- Navigate to the ” Upload ” tabs to upload the fonts.
- Click on the ” Upload font ” button a pop up will appear to select the downloaded font from local storage.
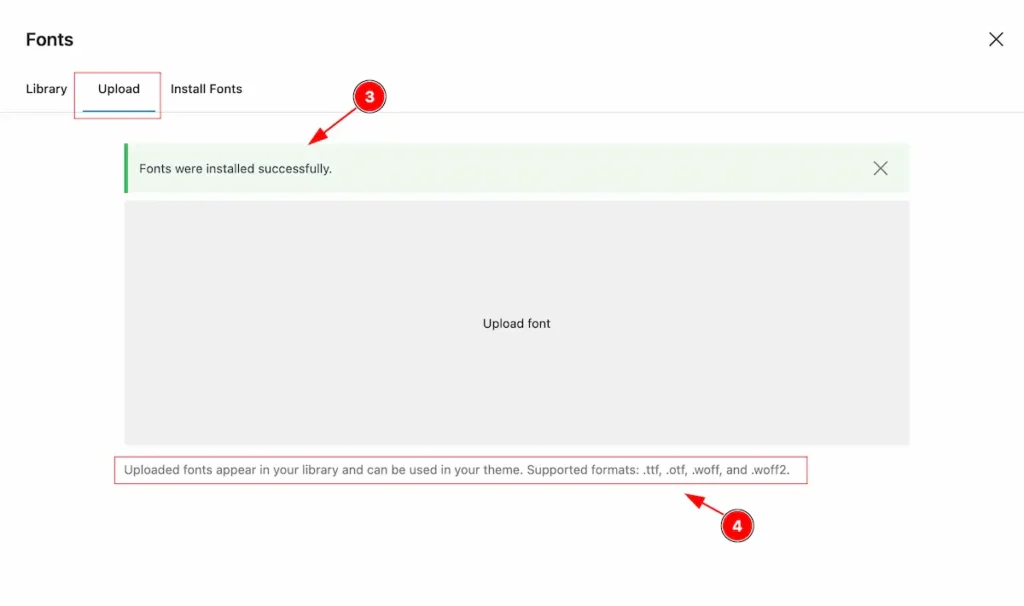
- After uploading the fonts the success message will appear.
- Follow the instruction, The Uploaded fonts appear in your library can be used in your theme, Supported formats .ttf, .otf, .woff, and .wolf2.
- Navigate to the ” Library ” tab to check the available fonts.
- Newly uploaded fonts appear on the custom section.
- Now find the uploaded fonts on the typography section and select it.
- The fonts will appear on here.
Remove Uploaded/Installed Fonts
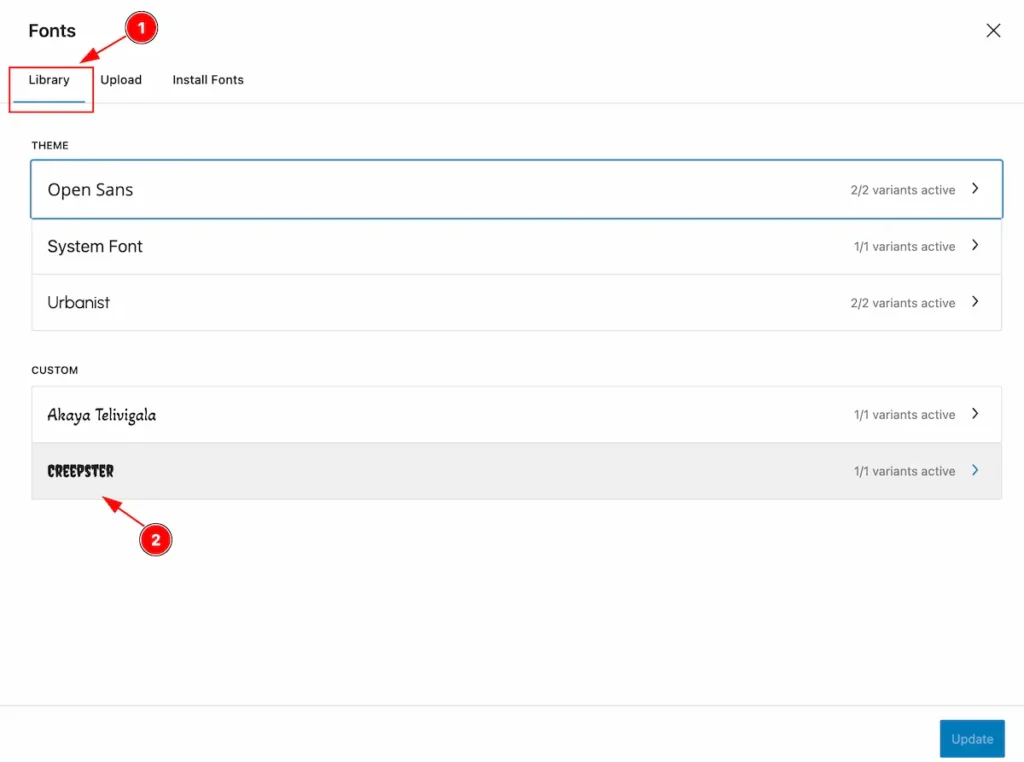
- Navigate to the ” Library ” tabs, All the fonts appear here.
- Check the Custom section for the uploaded/installed fonts and select one that you want to remove.

- The Selected fonts will appear and click on the checkbox to select the fonts.
- Find the ” Delete ” button on bottom left and click on it.
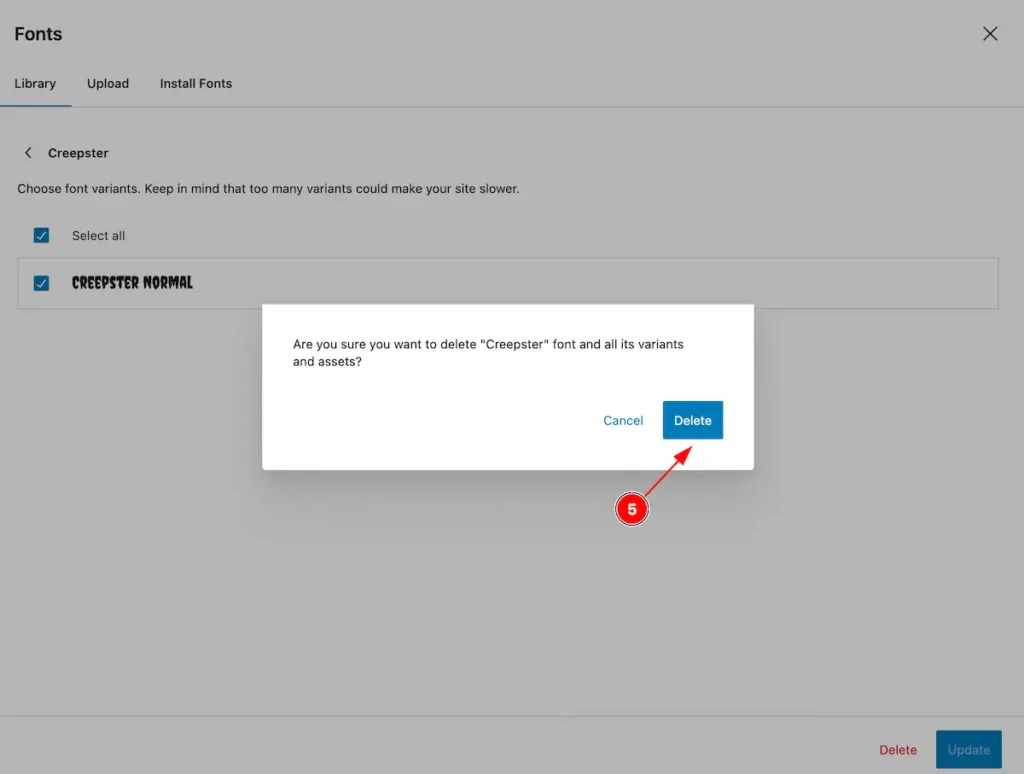
- Click on it and a popup will appear for confirmation, Click on the ” Delete ” button.
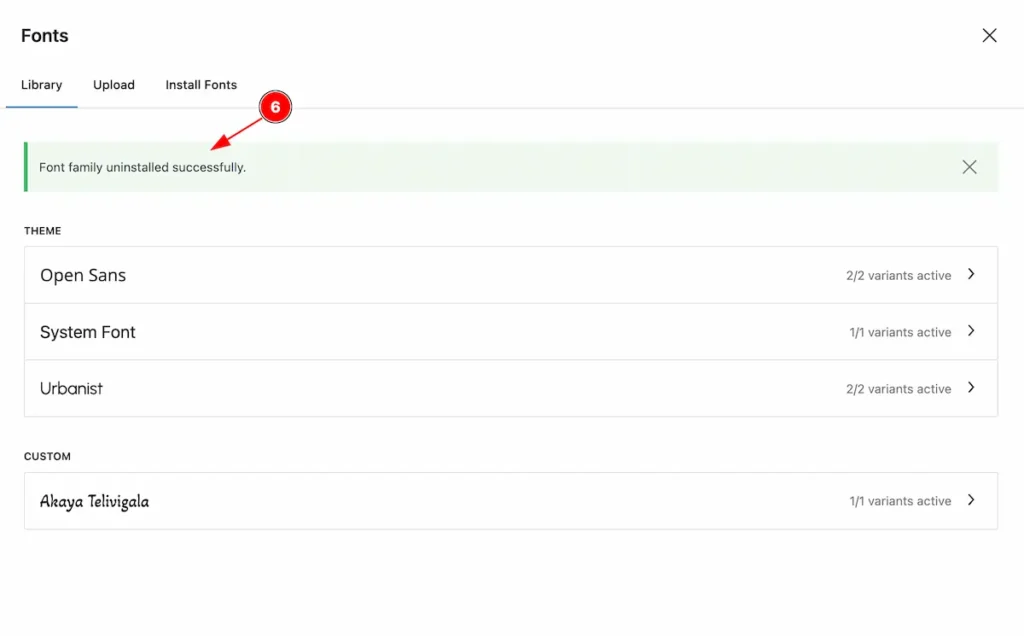
- After removing the fonts a success message will appear.
By following this you can Upload, Install and Remove fonts on your axvart themes for using alogn with zoloblocks blocks fonts.