In this documentation, we will show you how to customize the Post Featured Image widget presented by Ultimate Post Kit Pro.
Inserting The Post Featured Image Widget

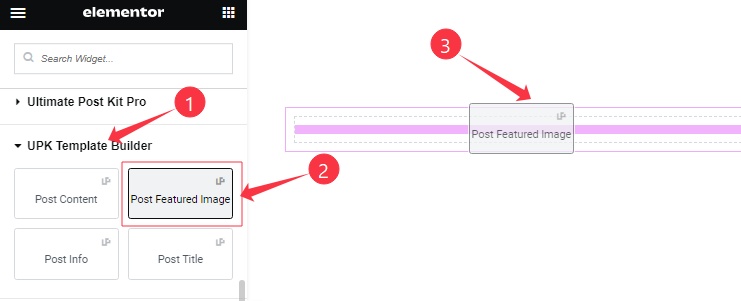
Open your (Single Post or Archive Post) page in the Elementor editor, then Go to UPK Template Builder > Post Featured Image, and then drag and drop it on the page.
Content Tab Customizations
Image Section
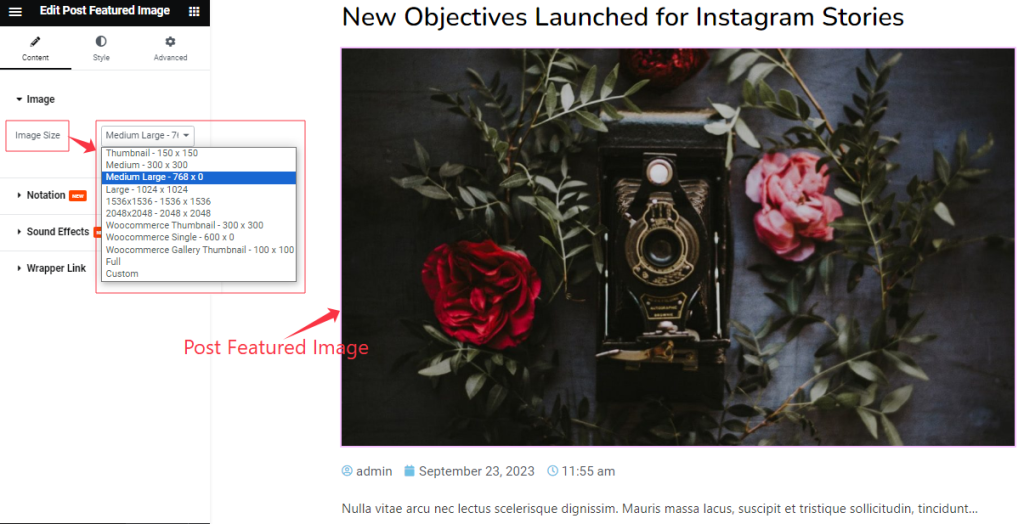
Go to Content > Image

Come to the Image section and find the Image Size option.
Work with The Style Tab
Style The Image Section
Go to Style > Image
Step-1

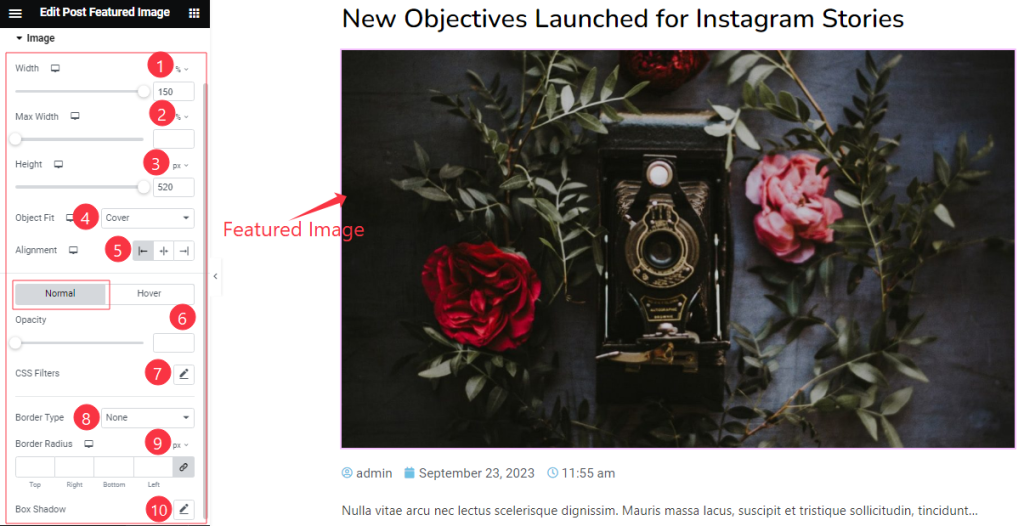
Come to the Image section, you will find two sub-sections; Normal and Hover.
In the Normal Mode, Find the Image Width, Max Width, Height, Object Fit (Default, Fill, Cover, and Contain), Alignment, Opacity, CSS Filters, Border Type, Border Width, Border Color, Border Radius, and Box Shadow options.
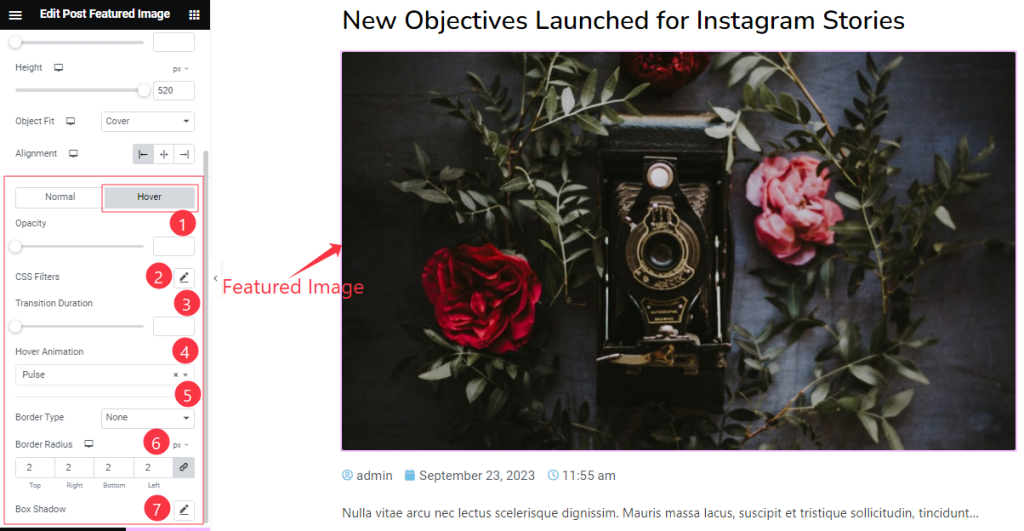
Step-2

In the Hover Mode, Find the Opacity, CSS Filters, Transition Duration, Hover Animation(1 to 27 Animation styles), Border Type, Border Width, Border Color, Border Radius, and Box Shadow options.
All done! You have successfully customized the Post Featured Image widget on your website.
The Video and Dome will be coming soon.
