In this documentation, we will discuss creating a Custom Accessibility Profiles, brought to you by the One Accessibility – the Website Accessibility addons by WordPress.
🌐 Custom Accessibility Profiles (by One Accessibility Website Accessibility)
The Custom Accessibility Profiles feature empowers website owners to create inclusive and personalized browsing experiences for all users. With this powerful tool, you can define accessibility settings tailored to different user needs, ensuring your site is compliant, user-friendly, and welcoming to everyone.
✨ Key Features
- Personalized Accessibility Profiles – Create multiple accessibility profiles, such as Vision Impairment, Dyslexia, ADHD, or Color Blindness for specific user needs.
- One-Click Activation – Visitors can easily switch between accessibility modes with a single click.
- Adjustable Design Elements – Modify font size, color contrast, spacing, and text alignment to enhance readability.
- Keyboard Navigation Support – Enables smooth browsing without a mouse, improving usability for all.
Create Custom Accessibility Profile
Navigate to Accessibility > Custom Profiles section
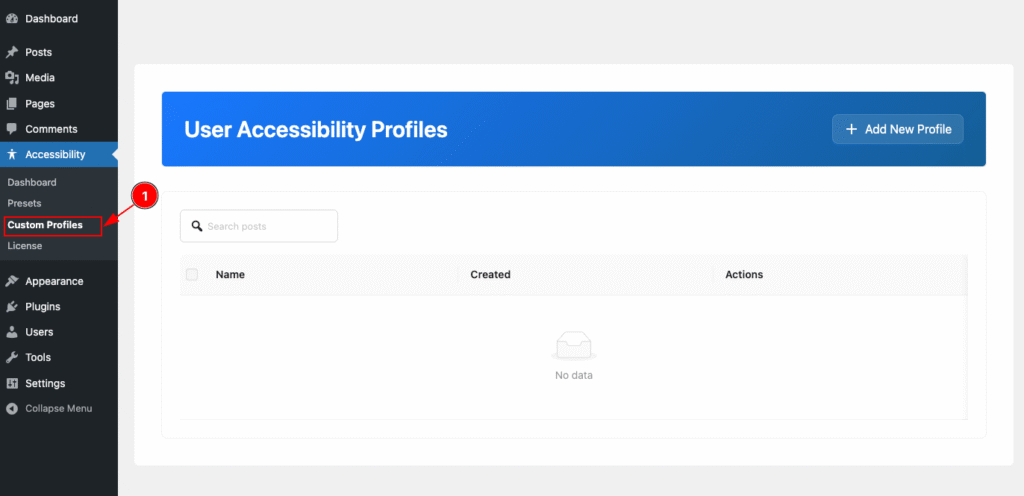
- Click on the “Custom Profiles ” section. Here will demonstrate all the profiles are created. Right now no custom profile available. Let’s create one.

- At the top-right corner, you’ll see a button labeled “+ Add New Profile.” Click on it to create a new profile. This action will open a new page where you can fully customize your accessibility profile.
Create New Profile
Set Profile Information
Set the information for the Profile.
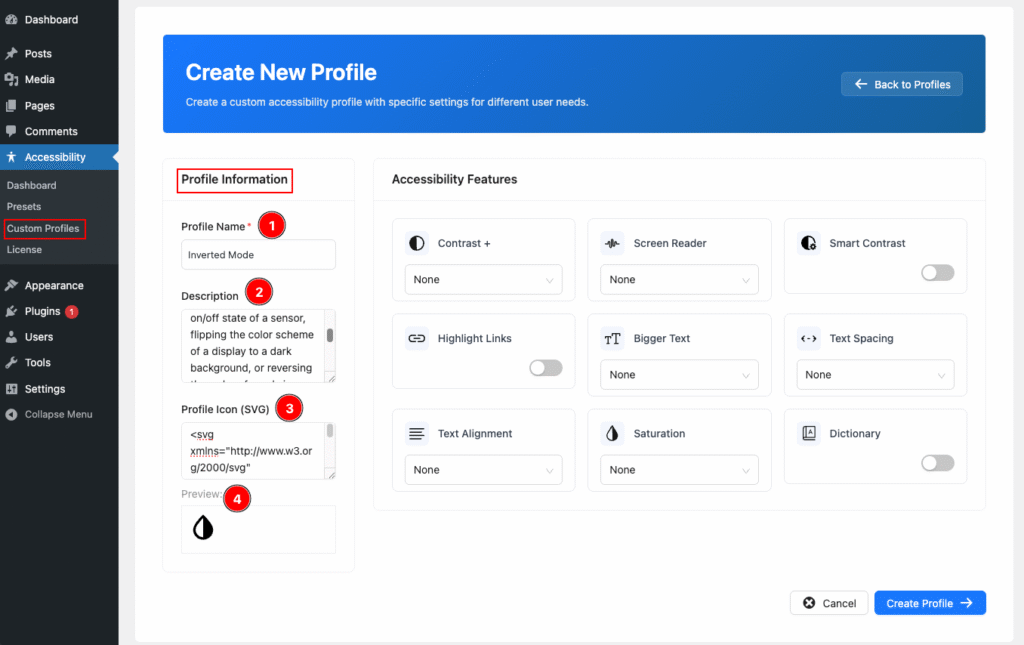
- Profile Name*: Enter a unique name for your new profile. For example: Inverted Mode.
- Description: Add a short description explaining the purpose of this profile so users can easily understand its functionality.
- Profile Icon (SVG): Paste the SVG HTML code for your desired icon. Only SVG format is supported for better scalability and performance.
- Preview: A live preview of your SVG icon will appear here, allowing you to see how it looks in real time.
Select Accessibility Features
Select the accessibility features you want to include in this custom profile. These options allow you to personalize the browsing experience for users with specific needs — such as visual adjustments, color contrasts, text resizing, cursor enhancements, and more — ensuring a more inclusive and user-friendly website experience.
Contrast
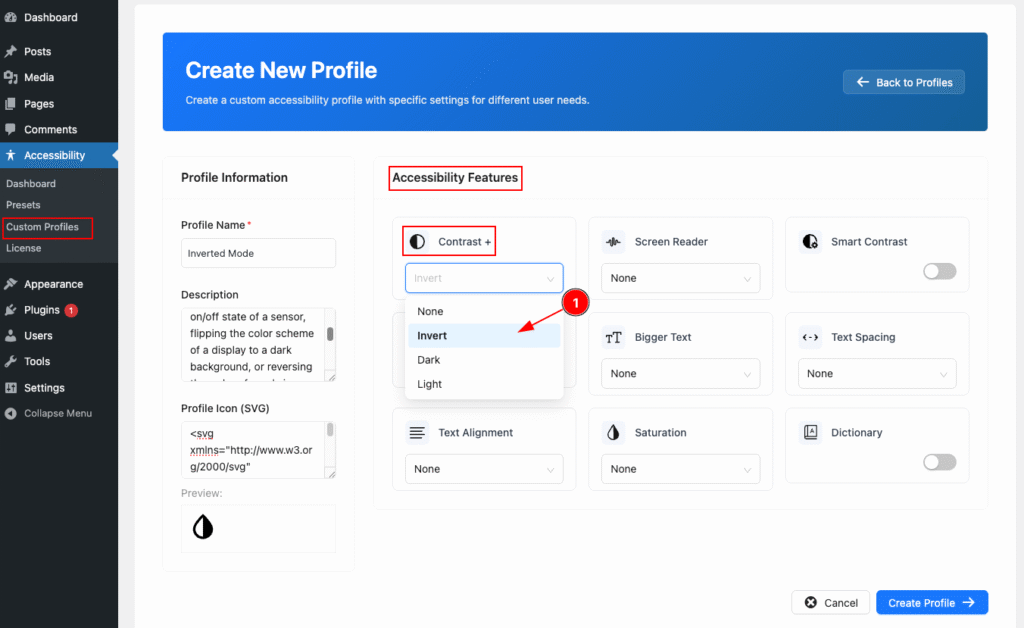
- Contrast: Choose the preferred contrast mode for the profile. Available options are None, Invert, Dark, and Light.
Here, the Invert mode is selected, which reverses colors on the page to enhance visibility and readability for users with visual sensitivity.
Highlight Link
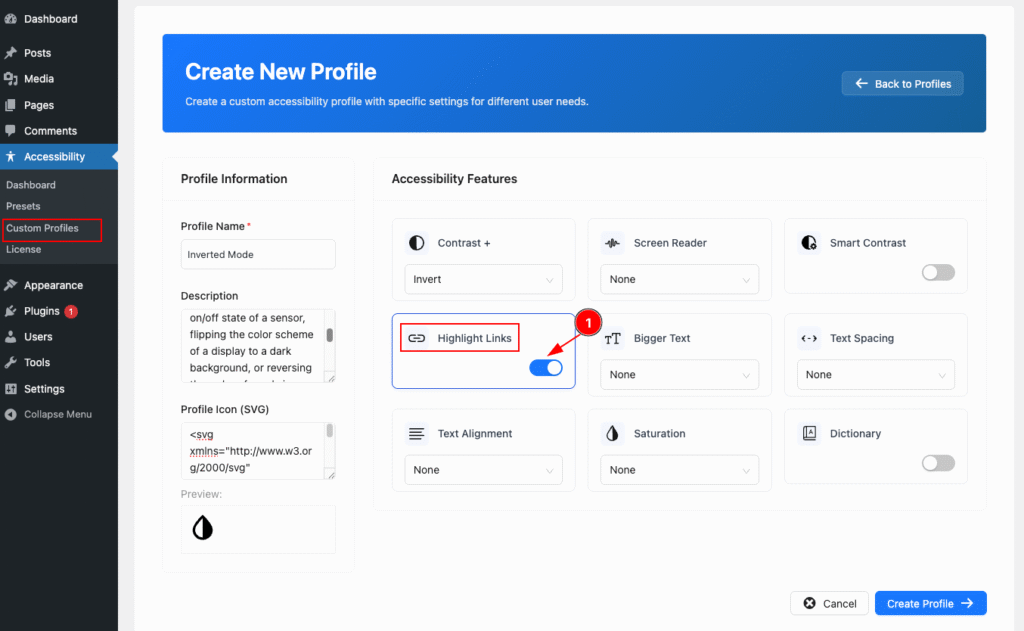
- Highlight Link: Toggle the switch to enable this feature. Once activated, all links on the page will be highlighted, making them more visible and easier to identify for users navigating through the content.
Cursor
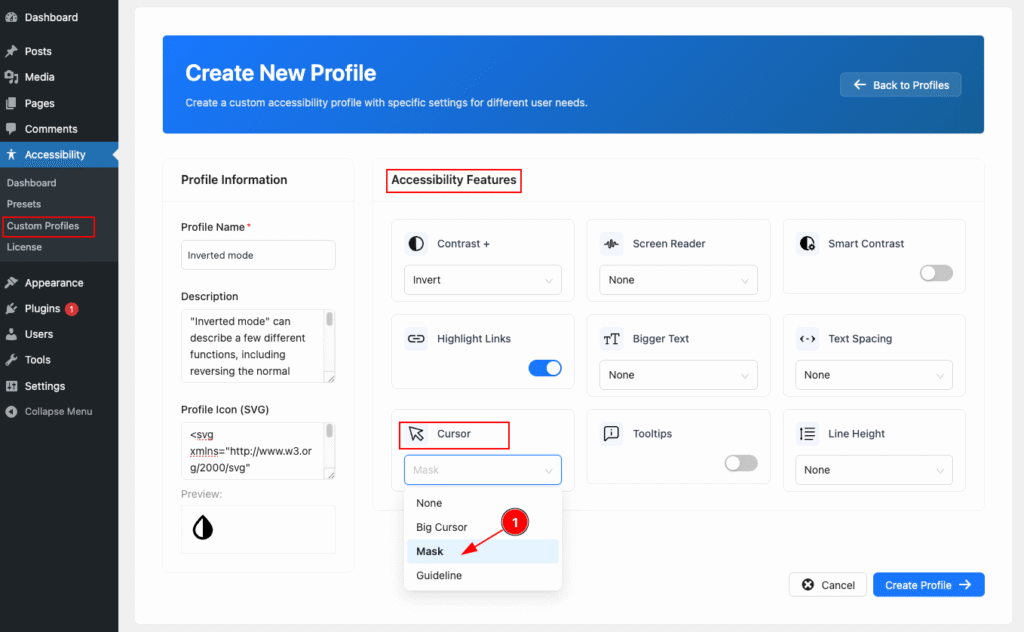
- Cursor: Choose the cursor style for better visibility while navigating links or content. Available options include None, Big Cursor, Mask, and Guideline.
Here, the “Mask” option is selected, which helps users easily track the pointer’s movement on the screen.
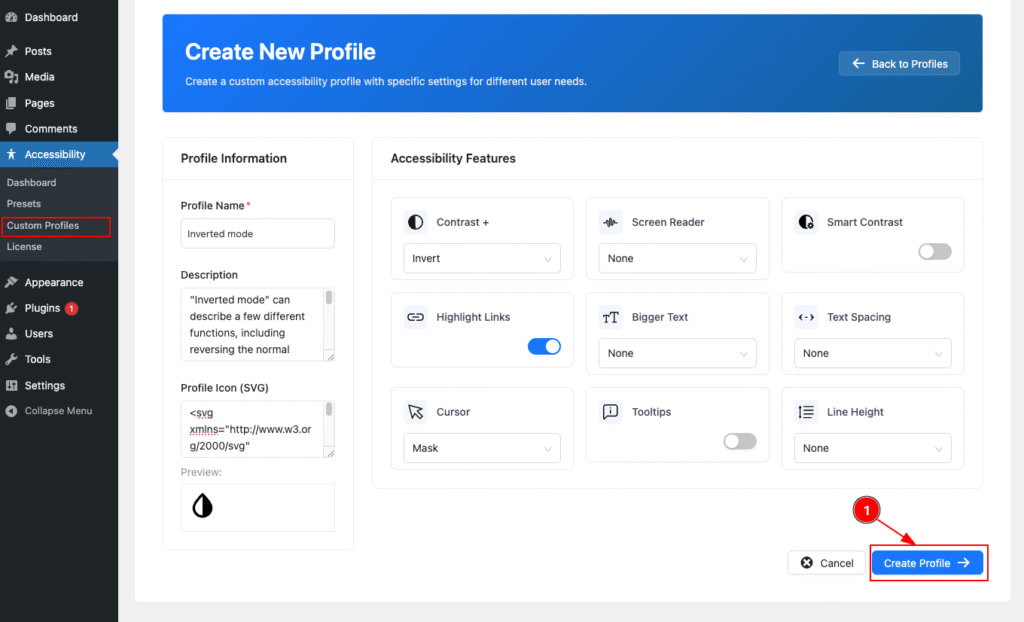
- After configuring the profile details and selecting your desired accessibility features, click on the “Create Profile” button.
Once created, you’ll be automatically redirected to the Custom Profiles section, where your newly added profile will appear in the list.
Check New Created Profiles
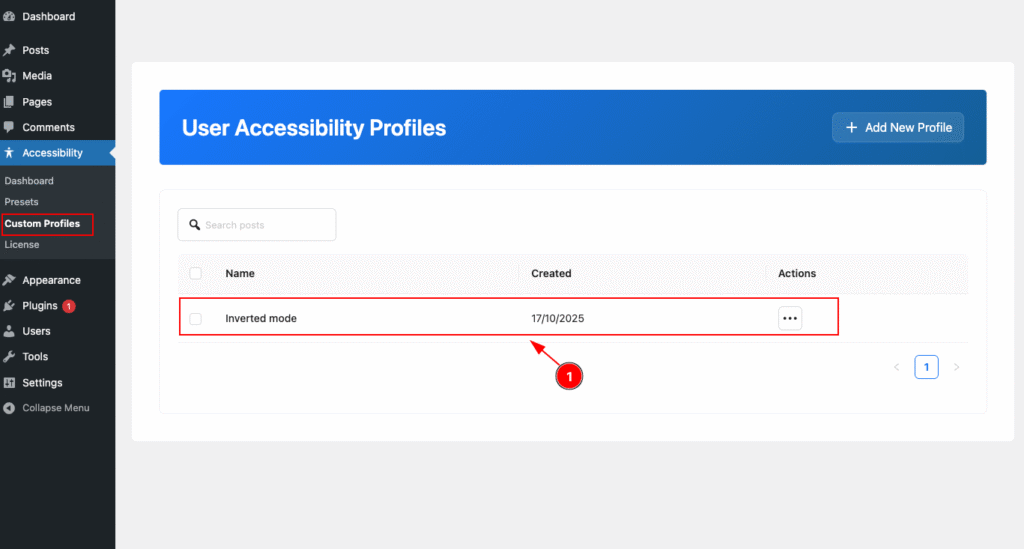
- Here demonstrate the Table view of the Newly created profiles.
| Name | Created | Actions |
| Inverted Mode | Created Date appear .17/10/25 | Buttons are Edit, Trash |
Save the Custom Profile on Presets
Next, we need to save the newly created custom profile to the Preset section.
This will make the profile easily accessible and ready to apply across your website whenever needed.
Presets
Go to Accessibility > Presets
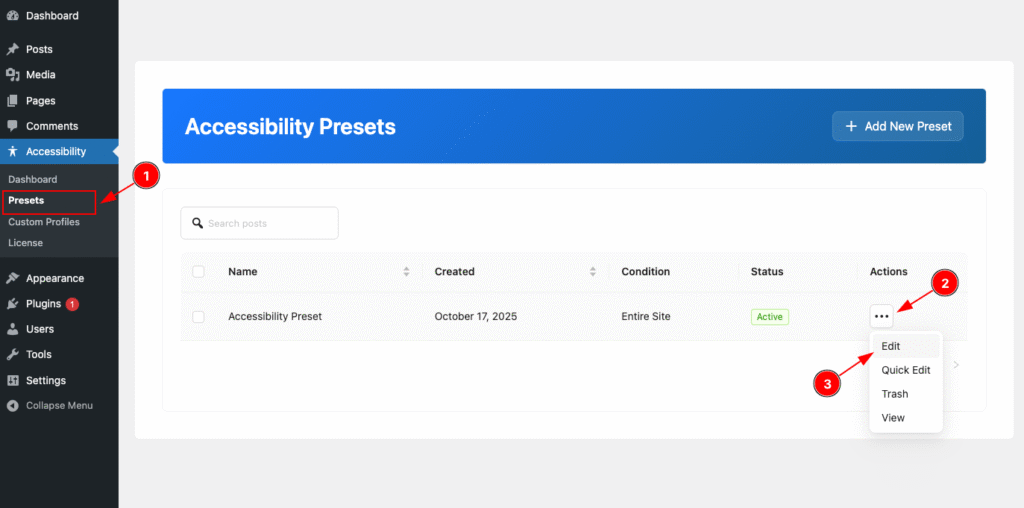
- Navigate to the Presets section, where all previously created presets are listed. For guidance on creating presets, please refer to the earlier documentation.
- Click on the “…” button located on the right side under the Action column. A dropdown menu with custom options will appear.
- Now, select the Edit button. This will navigate you to the Edit Preset page.
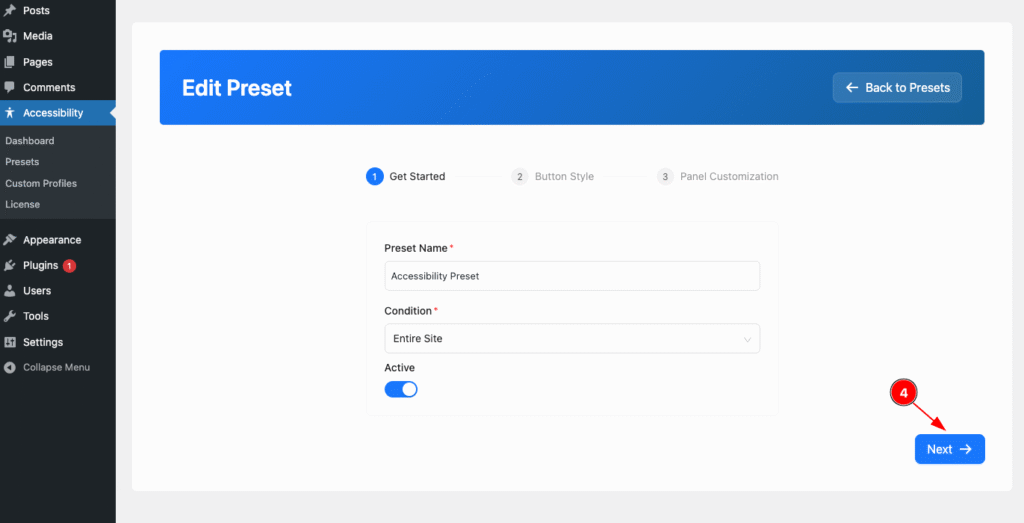
- You will now be on the Edit Preset section. You can leave it as it is or customize it according to your preference. Once done, click the Next button to proceed.
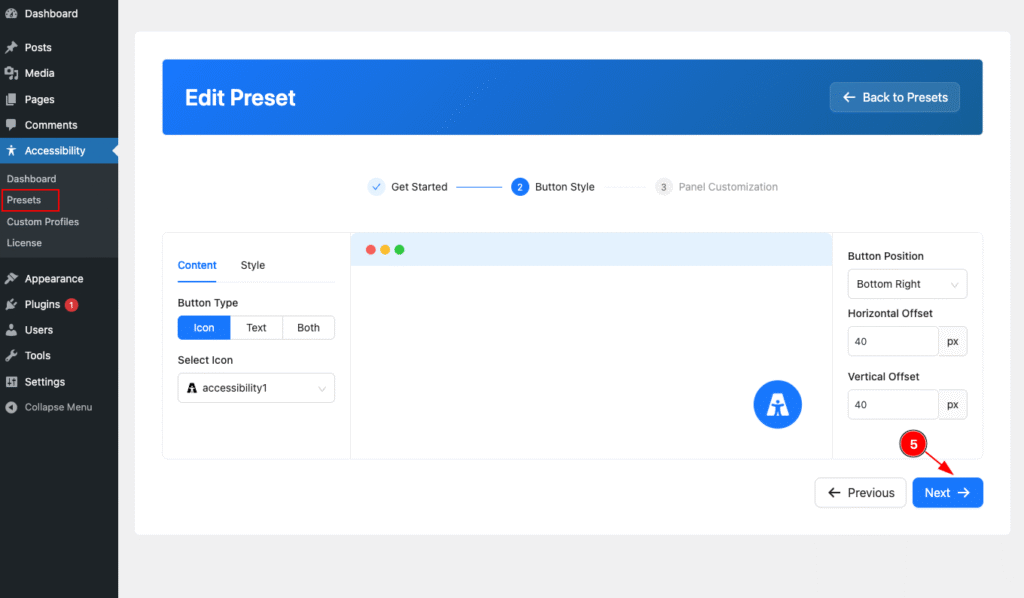
- The Button Style section will appear, allowing you to customize the button’s appearance. For now, we’ll leave it as default. Click the Next button to continue.
Edit Profile on Panel Customization section
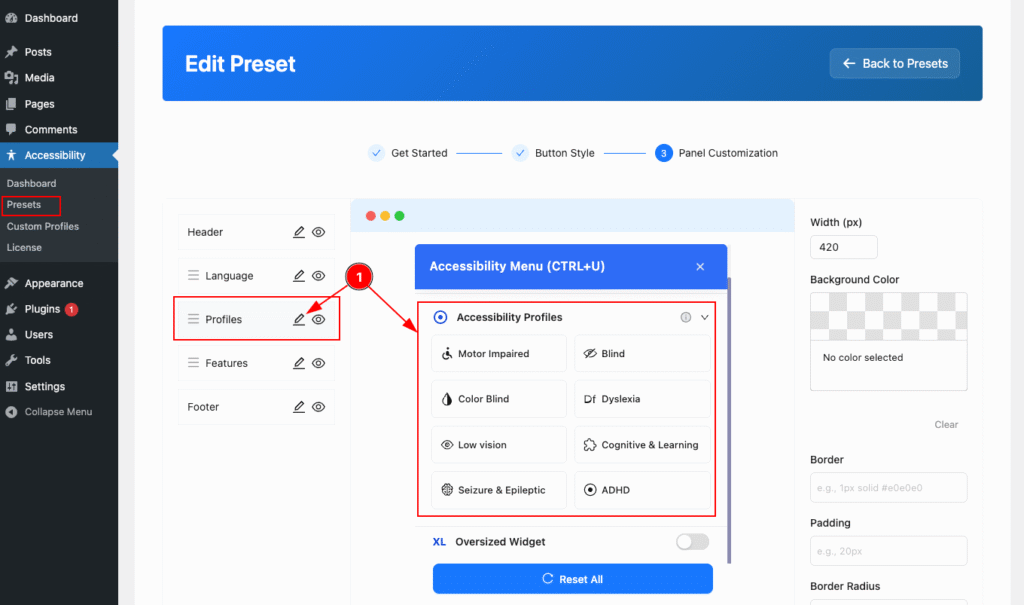
- You will see the previously created Accessibility Profiles listed here. On the right side, locate the Profiles button and click the Edit icon to modify the profile.
Select New Custom Profile

- Now, select the new profile you have created. Once selected, click the Tick Mark; it will appear in the Profiles and Accessibility list on the right side.
- After selecting, click the Update Preset button to save the changes.
Check the Custom Profile on the View Page

- On the preview page, the Accessibility icon appears at the bottom right corner of the webpage. Click on it, and the accessibility options will open.
- You can now see your website content—such as images, text, and other elements—while the accessibility features are applied.
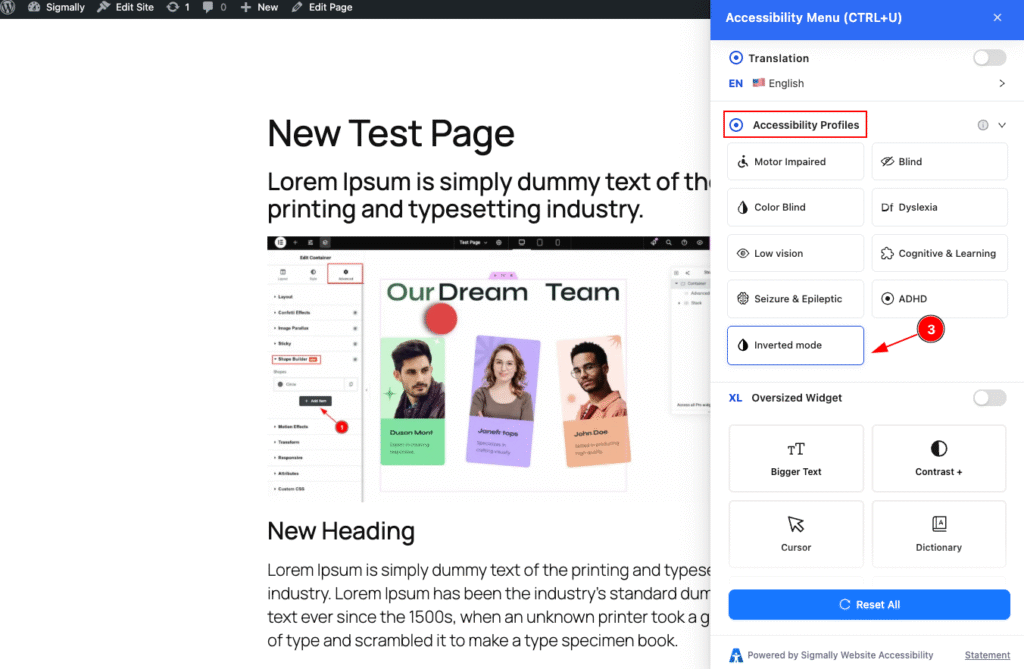
- Now, in the Accessibility Profiles section, locate the newly created custom profile. It will appear with its icon and the name “Inverted Mode”. Click on it to apply the profile and observe the changes on your website.
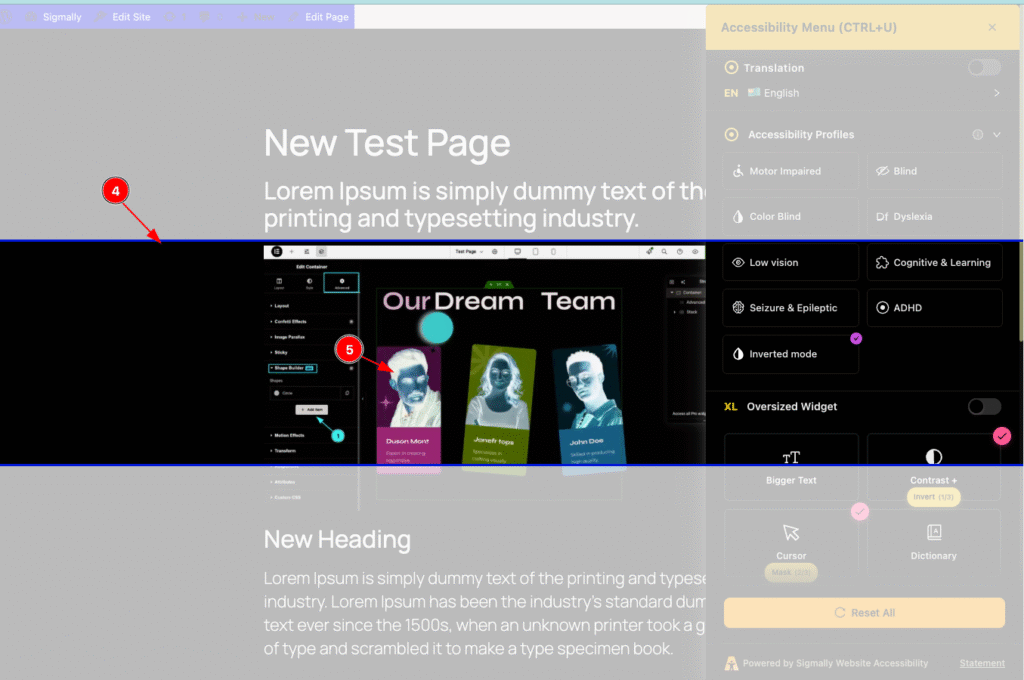
- You will see the changes applied on the webpage. The entire page is now inverted according to the custom profile settings. The cursor mask is visible, and the links are highlighted as configured.
By following these steps, you can easily create a new custom profile and apply it to your webpage. It’s a simple and straightforward process.
Video Assistant
Please watch the video tutorial to learn about the Custom Profile feature. The video will help you to use the Custom Profile of the One Accessibility plugin.
Thanks for your support.