In this documentation, we will demonstrate how you can customize the Image Stack widget brought to you by Element Pack Pro.
Inserting The Image Stack Widget

Open your page in Elementor editor, search by Image Stack widget name, and drag-drop it on the page.
Please note that you need both Elementor and Element Pack Pro installed before you can use this widget.
Work With The Content Tab
Image Stack Section Customizations
Go to Content > Image Stack
Step-1
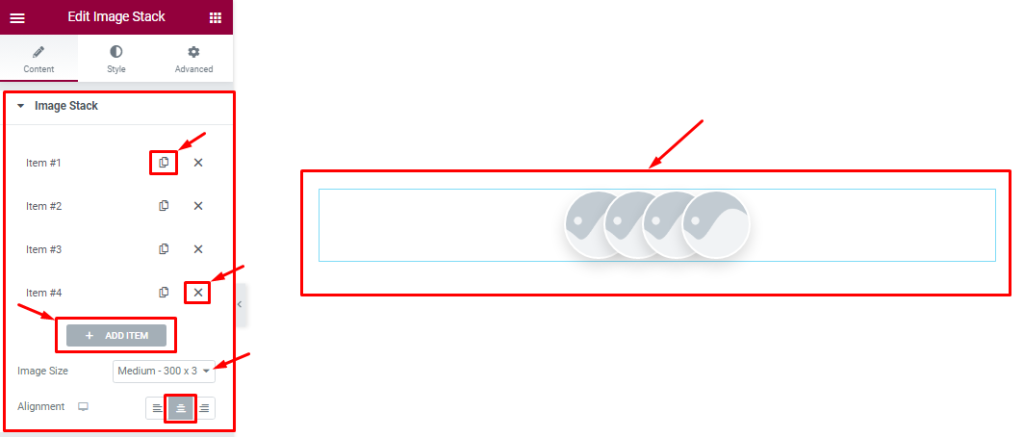
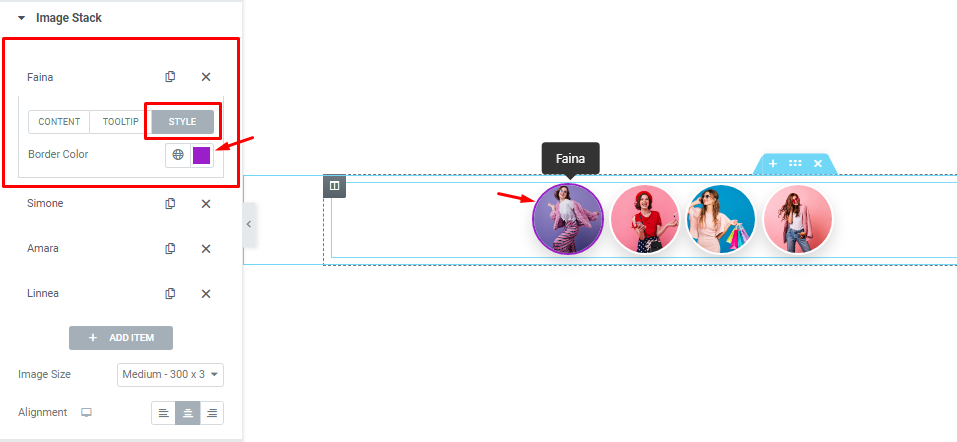
Find the Add Item, Image Size, and Alignment options. Increase your Item by clicking the Duplicate Sign and you can also decrease/remove your item by clicking the Cross sign.
Step-2
Inside each item box, you will see three tabs (Content, Tooltip, and Style).
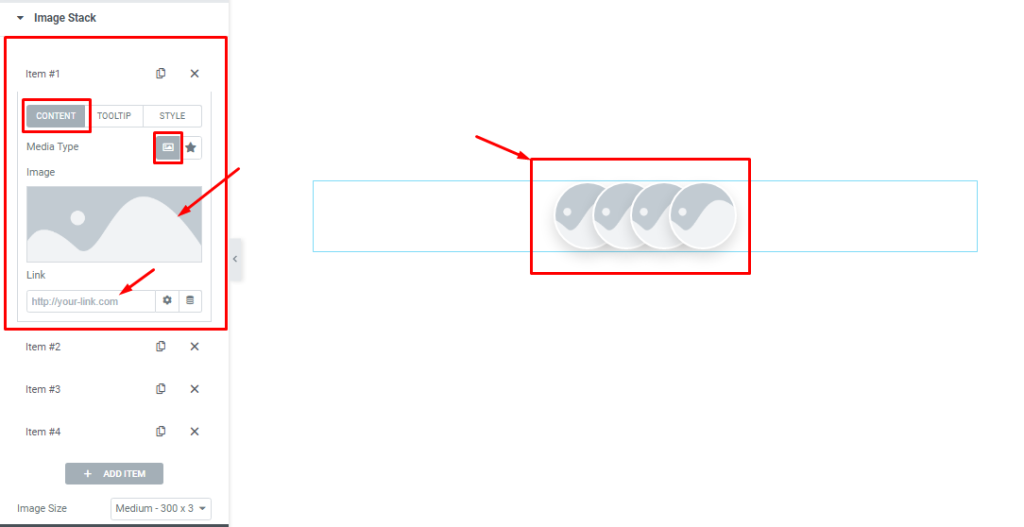
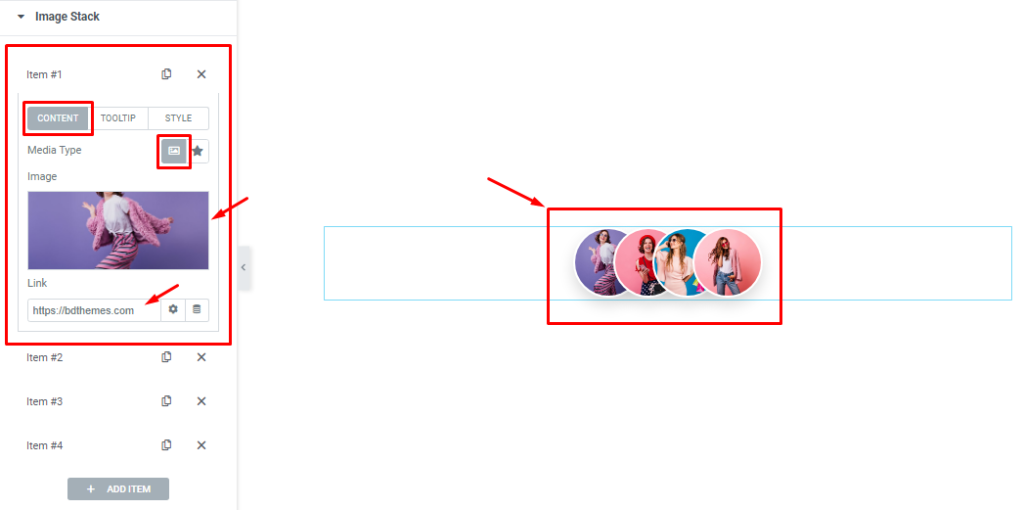
For Content, find the Media Type (Image & Icon), Image/Icon field, and Link field options.
Step-3
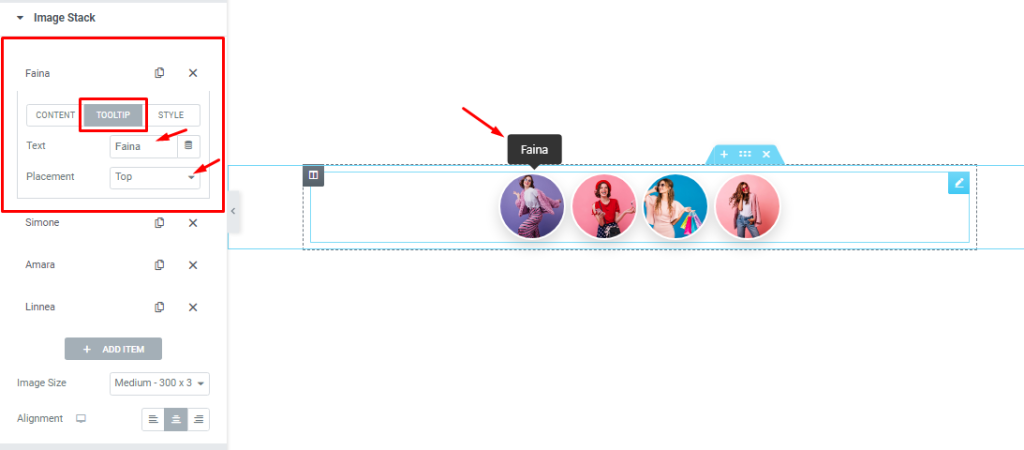
For Tooltip, find the Text field and Placement options.
Step-4
For Style, find the Border Color option.
Work With The Style Tab
Items Section Customizations
Go to Style > Items
Step-1
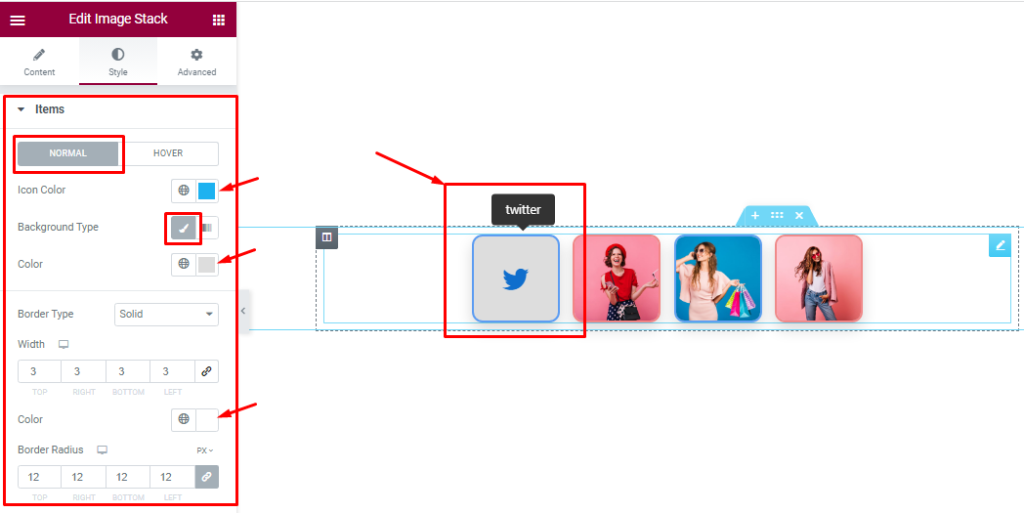
In this section, you will see two tabs (Normal and Hover).
In Normal mode, find the Icon Color, Background Type (Classic and Gradient), Background Color, Border type, Border Width, Color, and Border Radius options.
Step-2
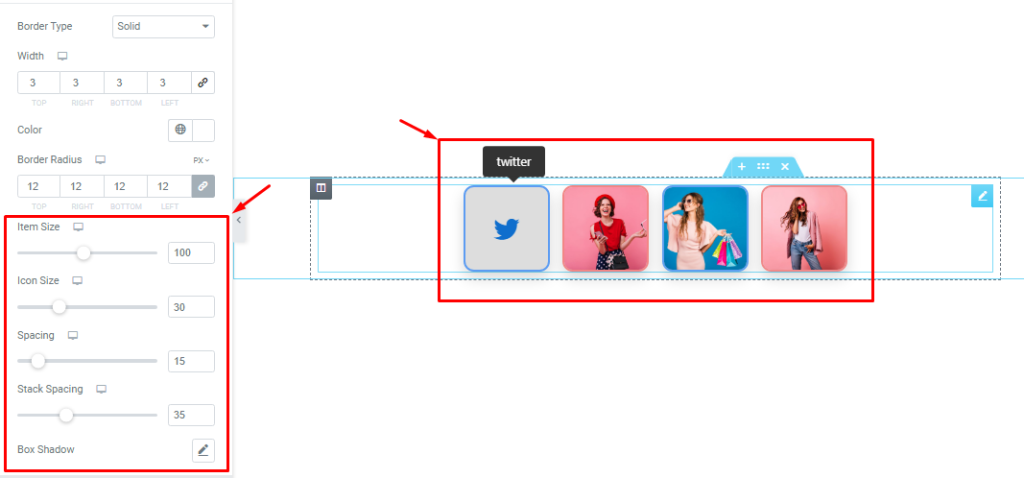
Also find the Item Size, Icon Size, Spacing, Stack Spacing, and Box Shadow options.
Step-3
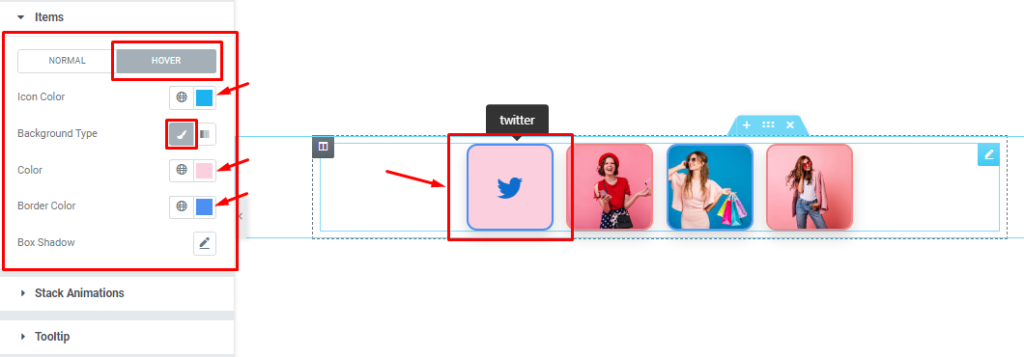
In Hover Mode, find the Icon Color, Background Type (Classic and Gradient), Color, Border Color, and Box Shadow options.
Customizations of Stack Animations
Go to Style > Stack Animations
In this section, you will see two tabs (Item Hover and Stack Hover).
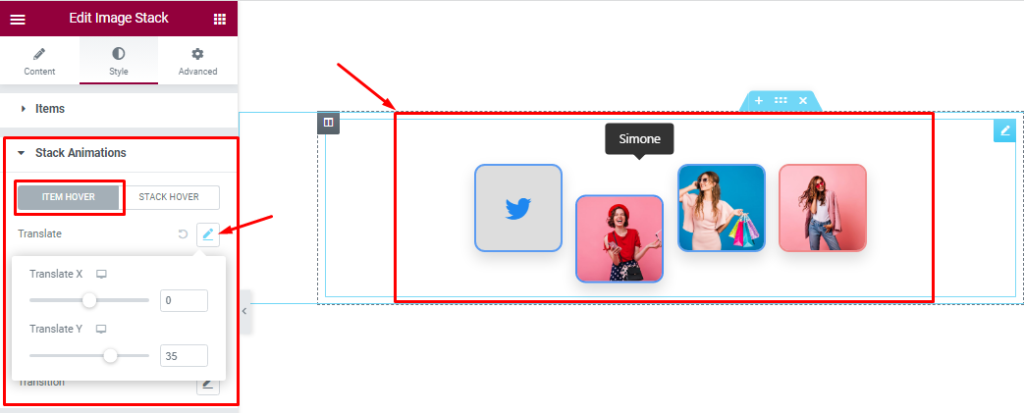
In Item Hover mode, find the Translate (Translate X and Translate Y) option.
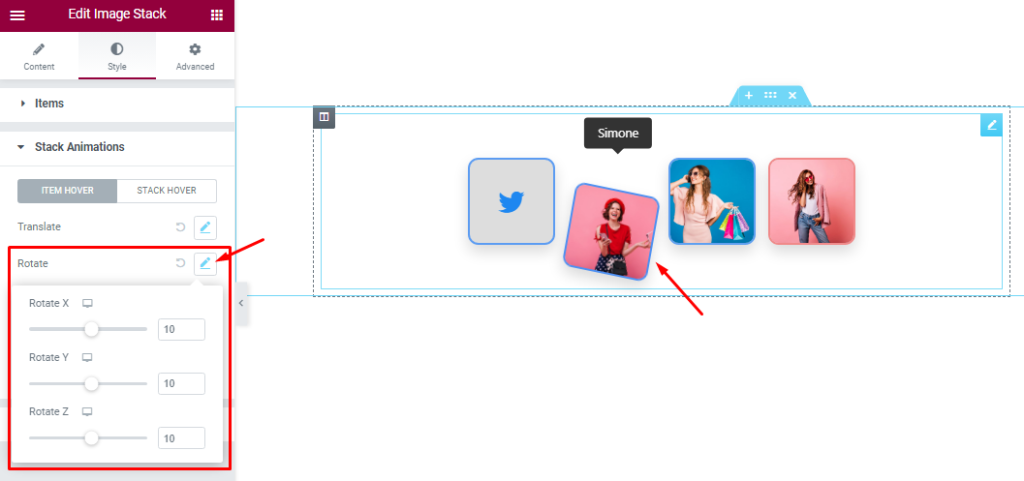
Then find Rotate (Rotate X, Rotate Y, and Rotate Z) option.
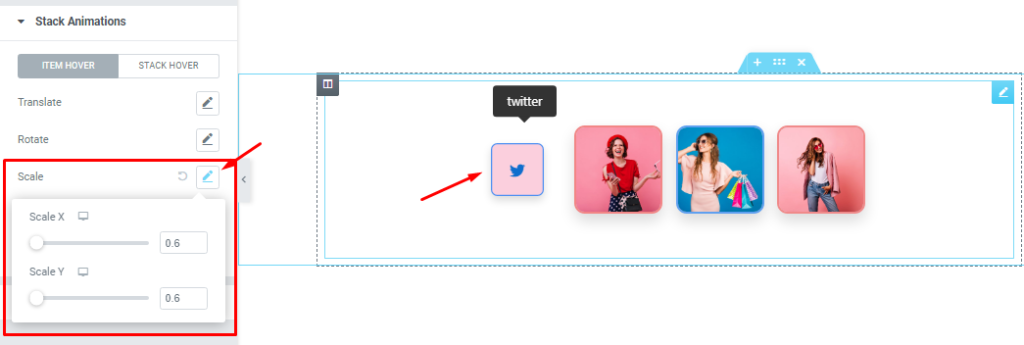
Also find the Scale (Scale X and Scale Y) option.
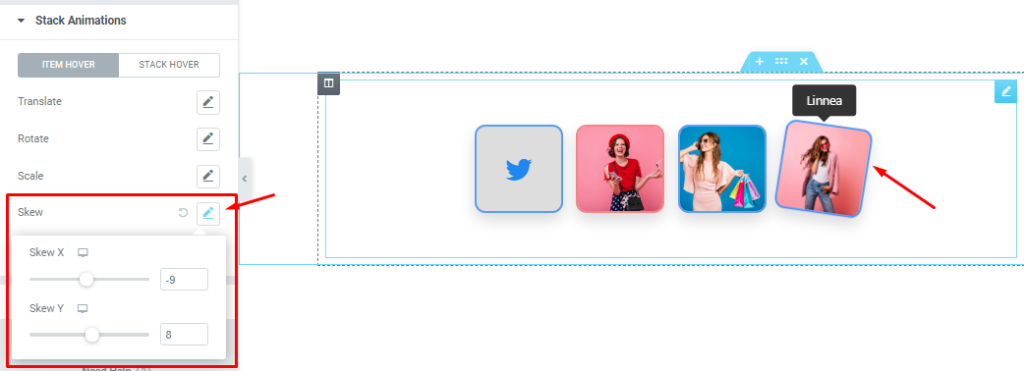
Also find the Skew (Skew X and Skew Y) option.
And find the Transition (Duration, Delay, and Easing) option.
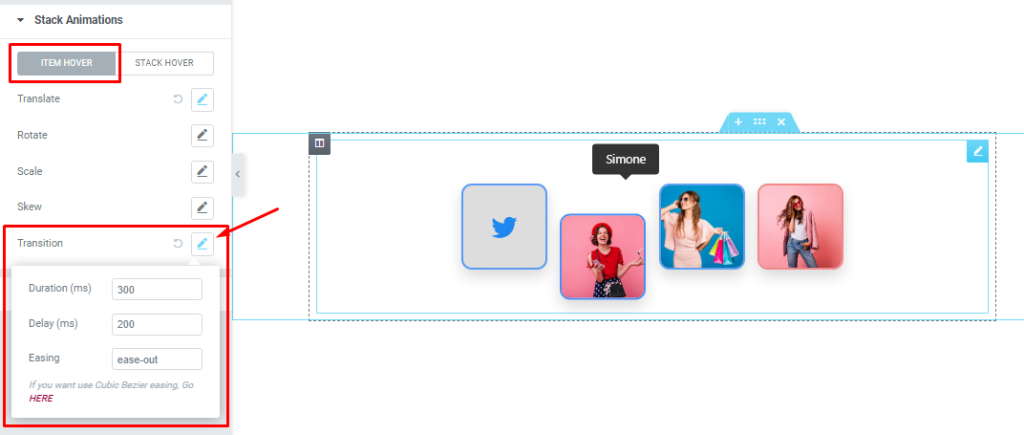
In the Stack Hover mode, find the Translate and Rotate options.

All the Animation effects help make your design more attractive and awesome.
Customizations of Tooltip Section
Go to Style > Tooltip
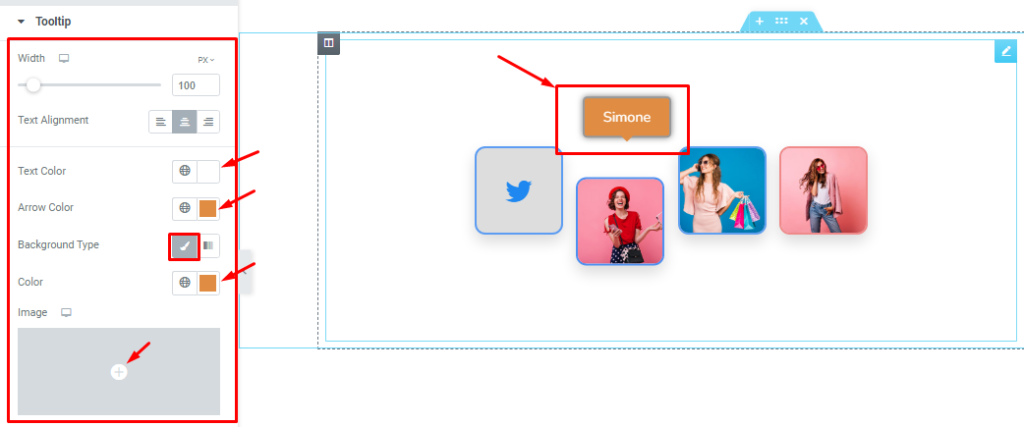
Find the Tooltip Width, Text Alignment, Text Color, Arrow Color, Background Type, and Color options.
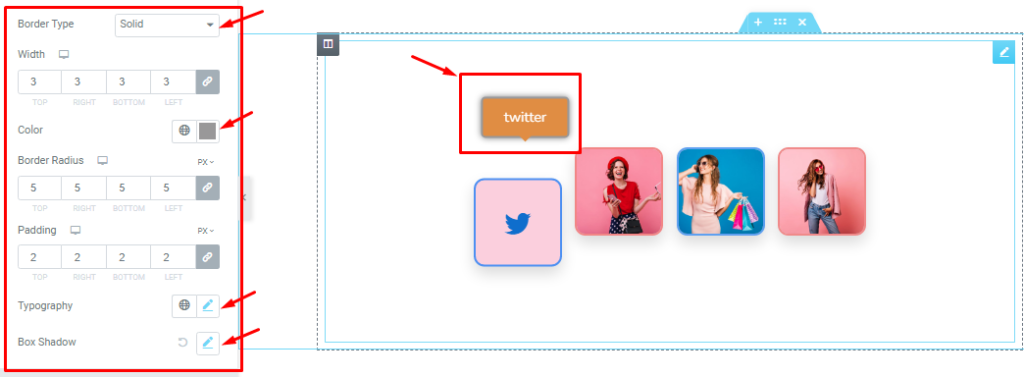
Then find the Border Type, Width, Border Color, Border Radius, Padding, Typography, and Box Shadow options.
All done! You have successfully customized the Image Stack widget on your website.
Video Assist
You can watch this video featuring the usage of the Elementor Image Stack widget. Don’t forget to visit the demo page for more examples and designs with this feature.
Thanks for staying with us.
