In this documentation, we will discuss the customization of the Image Hover Effects Extension, brought to you by the Element Pack Pro addon for Elementor.
Enabling The Image Hover Effects Extension
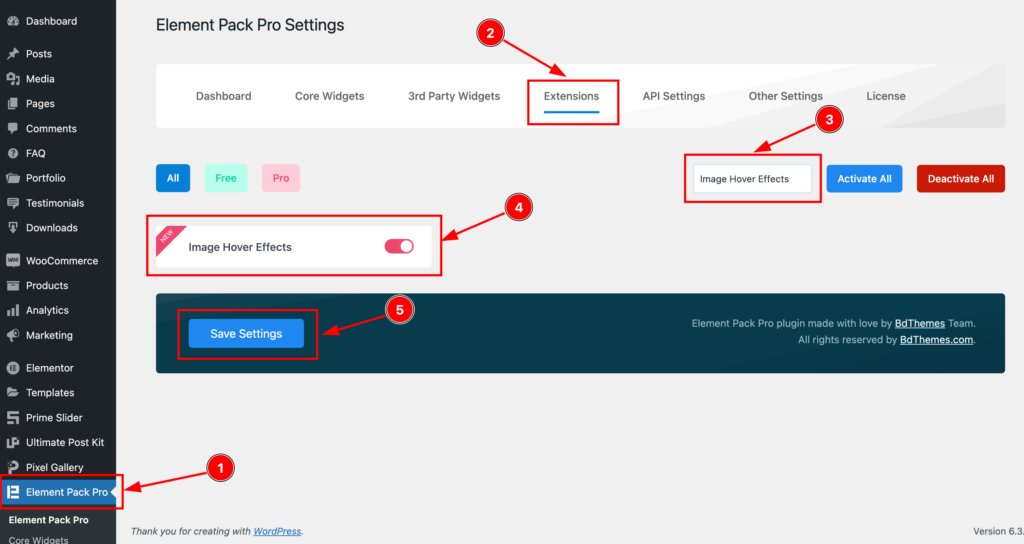
To use the Elementor Image Hover Effects Extension from Element Pack Pro, you must first enable the Extension.
- Go to WordPress Dashboard > Element Pack Pro Plugin dashboard.
- Then Click the Extension Tab.
- Search the Image Hover Effects Extension Name.
- Enable the Image Hover Effects Extension.
- Hit the Save Settings Button.
Insert The Image Widget
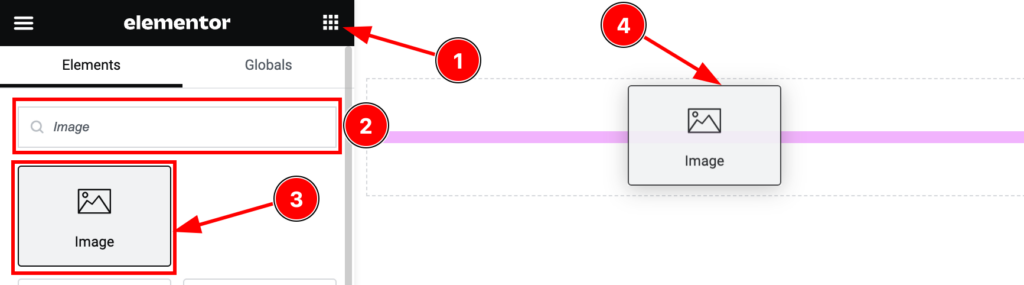
- Go to the Elementor Editor Page and Hit the Get Back To Button.
- Search the Image widget.
- Drag the widget and Drop it on the editor page.
Note: The Image Hover Effects Extension only works with the default Image widget.
Start With The Image Widget
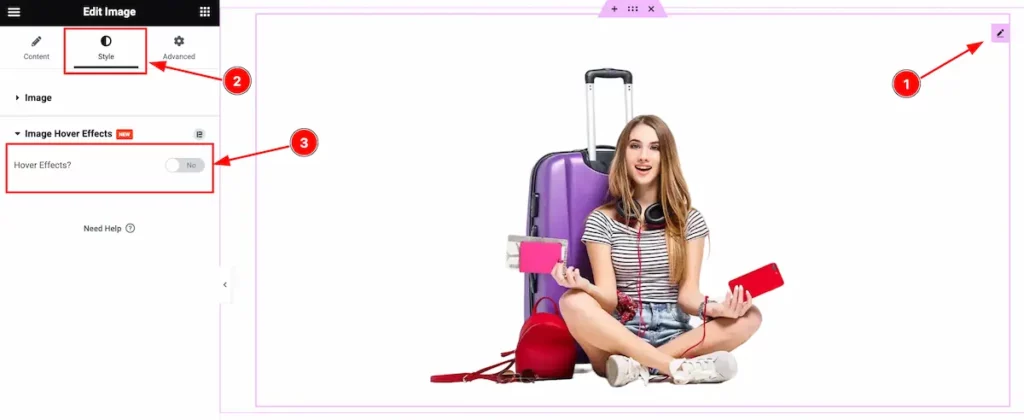
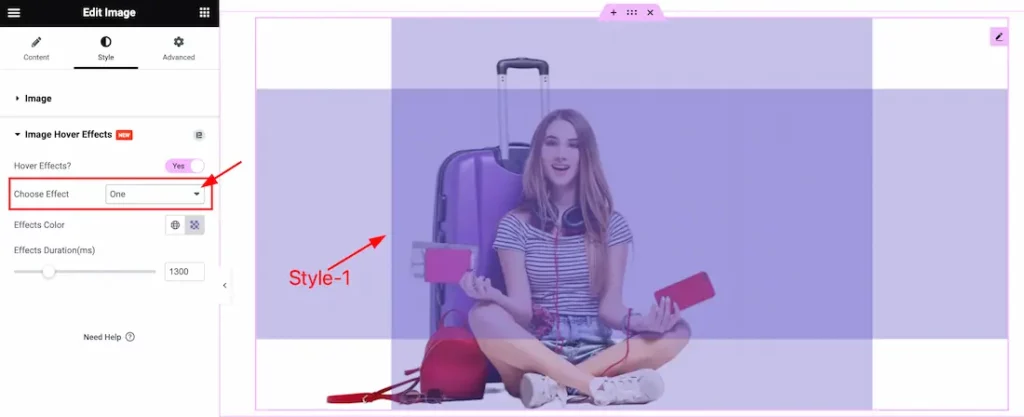
First, click Edit Advanced Button and go to Style Tab > Image Hover Effects.
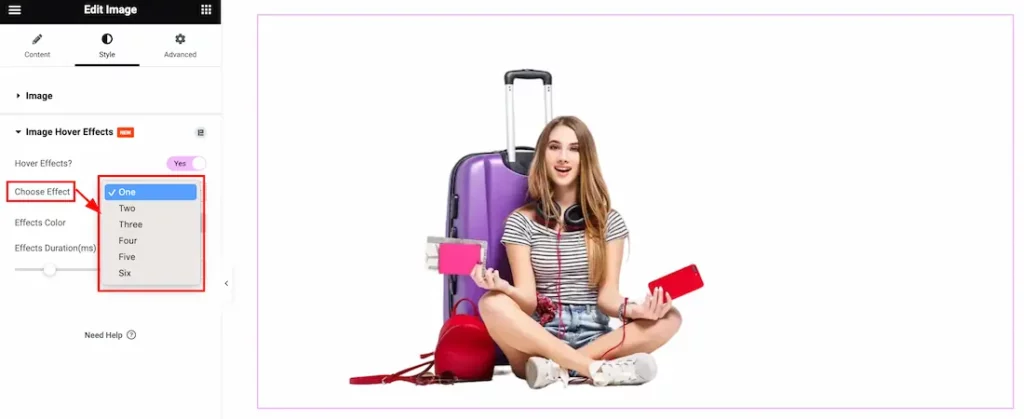
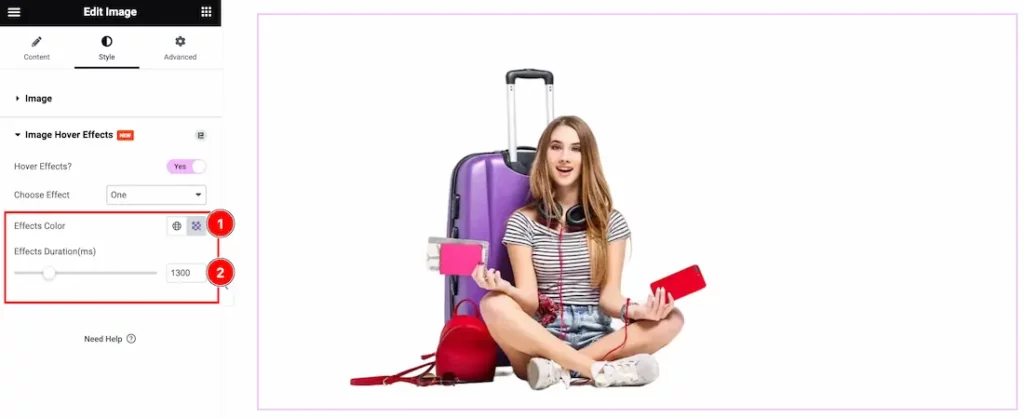
After Enabling the Image Hover Effects Switcher Button, Here you will see a bunch of controls and Effects Styles. You can easily set a style from them that you like to see on your page. Let’s see the Effects Style.
Style -1
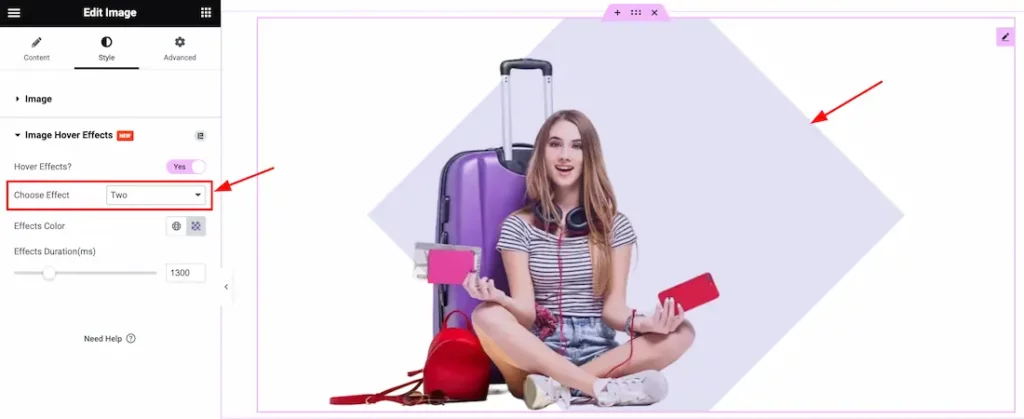
Style -2
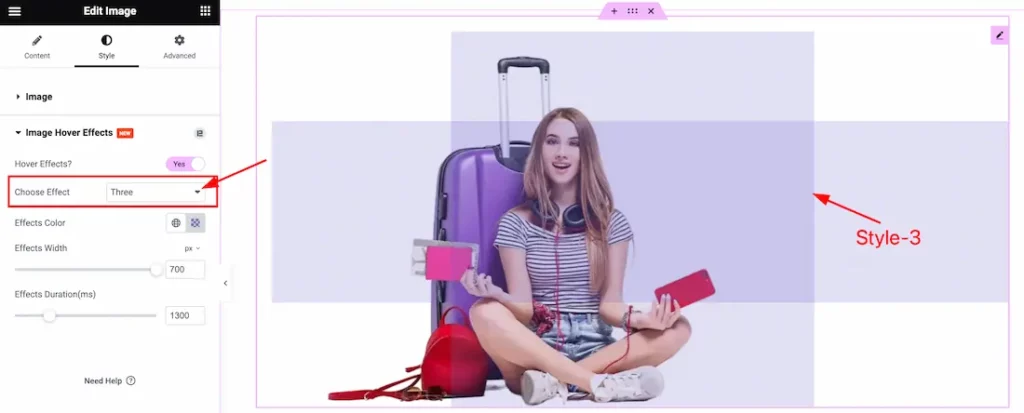
Style -3
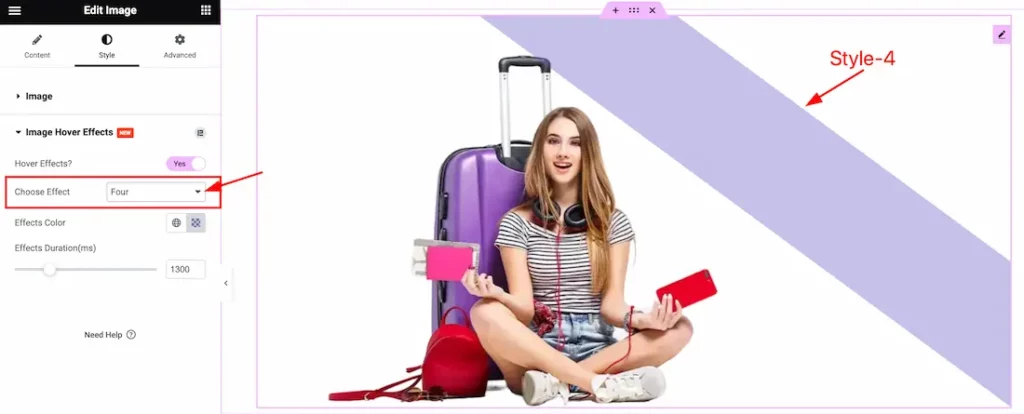
Style-4
Style-5

Style-6
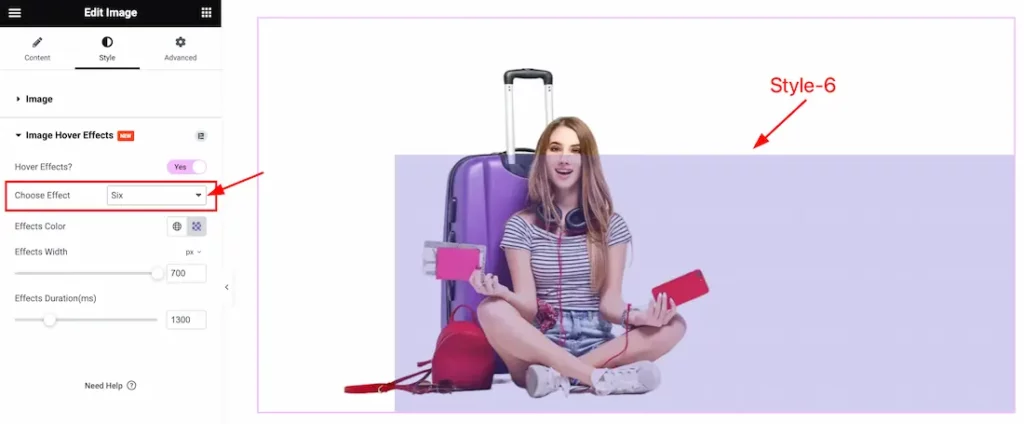
Here also find the Effects Color, Effects Width, and Effects Duration options. Please see the below screenshot.
All done! You have successfully customized the Image Hover Effects Extension on your website.
Video Assist
You can also watch the video tutorial Learn more about the Image Hover Effects Extension. Please visit the demo page for examples.
Thanks for being with us.