The Slinky Vertical Menu widget is a wonderful feature presented by BDthemes and it is a part of the Element Pack Pro. It helps you arrange the menu vertically with a slinky view.
Now, let’s learn how to use the Slinky Vertical Menu widget on your site.
Insert the widget
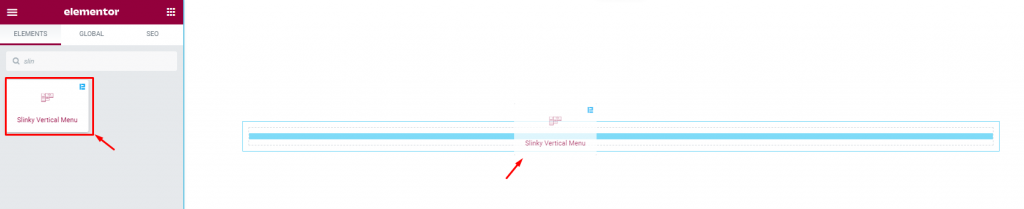
To work with the widget, you have to insert it on your page. To do that, type Slinky Vertical Menu in the search field, then just drag-drop the widget in the text area.
Customize menu layout from the Content tab
Using the content tab, you can customize the layout of the slinky vertical menu to make whatever you want.
Let’s customize the Layout
Go to Content> Layout
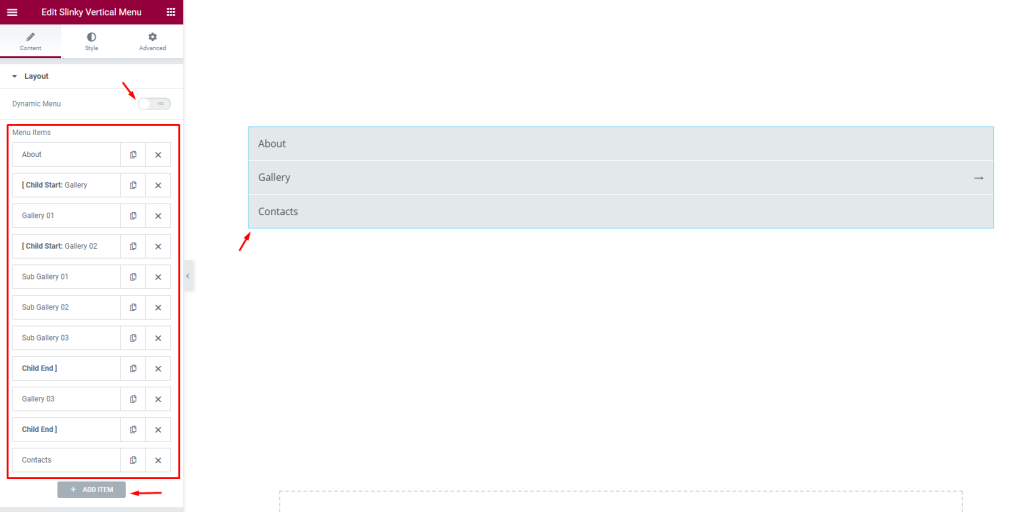
After inserting the widget, you will see a default view of the Slinky Vertical Menu in the Layout section under the Content tab. Notice that there is a Dynamic Menu switcher on top and then some menu items. These are the active menu items that you can see on the screen. Below it, there is a button to add new items. In the text area, you see 3 menus i.e.: About, Gallery, and Contacts.
You can easily surf through the menu by clicking on the submenu arrow. The interactive menu will take you to the submenu page without changing the layout area but with a nice transition effect.
You can toss Dynamic menus anytime
The slinky vertical menu widget allows you to use pre-made menus or dynamic menus created with WordPress.
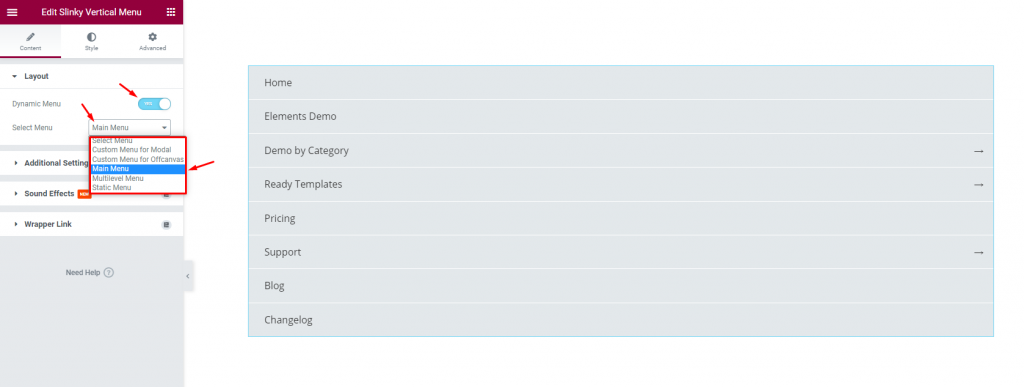
First, enable the Dynamic Menu switcher. After that, select a menu from the Select Menu drop-down option. You will see the selected menu view with the set in the text area.
Take a look at the Additional Settings
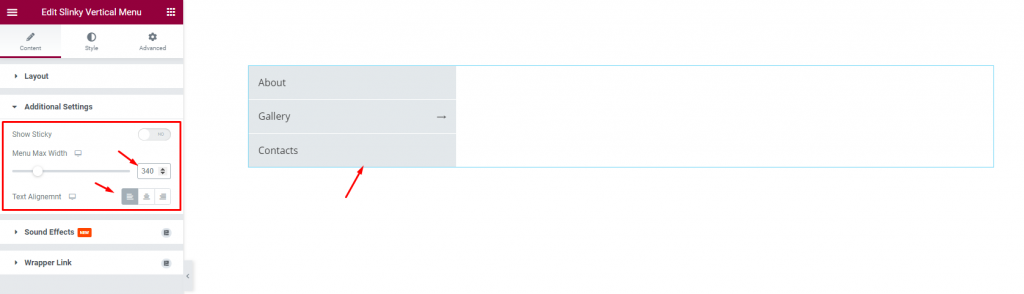
In the Additional Settings section, you will find options to set the Menu Max Width and the Text Alignment. There is a switcher on the top to show the sticky menu.
Sticky Feature for Slinky Vertical Menu
Go to Content > Additional Settings
Show Sticky
This feature is for showing sticky the Slinky vertical menu.
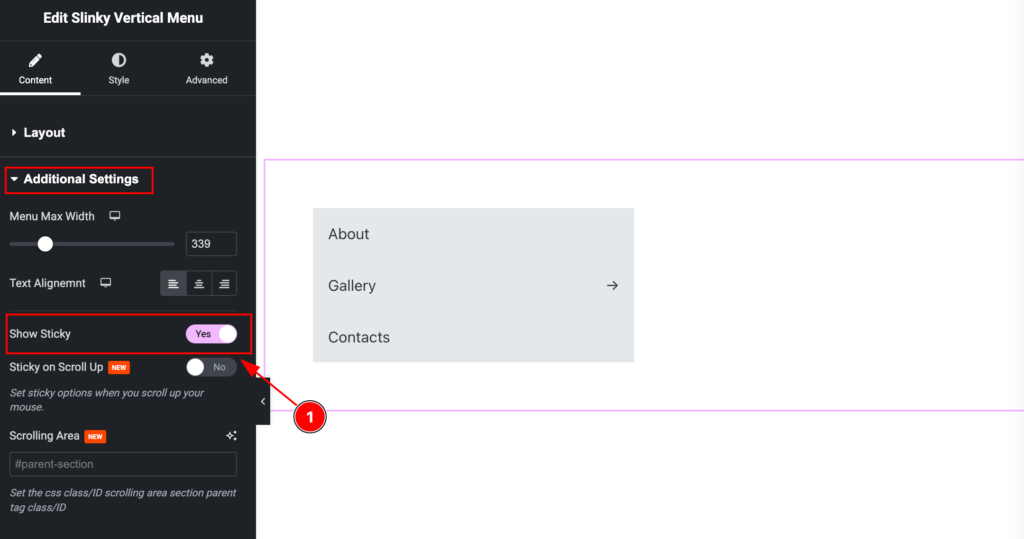
- Show Sticky: Enable the switcher to make the section sticky. It will show all the feature relates to the Sticky.
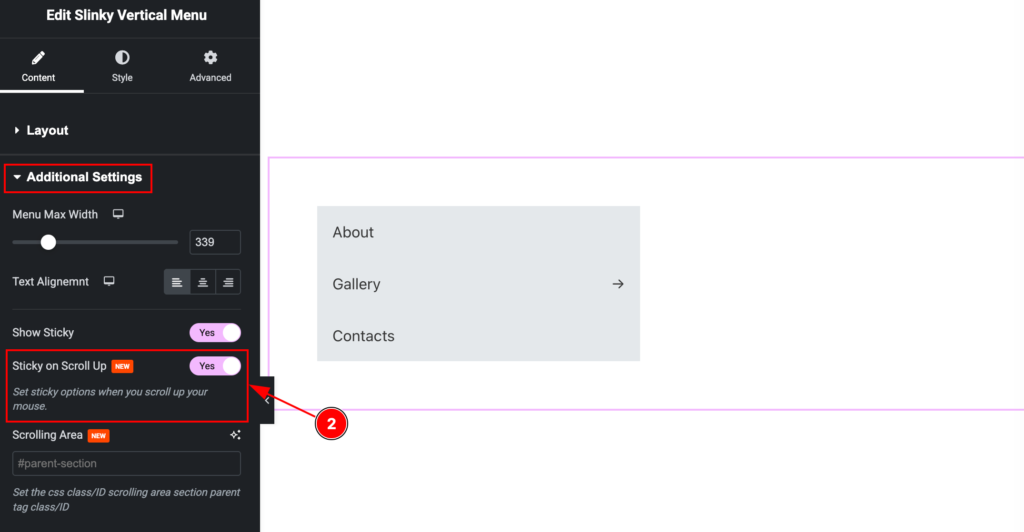
- Sticky on Scroll UP: Enable the switcher to make the sticky up. It will work on mouse scrolling to up.
Specify Sticky on Scrolling Area
This is an exciting feature for making the Slinky Vertical Menu sticky for specific area only. It will appear sticky on the section only.
SET CSS ID FIRST
Make a CSS ID for any section that want to show the sticky.
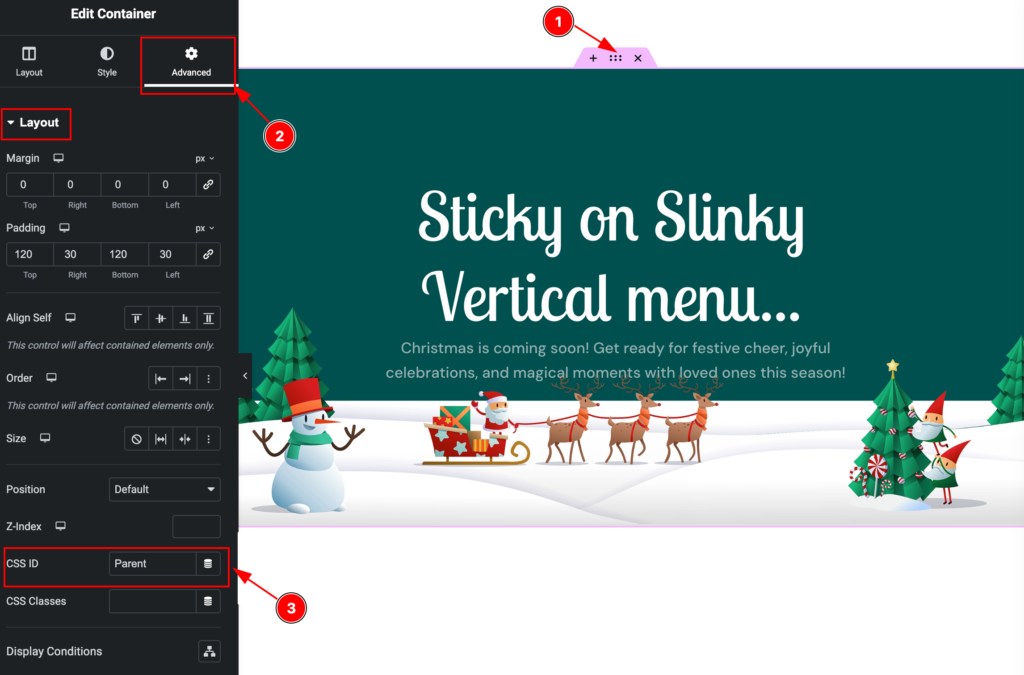
- Choose any container and Click on the ” 6 dots ” for appearing the controls of the container.
- Navigate to the ” Advanced ” tab.
- Set the “CSS ID ” on the Layout section. ID must be unique.
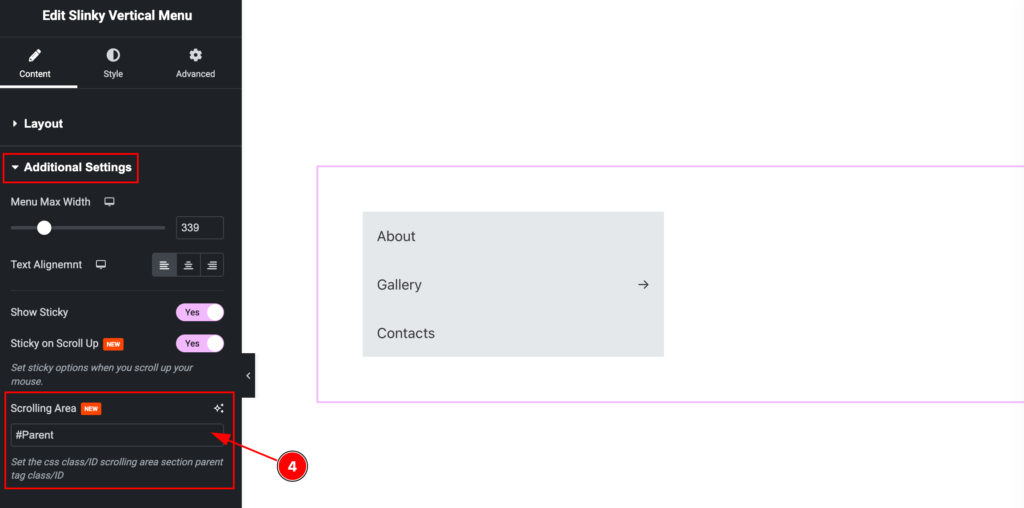
- Now input the CSS ID on the ” Scroll Area ” field. Make sure put the Pound simple before the ID. E.x: #Parent.
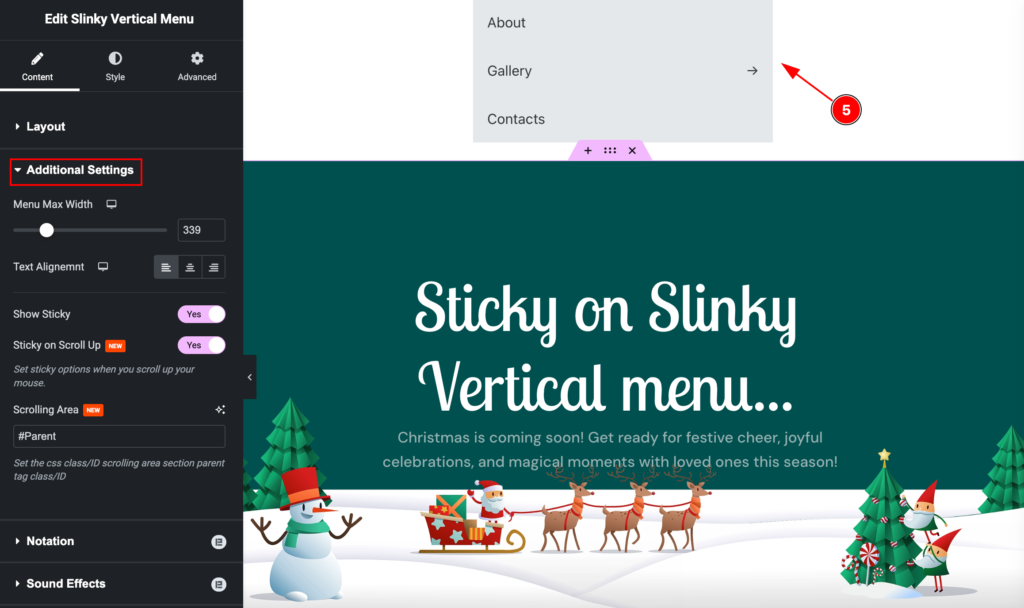
- The Slinky Vertical Menu will appear sticky when the section appear on scrolling.
Customize the menu items with the Style tab
The style tab lets you customize the appearance of the menu by changing colors, adding borders, padding, etc.
Customize Menu Items first
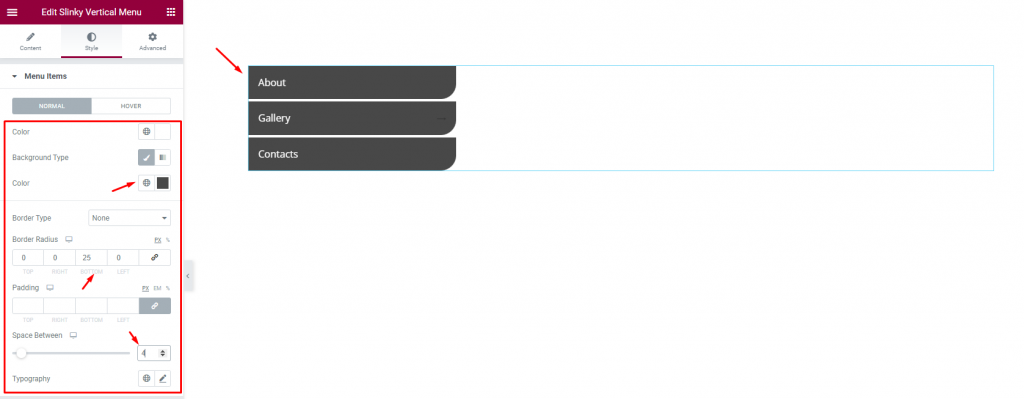
Go to Style> Menu Items
Here, you can change the background color and text color of the menu for normal and hover modes. Let’s get a deep color for the menu with a custom border radius. Then you can create gaps between the menu items using the scrollbar below.
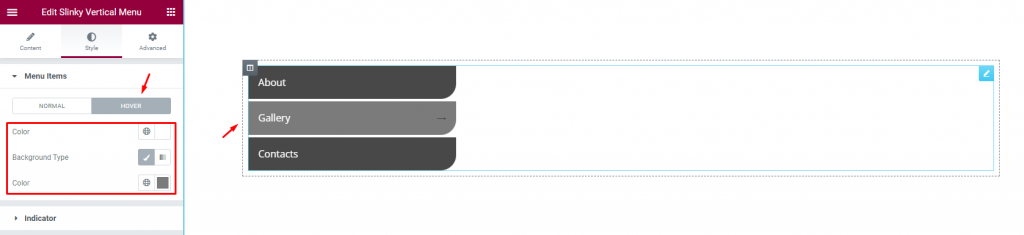
Next, for the Hover mode, change the color of the text and then set a lite background color. Looks nice!
Change Indicator style
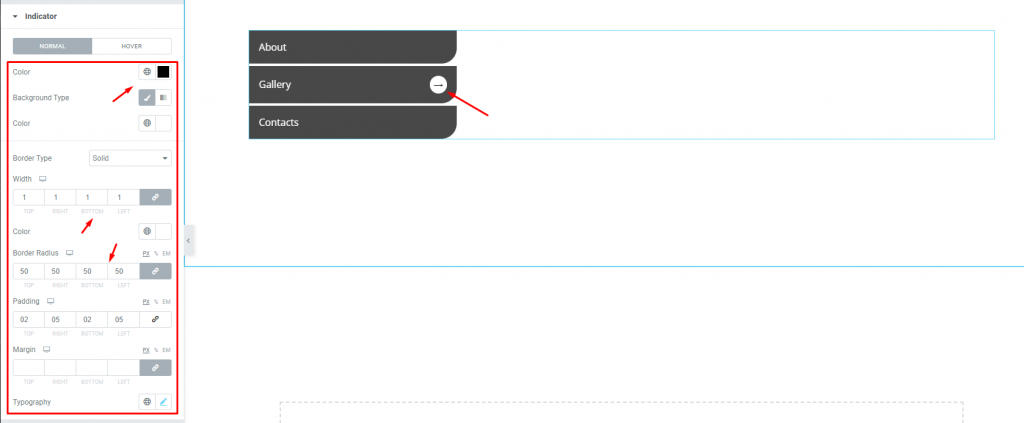
Go to Style> Indicator
Now, we will customize the indicator. Let’s change the indicator color to black and then set a thin border around it, followed by a Border Radius of 50 to make them round. After that, you can add some padding to the icon.
All done! You have successfully customized the Slinky Vertical Menu widget on your website.

Now, check the menu items like this.
Video Assist
Watch this quick video to learn more about the Slinky Vertical Menu widget and visit the demo page for more examples.
This document is presented by BdThemes.