The Horizontal Scroller widget is a handy feature presented by BDthemes and it is a part of the Element Pack Pro. It helps you showcase your items horizontally by scrolling.
Now, let’s learn how to use the Horizontal Scroller widget on your site.
Insert the widget
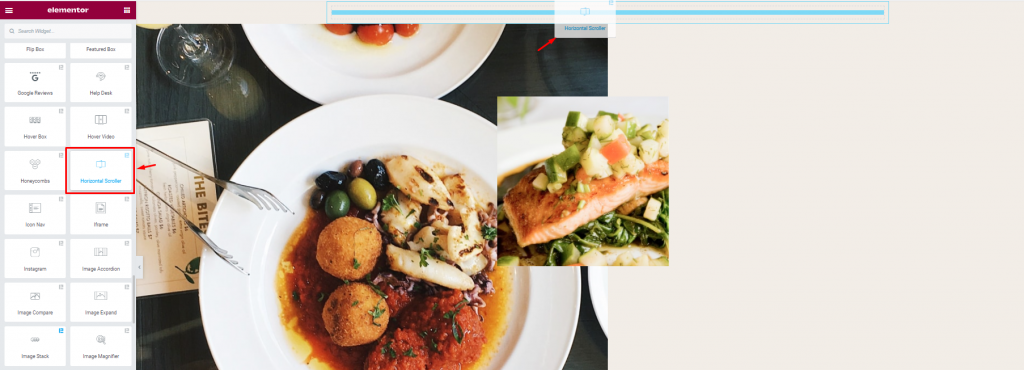
First, you have to insert the widget in the text area. To do this, type Horizontal Scroller in the search area. Then, just drag and drop it on the page.

Notice that, in the Horizontal Scroller section under the Content tab, there is an option to insert multiple items and to add the ID and Title of them.
Create the Horizontal Scroller layout
The Horizontal Scroller widget takes effect upon present section layouts. So, you have to create your target sections first before using the widget.

Now, we are going to create the layout of the Horizontal Scroller. To do this, go to the edit section of the 1st item, then go to the Advanced tab, type ‘Section-01’ in the CSS ID field, and copy it.

After that, go to the Horizontal Scroller section, go to the Content tab. Now, in the 1st item section, paste the CSS ID in the Section ID field, then type ‘Item 1’ in the Title field.

Now, add more items by clicking on the Add Item button. Do the same procedure for the next items, just change the numbers like this.

Now, go to the Advanced Settings, enable the Auto Fill and Dots switcher.

After enabling them, you can see that there are two new switchers automatically enabled showing the result on the page. Notice that, only the 1st item label is showing on the page.

Now, if you want to show all the item labels, you just have to disable the Label Only Active switcher. See the result on the page. You can set the position from the Position option.
Customize the Horizontal Scroller with the Style tab

It’s time to customize the Horizontal Scroller. Go to the Style tab, see that there are two modes i.e.: Normal and Active in the Dots section. For the Normal mode, make the background color transparent from the Color option.
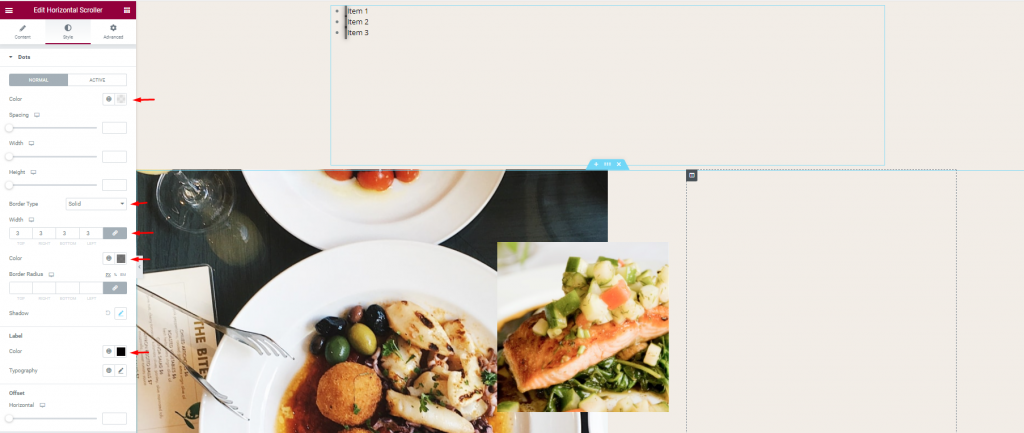
After that, you can set a Border, change the Border color. Then, you can change the Label color.

For the Active mode, you can change the Dots color, then add a border, change the border color, and change the label color as well.
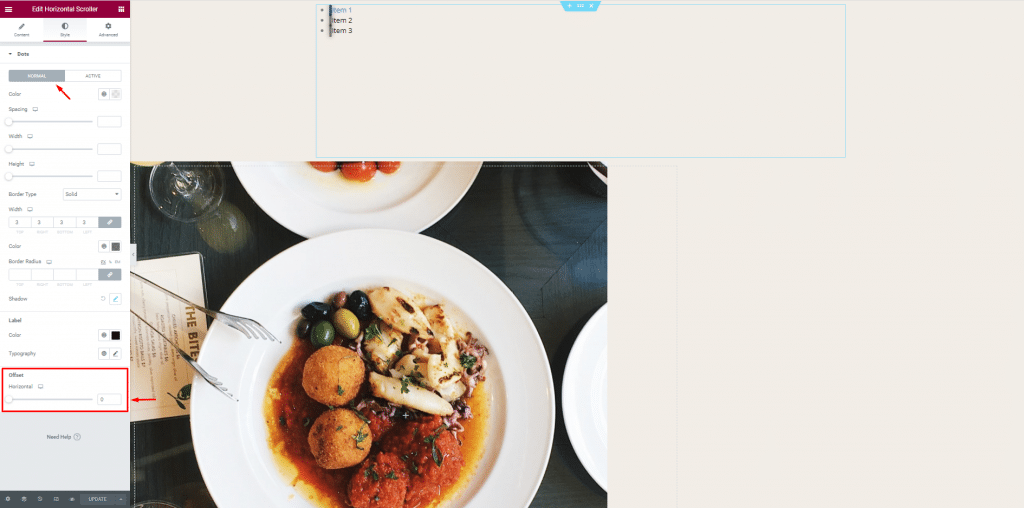
You can set the Dots position using the Offset scrollbar. For this, just go to the Normal mode option, then use the Offset scrollbar. Almost done. You just have to do a little to finish it up.
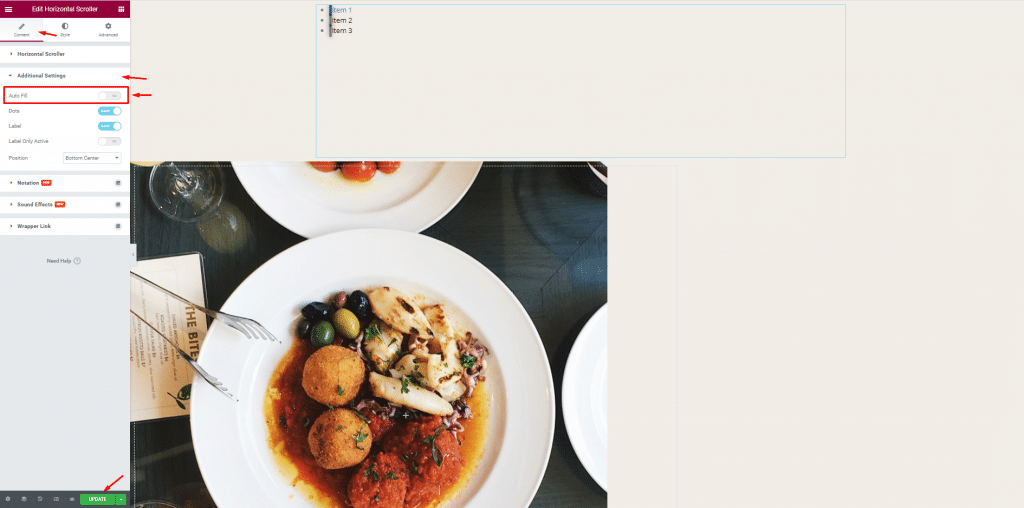
You can control the scroller yourself. For this, go to the Content tab, disable the Autofill switcher in the Additional Settings. Don’t forget to update all the changes.
All done! You have successfully designed the Horizontal Scroller widget on your site.
Video Assist
You can watch this video on our Horizontal Scroller widget to get a hands-down experience on the widget. You can also visit the demo page for more examples. Hope you can use it on your own.

