The Tags Cloud widget is one of the most stylish tools at our disposal. It’s a new widget we developed at Element Pack that shows TAGS from a new point of view. Let’s see what way you can use it in this tutorial.
Inserting the Tags Cloud Widget

From the widget menu, drag and drop the Tags Cloud widget inside your page.
Content tab

Tags Cloud lets you build a specified group of tags and style it as you want. The first thing you will see is the Content tab that houses the Tags Cloud section. It holds the basic settings that let you build your tags inside your webpage.
In the default mode, you can put lines of tags inside your page. These tags include all the available tags on your page.
Now, the Elementor tag cloud widget comes with 3 skins. They are the Default, Animated, and Typography. Let’s see the default one first.
Data Source Type- Dynamic
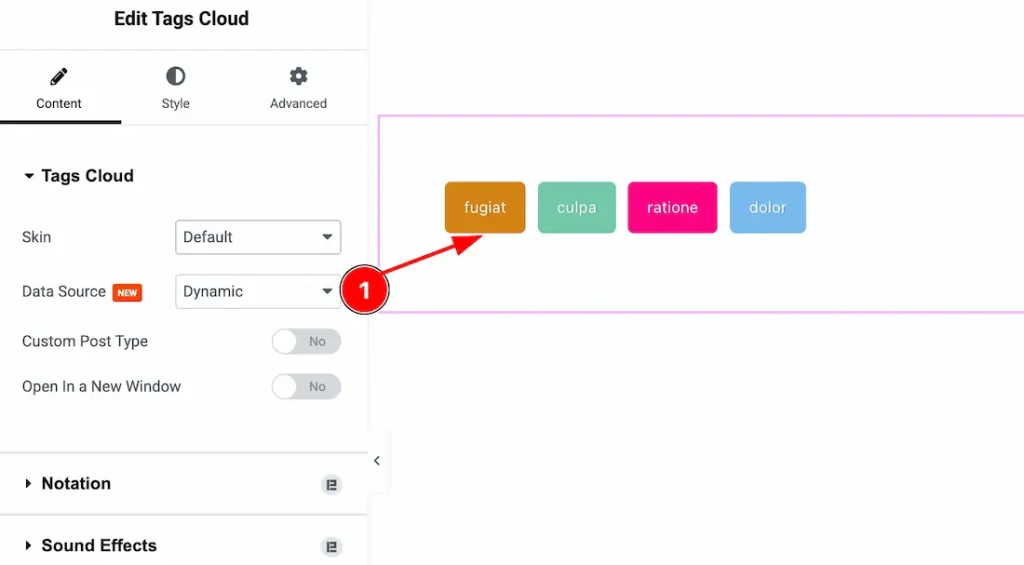
1. Data Source: From here, you can set the data source type – Dynamic and Static. When you set the data source type – Dynamic then your post tags will dynamically appear here.
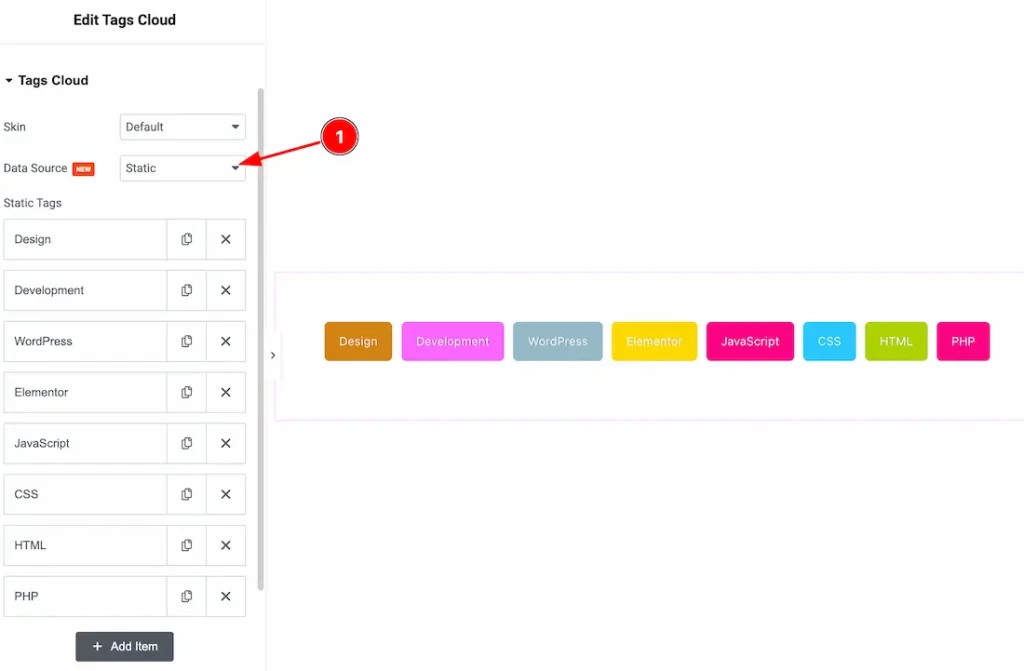
When you select the Data Source type – Static then you can add the static items instead of your post tags items.
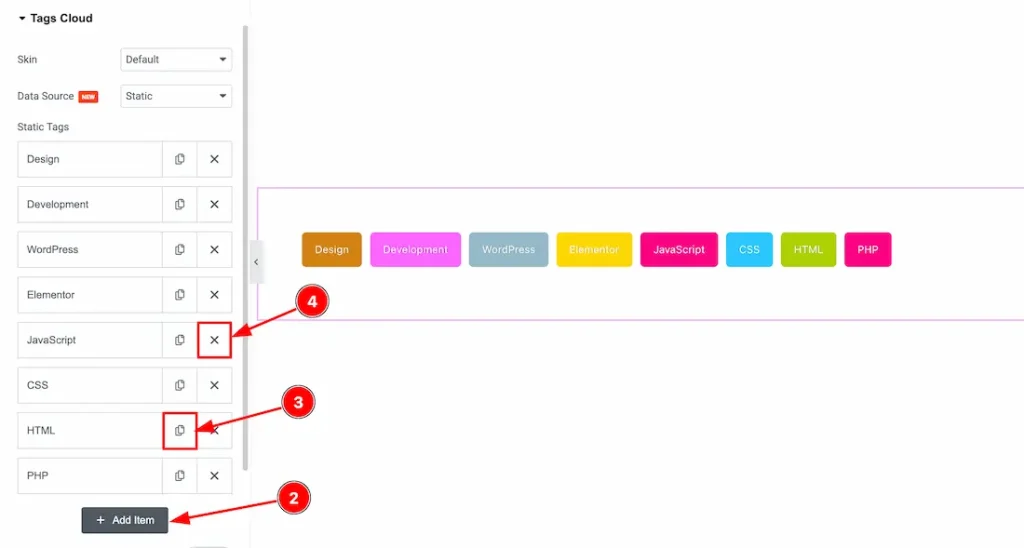
2. Add Item: You can add a new item by clicking the “Add Item” Button.
3. Copy Item: You can copy the same item by clicking the copy button.
3. Remove Item: You can remove the listed item to click the cross button.
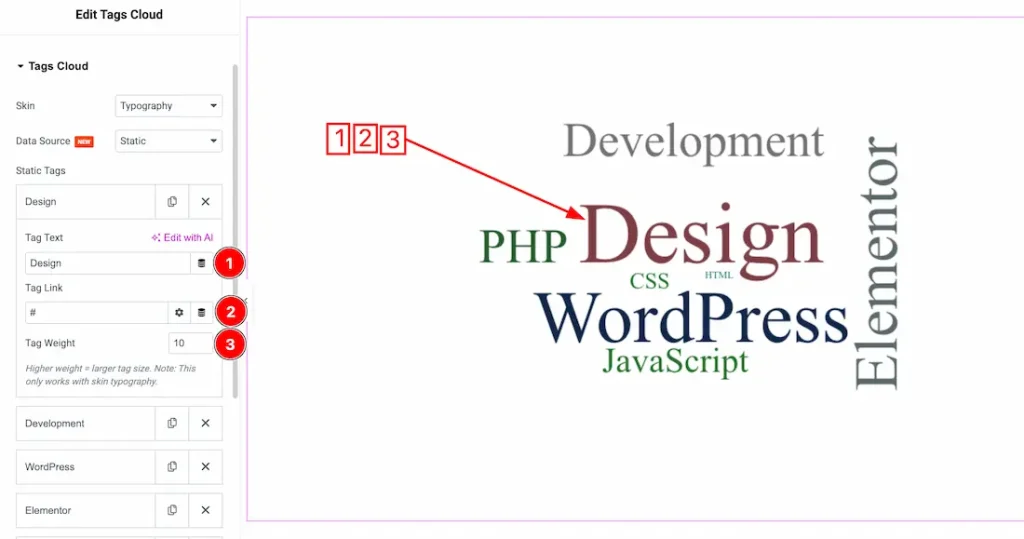
Inside the each static item , you will get the below options-
1. Tag Text: This option lets you change the Tag Text.
2. Tag Link: This option lets you add a link under the Tag Text.
3. Tag Weight: You can set the Tag Weight from here. Higher weight = larger tag size.
Note: This only works with skin typography.
Turning on the switcher Custom Post Tags will unfold another blank field called Custom Post Name. On the field, you can put the name of any specific tag group (i.e. product_tag) and only the specified group of tags will show up on the screen.
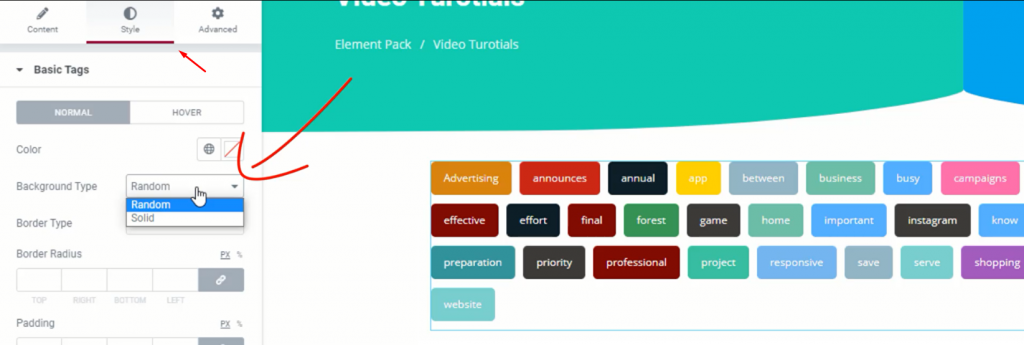
On the Style tab, we have Random colors for the Background Type option. You can turn the color to Solid to change all of the colors of the tags in the default skin.
Animated Skin

We have something special for the Animated Skin. The tags will form up a globe-shaped cloud of tags and will rotate as you hover over them. This animation effect is the thought behind the naming of the WordPress tags widget.
On the settings, you can adjust the cloud height according to your needs.

There are more settings underneath including Active Cursor, Depth, and Animation Speed. The Active Cursor setting has several options to choose from.

What it does is, puts a tiny little attachment with the cursor whenever it’s on any of the tags of the Tag Cloud widget. See the image above to understand it.

Adjusting the Depth scroll option will result in changing the depth of the Tags Cloud.

The Method settings has 6 options to choose from. It simply changes the appearance of each tag.
However, there are more options down below such as; Freeze Active, Wheel Zoom, and Visible Time. The first one freezes the tag cloud upon active. Wheel Zoom lets you zoom the tag cloud with a mouse wheel scroll. And lastly, Visible time lets you choose the specific amount of time a tag will be visible before scrolled back.
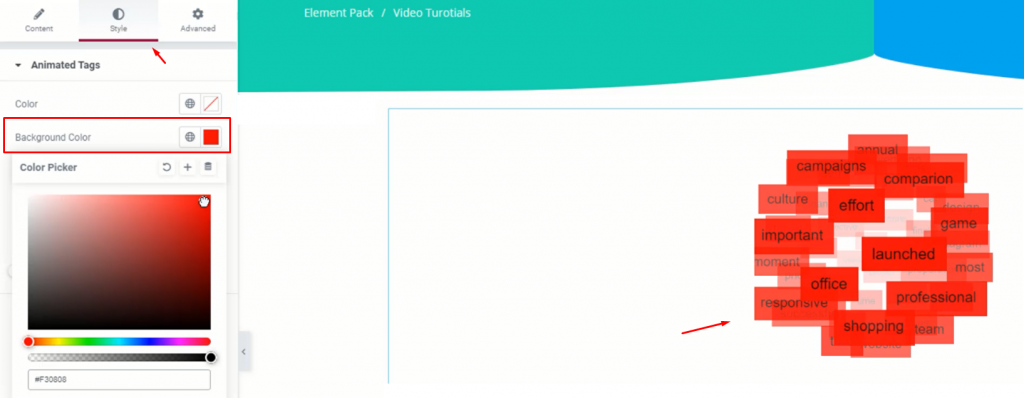
The Style tab for the Animated skin works the same way as Default.
Typography Skin
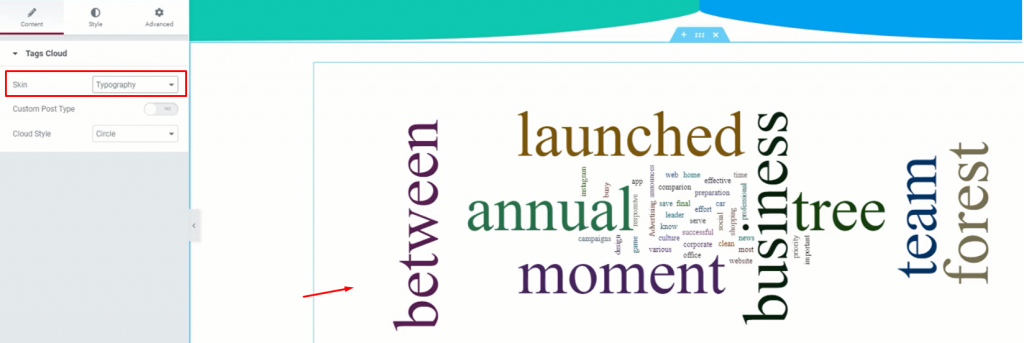
Lastly, the Typography skin jumbles up your tags into a word puzzle style. It’s one of the old school but very catchy.

You can actually choose the cloud-style for this skin. Choose any from the three options; Circle, Square, and Star.

On the Style tab, you got 4 options to choose its color. Just pick one and see for yourself.
Video Assist
That’s it. Hope you have got all the basics about the Tags Cloud widget by Bdthemes. Enjoy the video for more detailed information.
Feel free to visit the demo page here.

