The Time Zone widget from Element Pack Pro lets you display the current time of different cities or regions on your website. With customizable layouts, styling options, and responsive controls, it helps visitors easily track global time differences. This documentation explains how to use and customize the Time Zone widget in Elementor.
Enable The Time Zone Widget
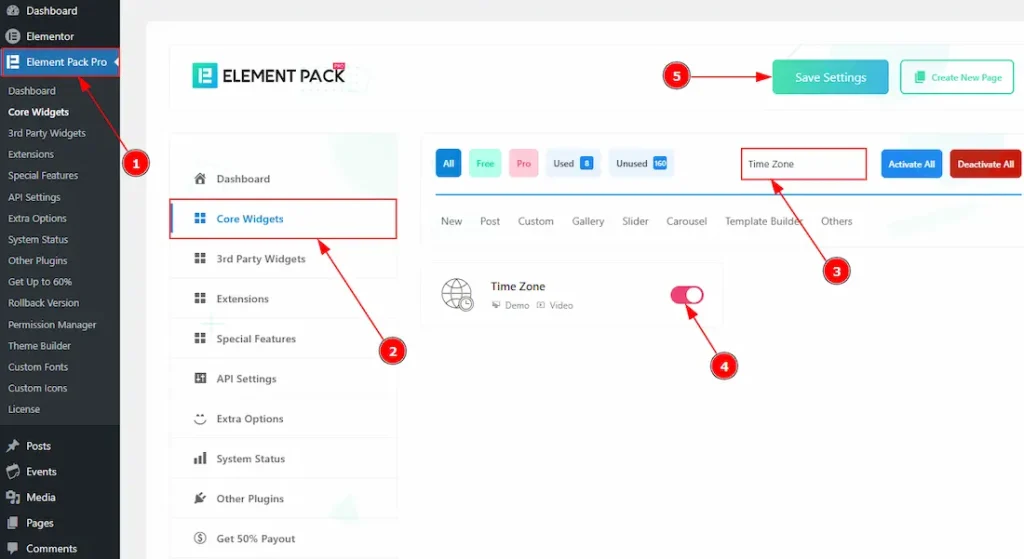
To use the Time Zone widget from Element Pack Pro, first, you have to enable the widget.
- Go to WordPress dashboard → Element Pack Pro Plugin dashboard.
- Then, Click the Core Widgets Tab.
- Search the Time Zone Widget Name.
- Enable the Time Zone Widget.
- Hit the Save Settings Button.
Inserting The Time Zone Widget
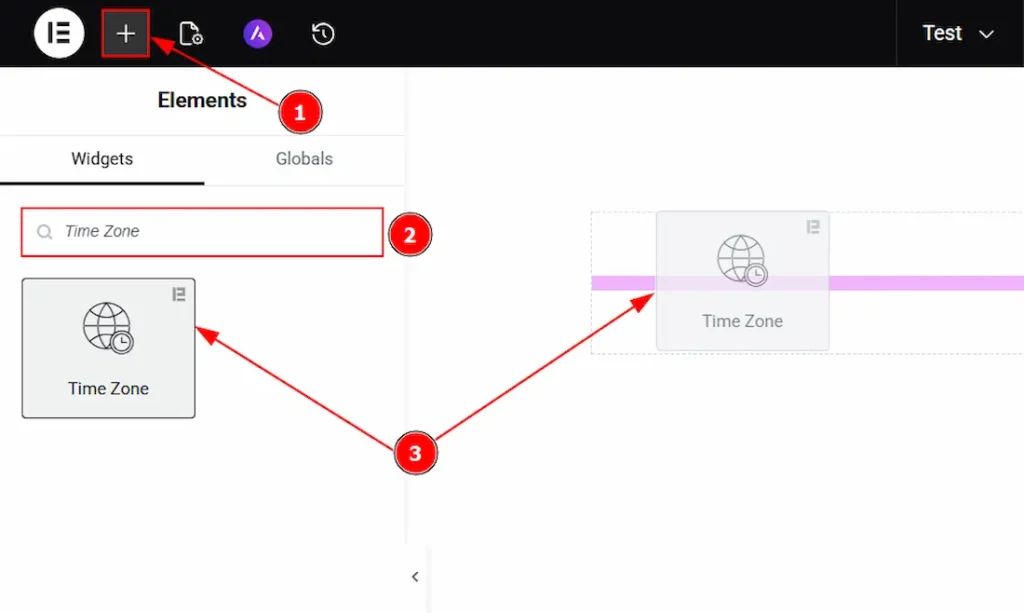
1. Go to the Elementor Editor Page and hit the “+” icon Button.
2. Search the Time Zone name.
3. Drag the widget and drop it on the editor page.
Work With The Content Tab
Time Zone Section
Go to Content → Time Zone

1. Select Styler: You can select the style of the time zone clock with this option. The provided options are Analog and Digital. Here, we have selected the clock style to Analog.
2. Select GMT: You can select the GMT Location to show the time you want to show to your audience with this option.
3. Daylight Saving Time: Enable the switcher to adjust the clock automatically for daylight saving time in supported regions.
4. Show Second Hand: Enable the switcher to show the second hand of the analog clock with this option.
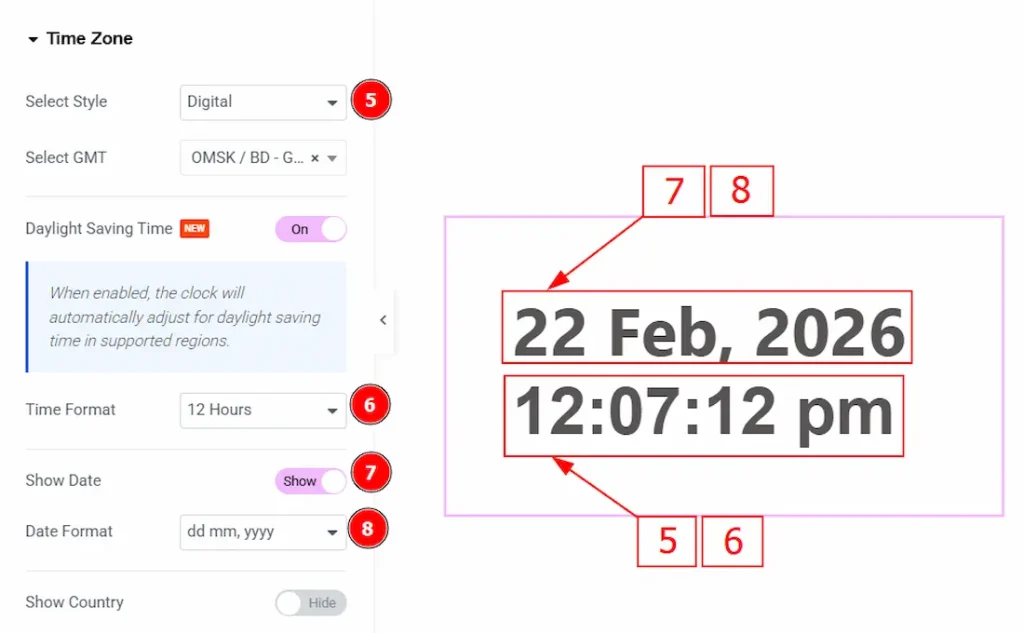
5. Select Style: You will get this visual when you select the time zone style Digital.
6. Time Format: You can select the time format between 12 Hours or 24 Hours with this option.
7. Show Date: Enable the switcher to show the date to the audience with this option.
8. Date Format: You can select the date format, how you want to show the date to your audience with this option.
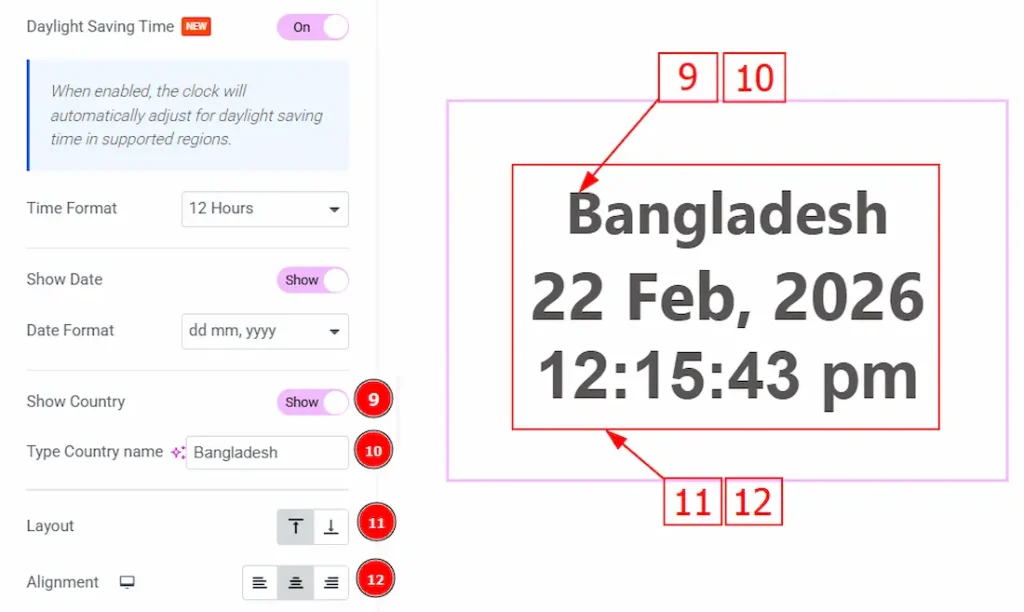
9. Show Country: Enable the switcher to show the country name to your audience with this option.
10. Type Country Name: You can make changes to the country name with this option.
11. Layout: You can adjust the position of the country name to the bottom or top with this option.
12. Alignment: You can set the position of the content to left, center or right with this option.
Work with The Style Tab
In the Style section, the settings change based on the selected layout. Since the Digital style is selected, the following options are used to customize the appearance of the digital time display.
Time Section
Go to Style → Time
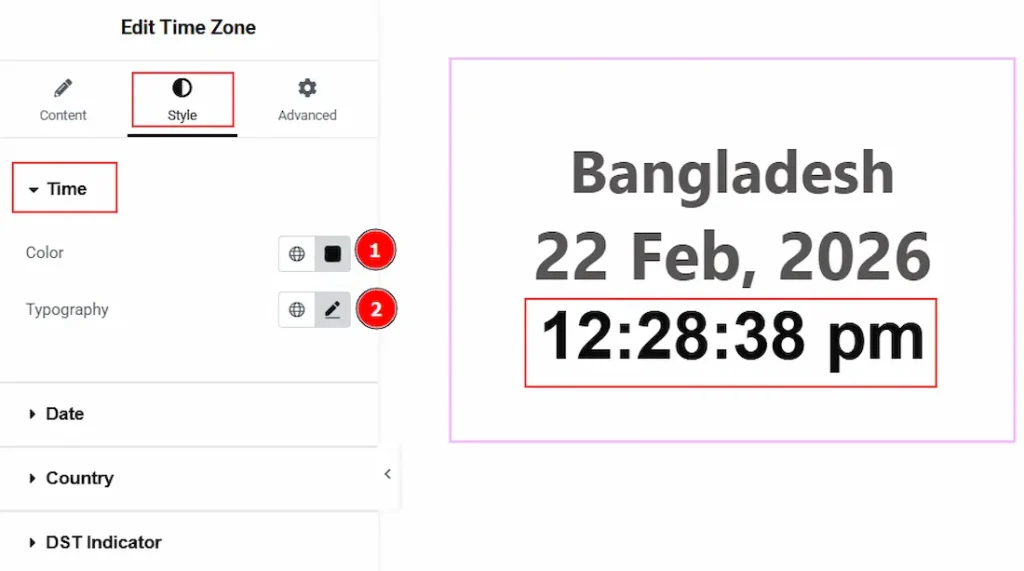
1. Color: You can change the time color with this option.
2. Typography: Change the font family, size, weight, transform, style, decoration, line height, letter spacing, and word spacing from here.
Date Section
Go to Style → Date
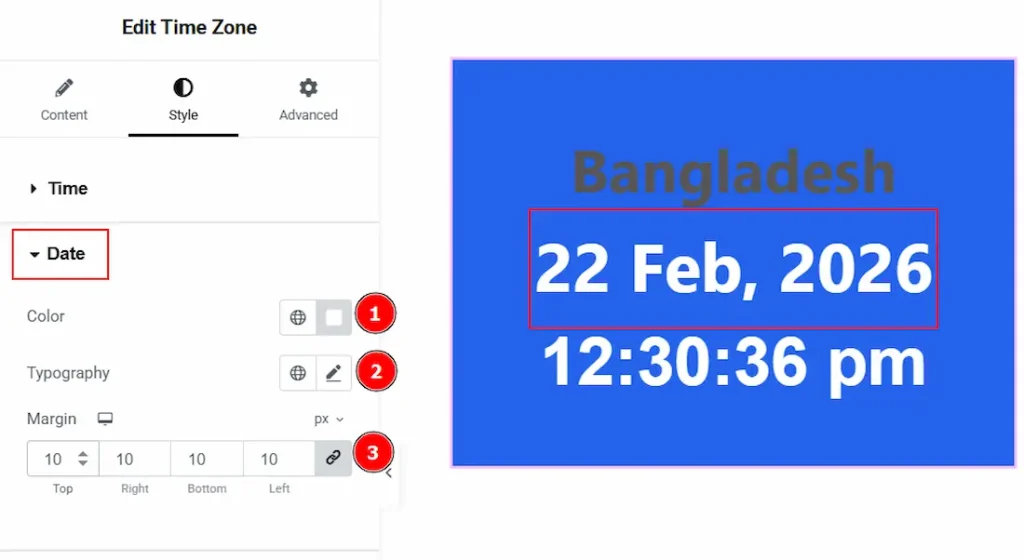
1. Color: You can change the color of the date text with this option.
2. Typography: Change the font family, size, weight, transform, style, decoration, line height, letter spacing, and word spacing from here.
3. Margin: You can adjust the space around the date field with this option.
Country Section
Go to Style → Country

1. Color: You can make changes to the country text color with this option.
2. Typography: Change the font family, size, weight, transform, style, decoration, line height, letter spacing, and word spacing from here.
3. Margin: You can adjust the space around the country field with this option.
DST Indicator Section
Go to Style → DST Indicator
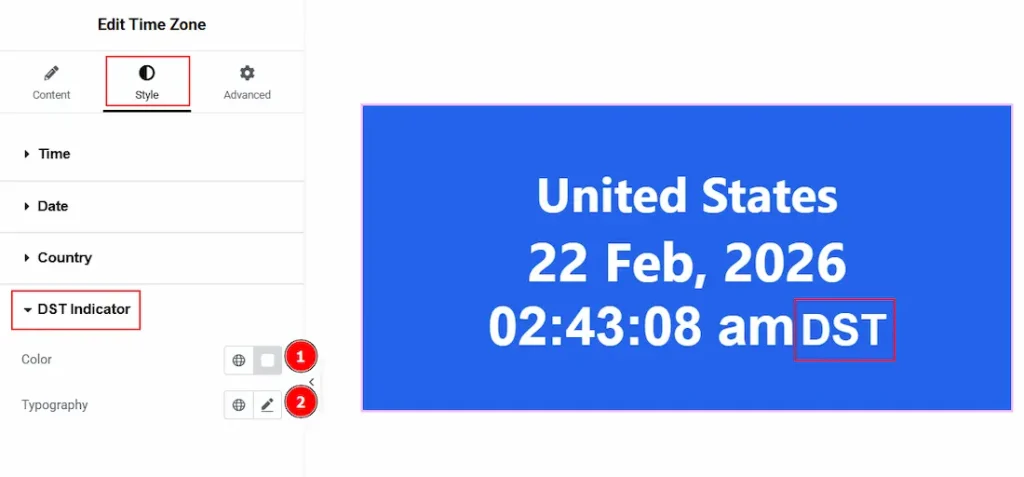
1. Color: You can make changes to the Daylight Saving Time text color with this option.
2. Typography: Change the font family, size, weight, transform, style, decoration, line height, letter spacing, and word spacing from here.
Now, we have selected the Analog style is selected, and the following options are used to customize the appearance of the Analog time display –
Date Section
Go to Style → Date
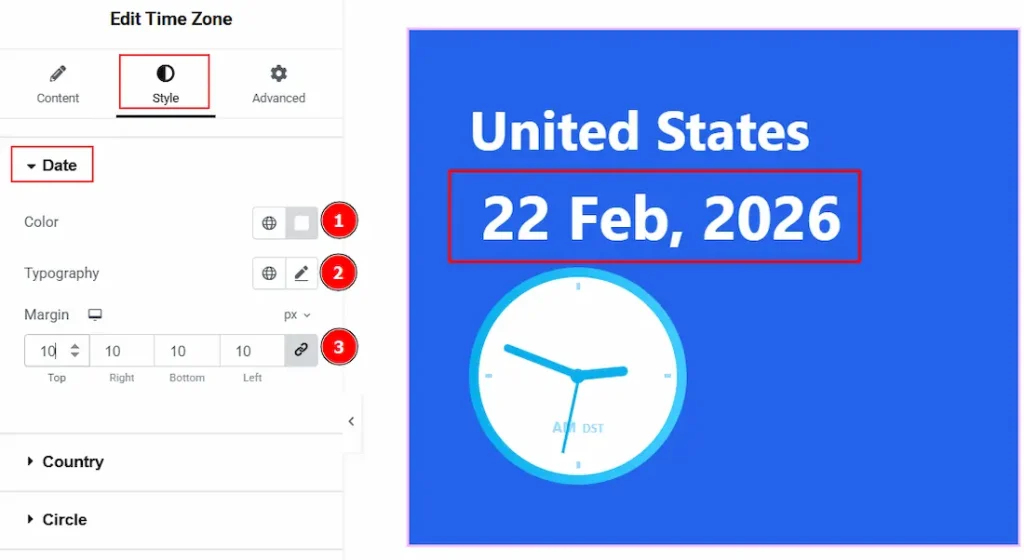
1. Color: You can make changes to the date’s color with this option.
2. Typography: Change the font family, size, weight, transform, style, decoration, line height, letter spacing, and word spacing from here.
3. Margin: You can adjust the space around the date field with this option.
Country Section
Go to Style → Country

1. Color: You can make changes to the country’s text color with this option.
2. Typography: Change the font family, size, weight, transform, style, decoration, line height, letter spacing, and word spacing from here.
3. Margin: You can adjust the space around the date field with this option.
Circle Section
Go to Style → Circle
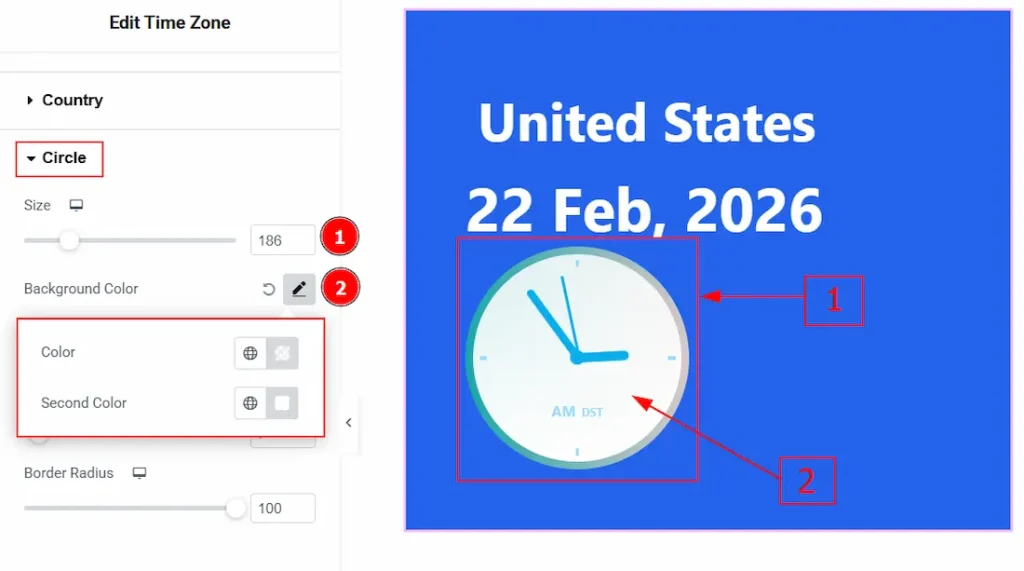
1. Size: You can make changes to the analog clock circle size with this option.
2. Background Color: You can apply color to the analog clock background with this option. The background was divided into two parts, top & bottom. You can set the color for both the background with this option.
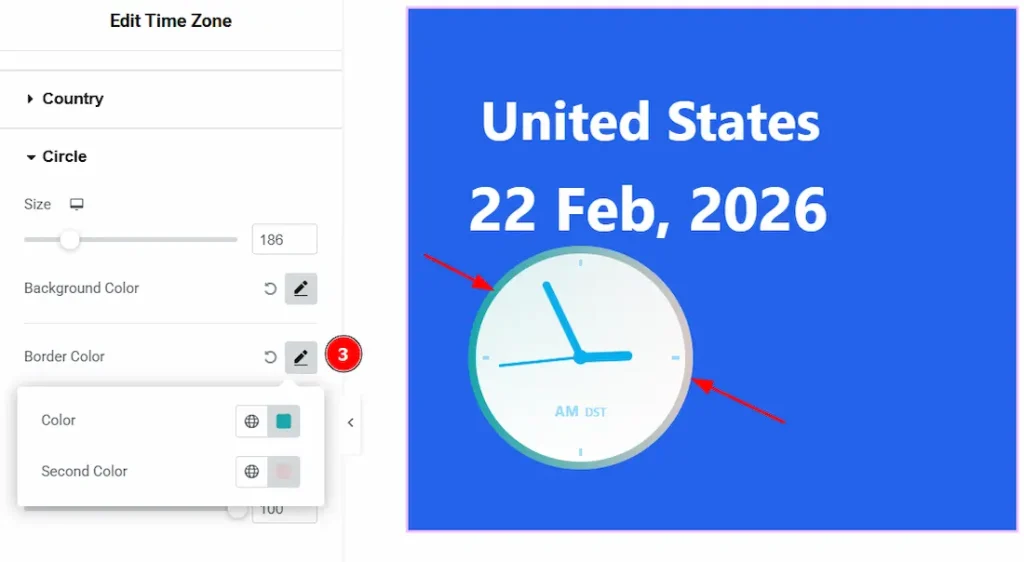
3. Border Color: You can change the border color with this option. The border color is also divided into two part and you can set the color for both parts with this option.
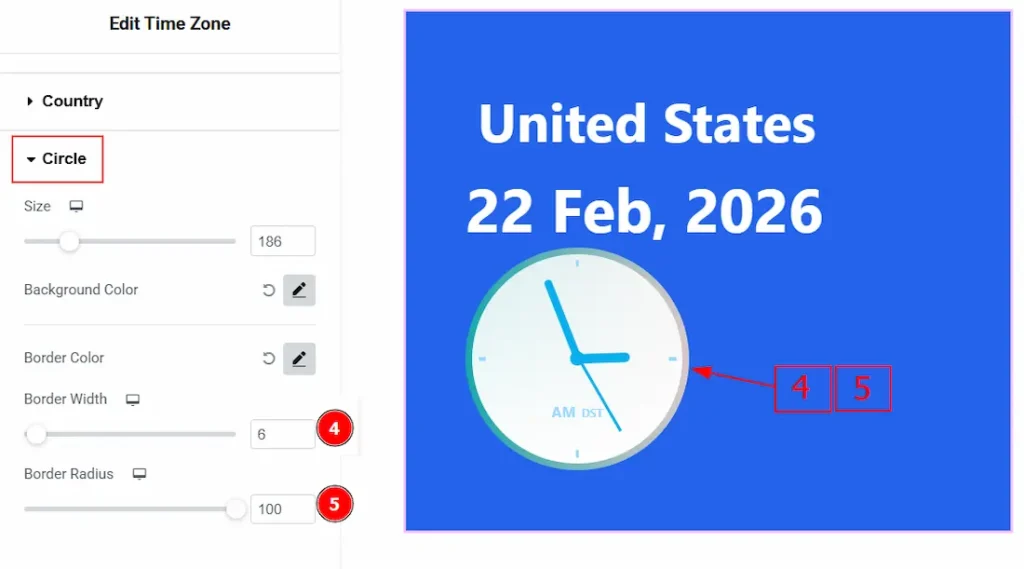
4. Border Width: You can set the thickness of the border with this option.
5. Border Radius: You can control the roundness of the border with this option.
Dial Section
Go to Style → Dial

In this section, we have four more tabs. These are Hour, Minute, Second & Point. Let’s start describing those one by one.
1. Background Type: You can change the background type to be classic or gradient with this option.
2. Color: You can change the hour’s dial pad color with this option.
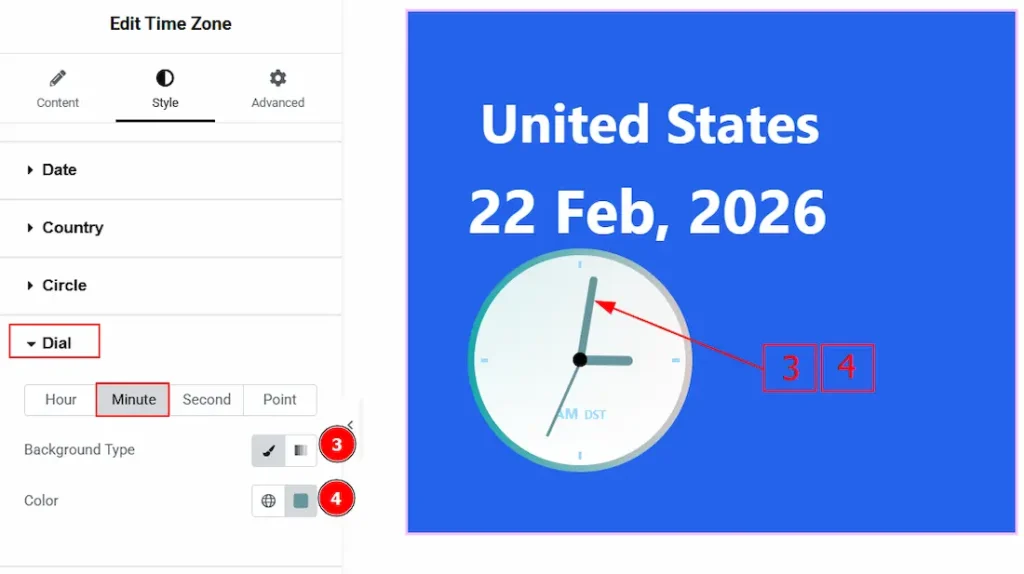
Now, let’s proceed to the Minute Tab –
3. Background Type: You can change the background type to be classic or gradient with this option.
4. Color: You can change the minute’s dial pad color with this option.
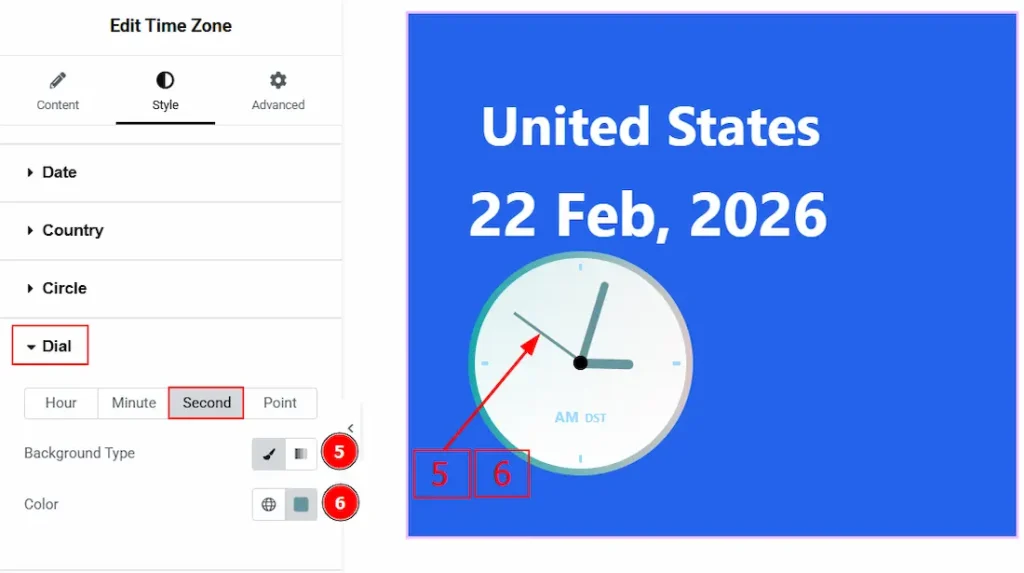
Now, let’s proceed to the Second Tab –
5. Background Type: You can change the background type to be classic or gradient with this option.
6. Color: You can change the second dial pad color with this option.
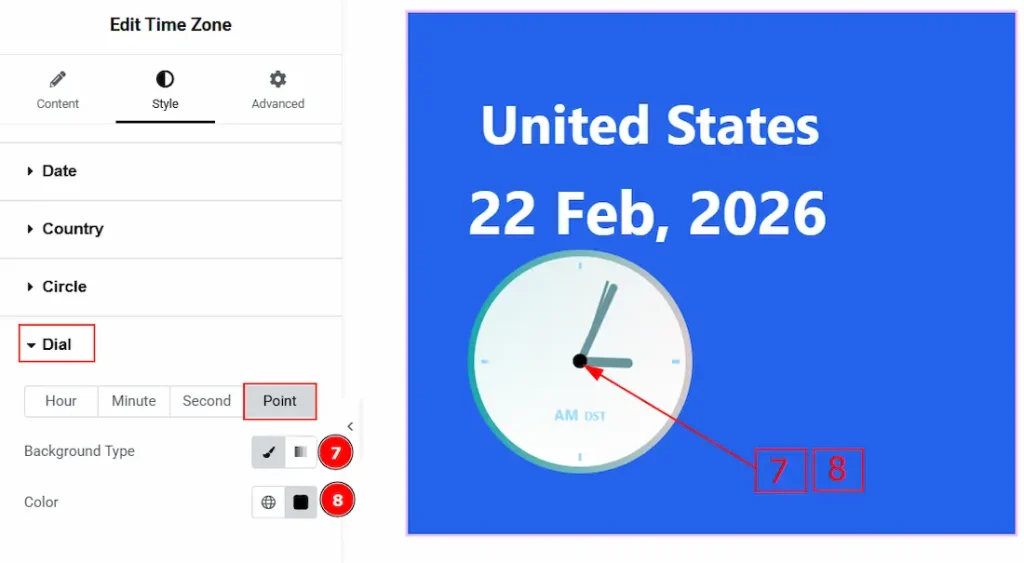
Now, let’s proceed to the Point Tab –
5. Background Type: You can change the background type to be classic or gradient with this option.
6. Color: You can change the point color with this option.
AM/PM Section
Go to Style → AM/PM
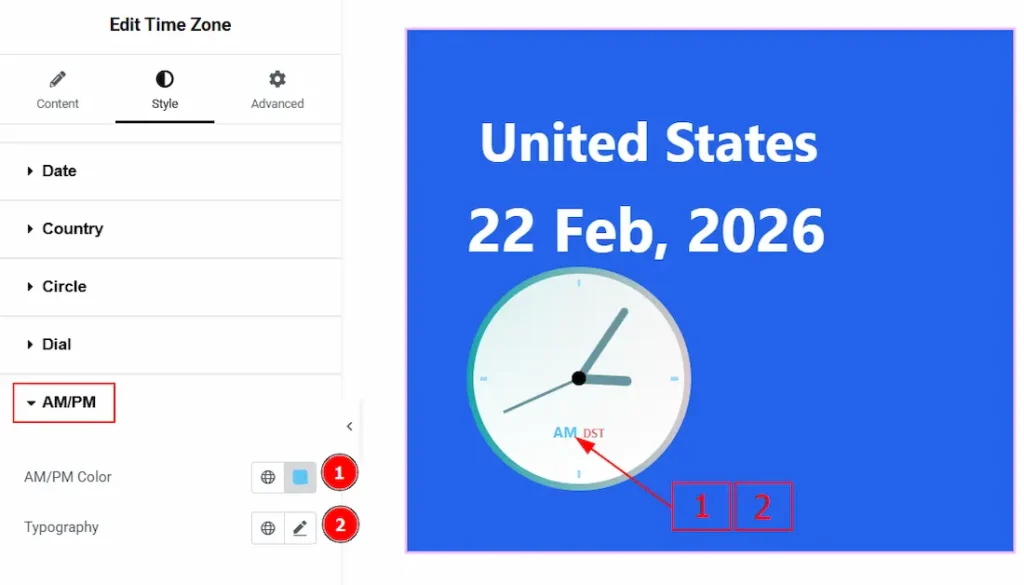
1. AM/PM Color: You can make changes to the AM/PM text color with this option.
2. Typography: Change the font family, size, weight, transform, style, decoration, line height, letter spacing, and word spacing from here.
DST Indicator Section
Go to Style → DST Indicator
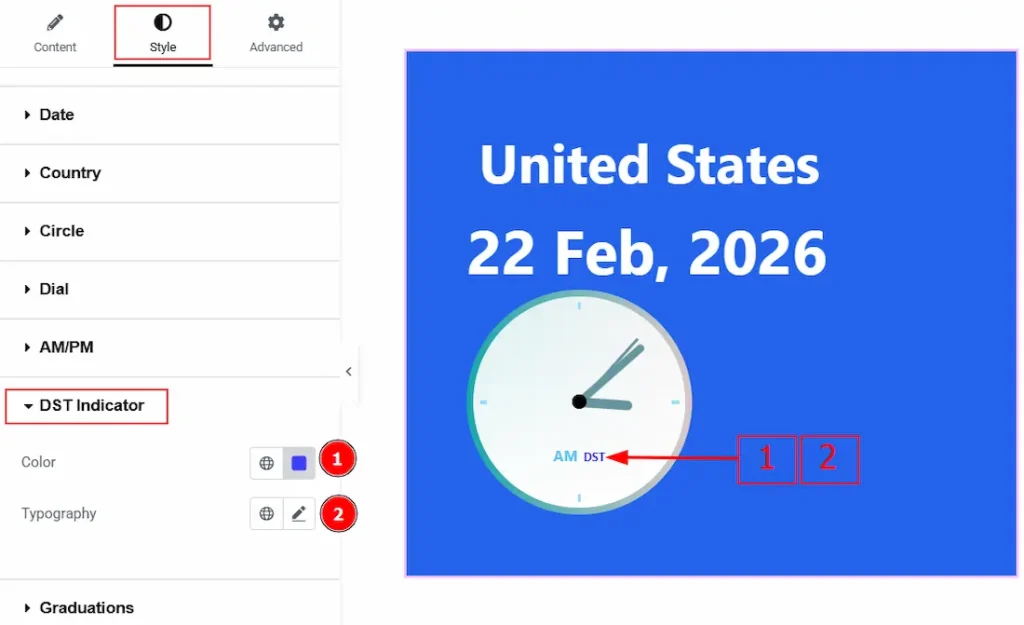
1. Color: You can make changes to the DST Indicator text color with this option.
2. Typography: Change the font family, size, weight, transform, style, decoration, line height, letter spacing, and word spacing from here.
Graduations Section
Go to Style → Graduations
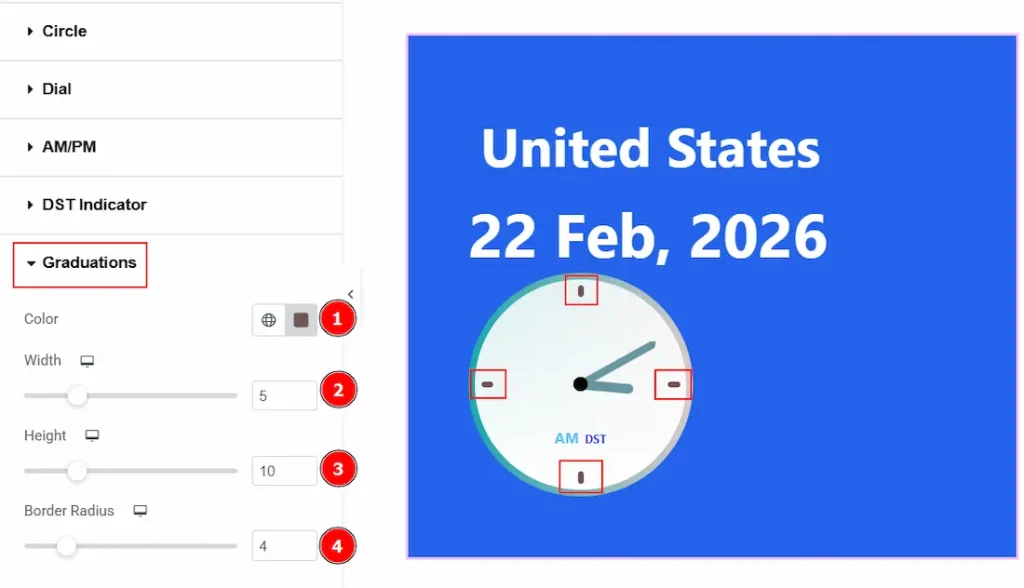
1. Color: You can change the graduation’s color with this option.
2. Width: You can set the thickness of the graduations with this option.
3. Height: You can adjust the height of the graduations with this option.
4. Border Radius: You can control the roundness of the border with this option.
All done! You have successfully customized the Time Zone widget on your website.
Video Assist
You can also watch the video tutorial to learn more about the Time Zone widget. Please visit the demo page for examples.
Thanks for being with us.