

The Notification widget for Elementor is one of the fundamental add-ons that show popup/fixed notification on the user screen. It is an easy-to-use widget, designed by Element Pack. Let’s have a look at how you can use it in different modes.
Inserting widget
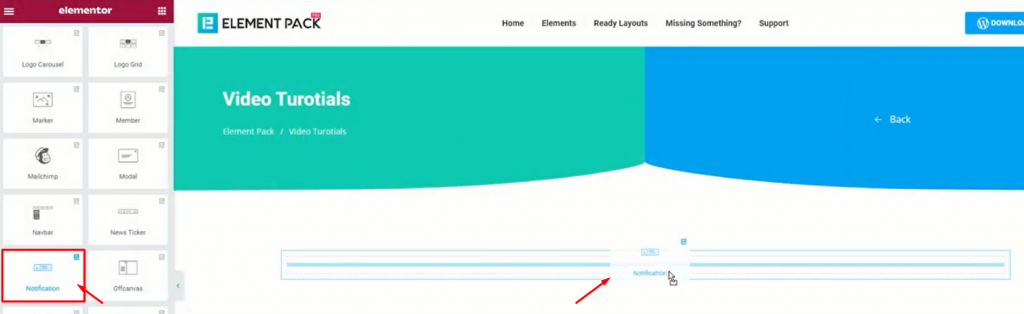
From the widget menu, search for the Notification widget and drag-drop it inside your page.
Inside the Notification widget
Notification widget generally puts a notification box on-screen on your visiting page. The text box is compact in size and has several specific text colors to deliver certain messages.
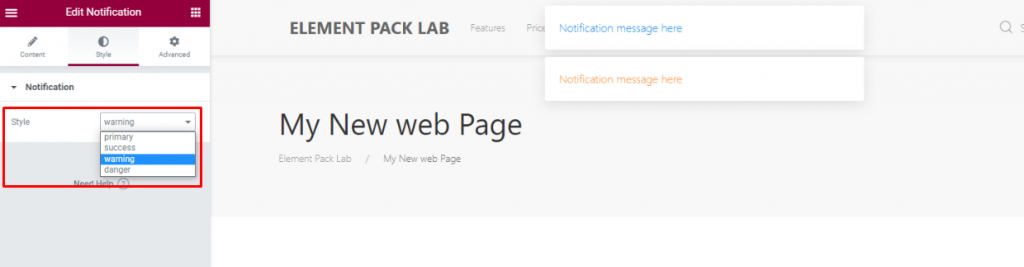
Such as, on the default settings, if you go to the Style tab, you can select from 4 different color styles for the text.
Now, let’s see how many functions this widget shows.
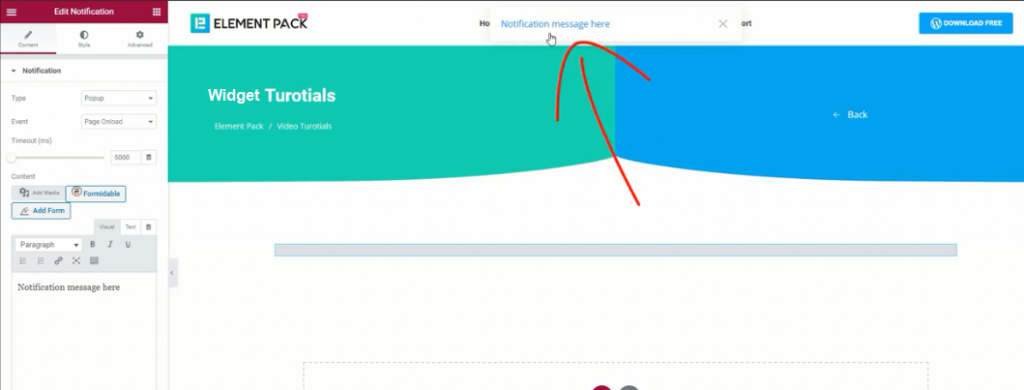
Content tab
Content tab basically holds all the basic settings of the widget. It is so that you can determine what notification delivery method you want to take. This part of the settings allows you to design you notification as you like.
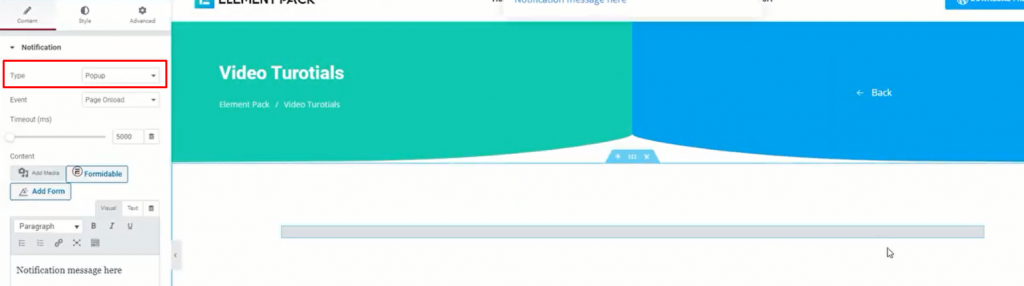
The only section Notification under the Content tab has the main settings for the notification. The menu Type has two options inside; Fixed & Popup.
Note: Selecting Fixed will stick the notification on the actual widget position. Selecting Popup will give out the option to make the notification appear on certain places on the screen.
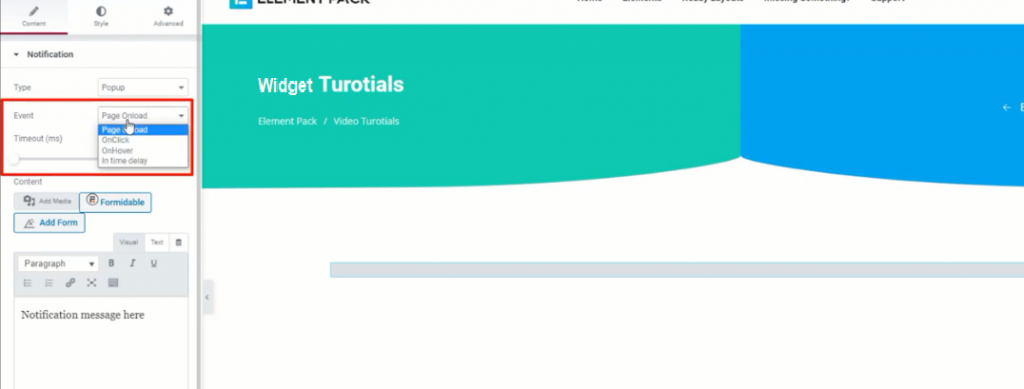
The menu Event has four options; Page Onload, Onclick, Onhover, and In time delay. Each one functions separately. Let’s see in detail.
In Time Delay
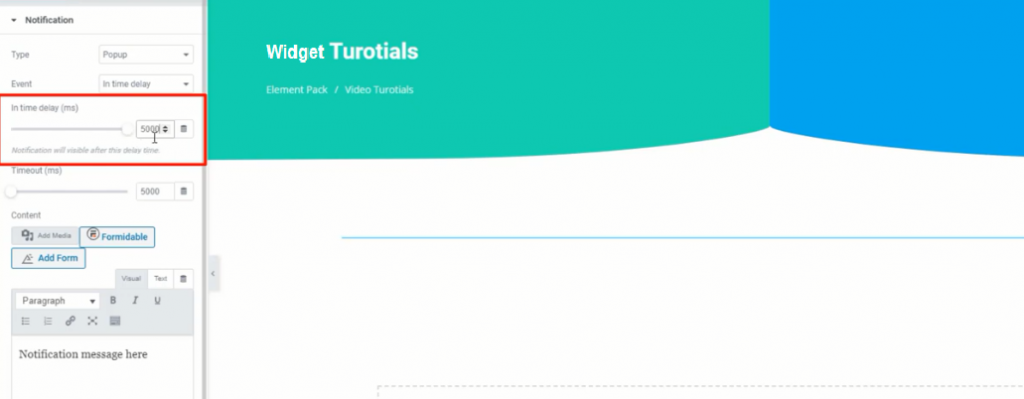
Let’s select the In Time Delay option from the Event. You will get a scroll bar option to set a time delay for the notification. After inserting a specific time, the notification will appear on the page after the execution of the specified time.
Page Onload
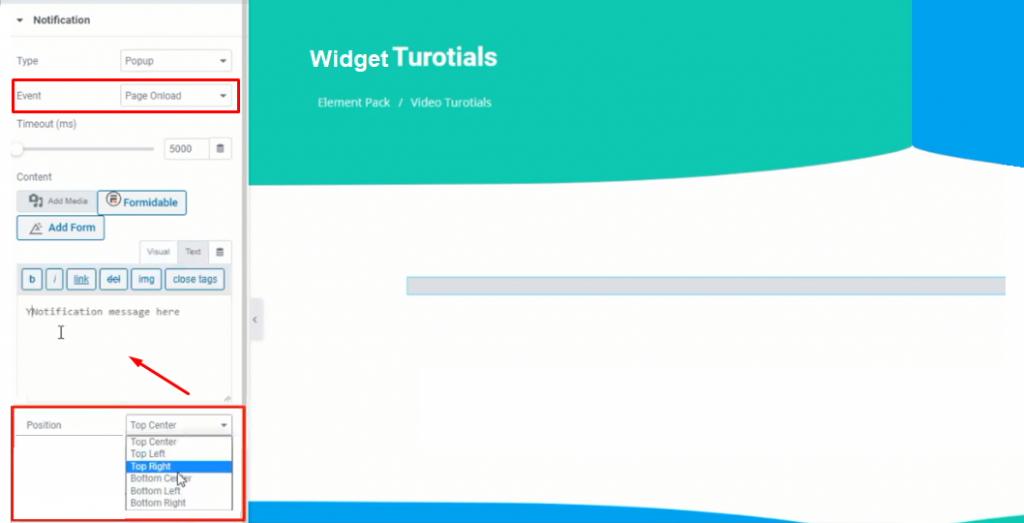
The Page Onload option makes the notification appear instantly after opening the page. You can put any text on the text field to show as the notification message. Do not forget that you can adjust its position.
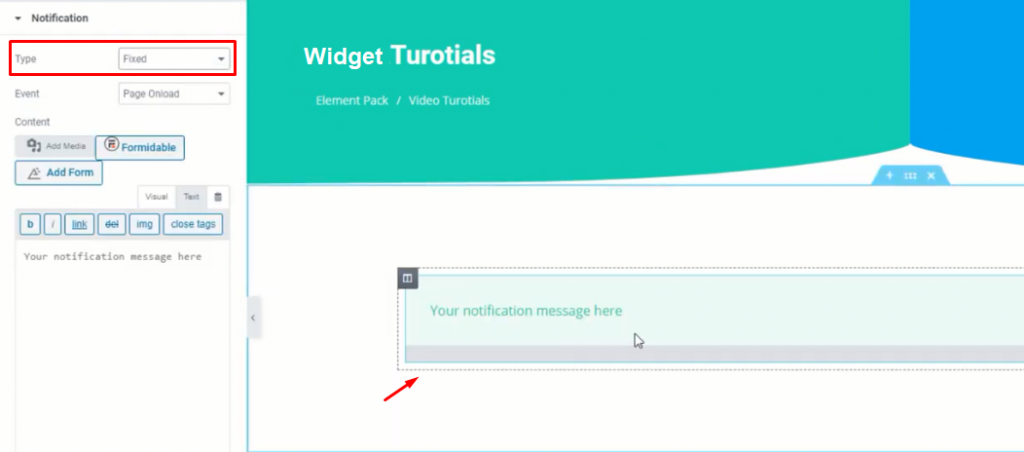
Selecting Fixed from the Type option will stick the notification on the original position.
OnClick
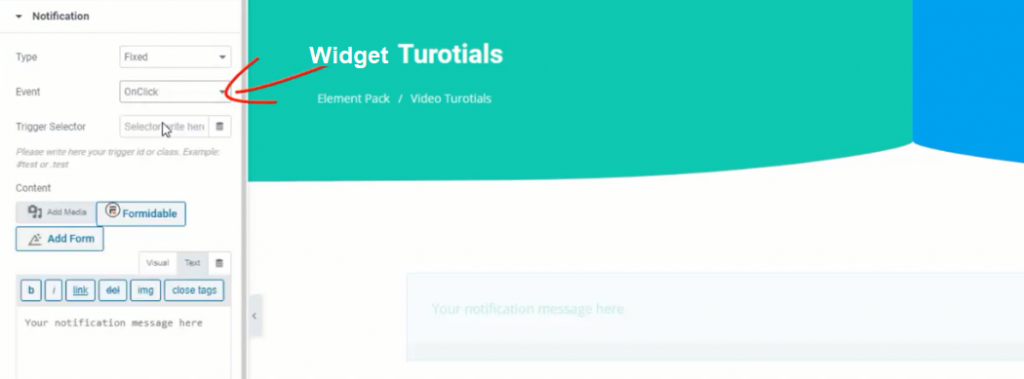
The Onclick settings makes the notification appear upon click. Now here is a trick that you can deploy on your website.
Note: This trick is a built-in function of the Notification widget.
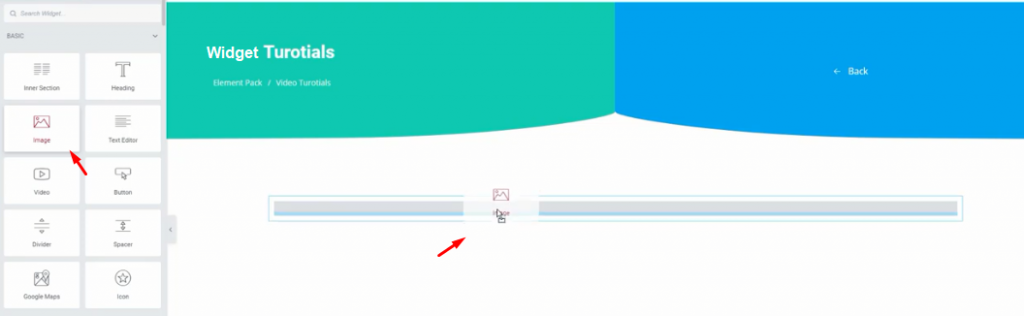
Drag and drop an image widget along with the Notification widget.
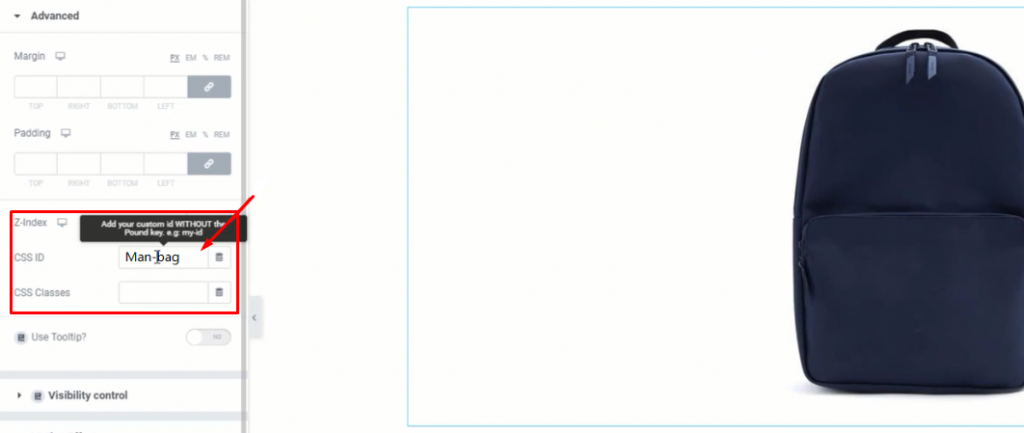
Select any image and go to its Advanced tab. There, insert a CSS ID for the image widget and copy it.
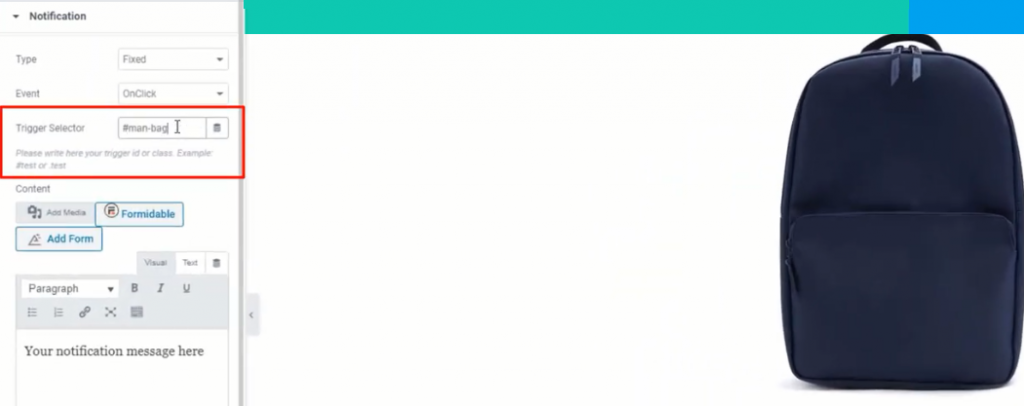
Now, place the CSS ID inside the Trigger Selector field. Put # before the CSS ID in this case.
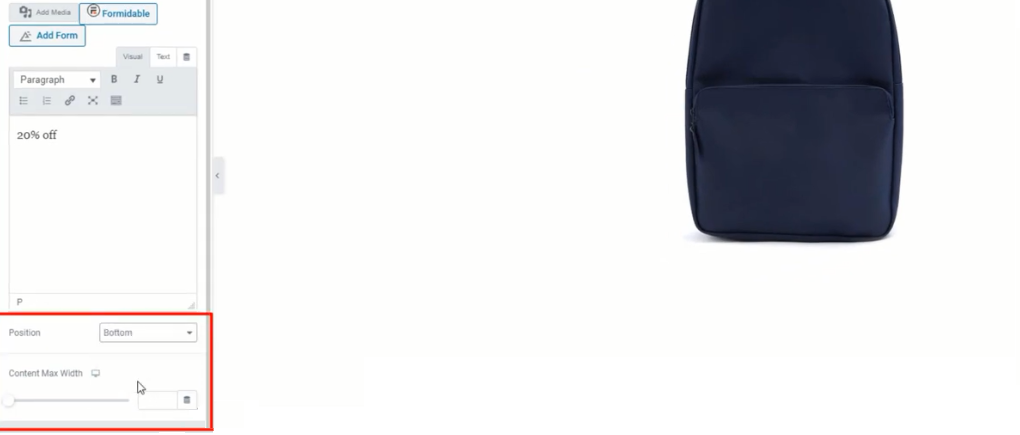
Note: There are options for adjusting the position and content width of the notification down below.
Now, hit save and view it in preview mode.
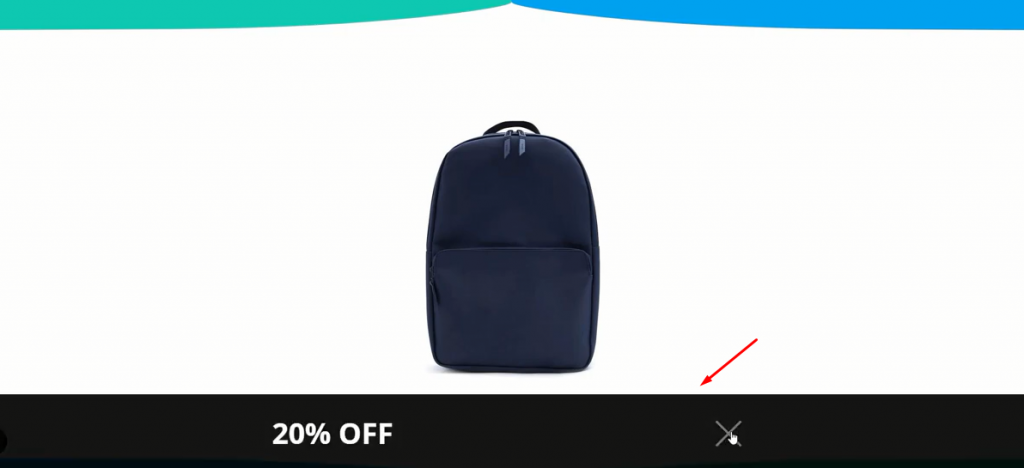
Now, upon click on the image, the notification will pop up. The notification box is placed in the bottom center of the settings.
The OnHover option has the same settings as the OnClick option. Just that, it will make the notification message appear upon hover for the alerts widget.
Video Assist
Well, this is how the Notification widget by Bdthemes works. Feel free to watch the video for more visual information. Check out the Demo page here.