In this documentation, we will discuss how to use the Realistic Image Shadow widget extension, brought to you by the Element Pack Pro.
Activate the Realistic Image Shadow
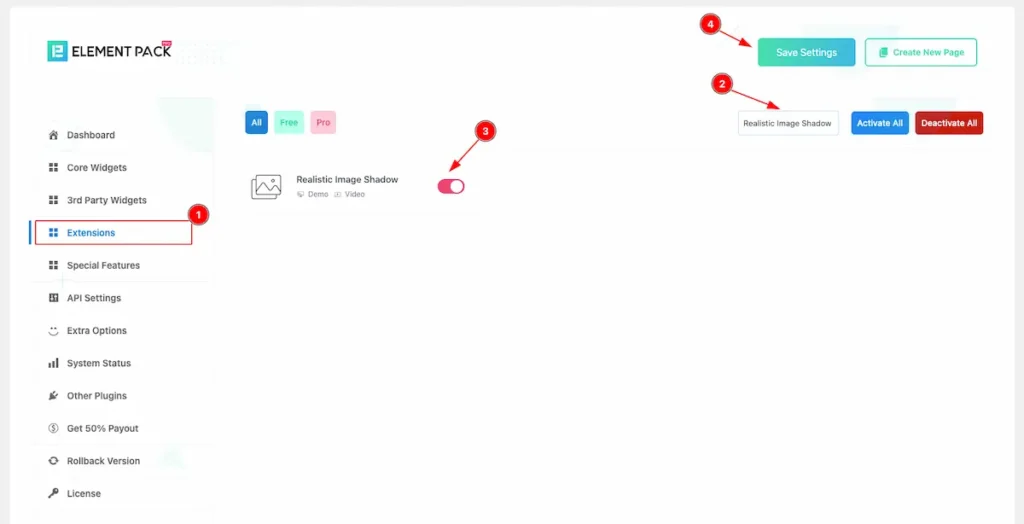
Go to Element Pack Pro Dashboard > Extension
To use the Realistic Image Shadow from Element Pack Pro Widget must be enabled. Navigate to WordPress Dashboard > Element Pack Pro Plugin dashboard.
- Navigate to Extensions Tab.
- Search by the Realistic Image Shadow Widget Name.
- Enable the Realistic Image Shadow Widget.
- Hit the Save Settings Button.
Insert Image Widget
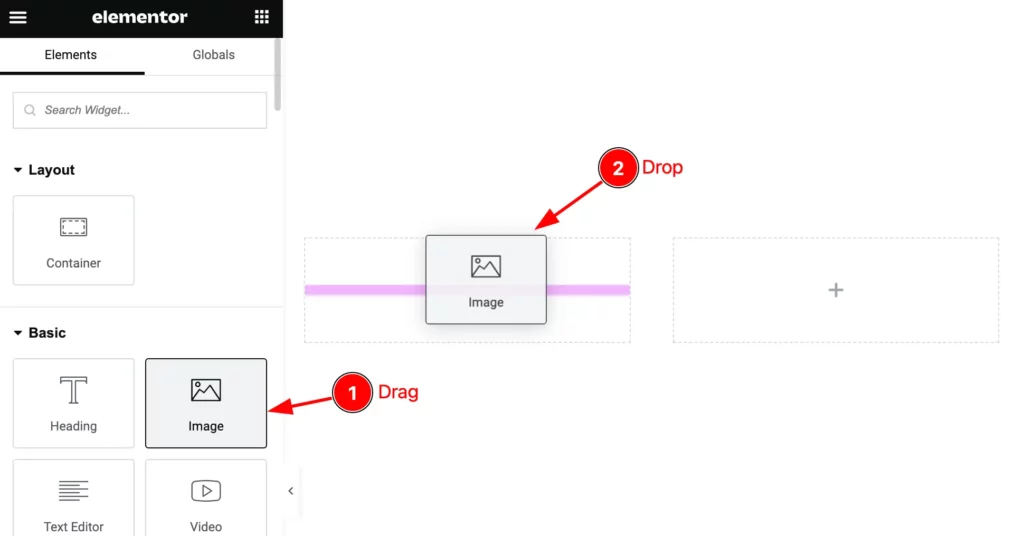
- Select the ” Image ” widget from the Elements Section.
- Drag and Drop on the Editor Page.
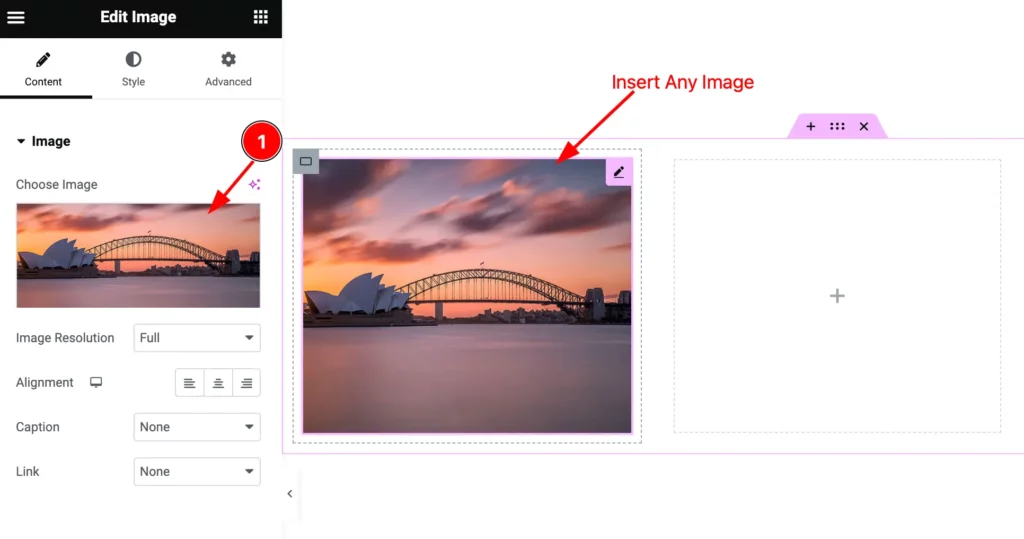
Then insert any image you want to work with.
Find the Realistic Image Shadow widget
Go to Advanced > Realistic Image Shadow
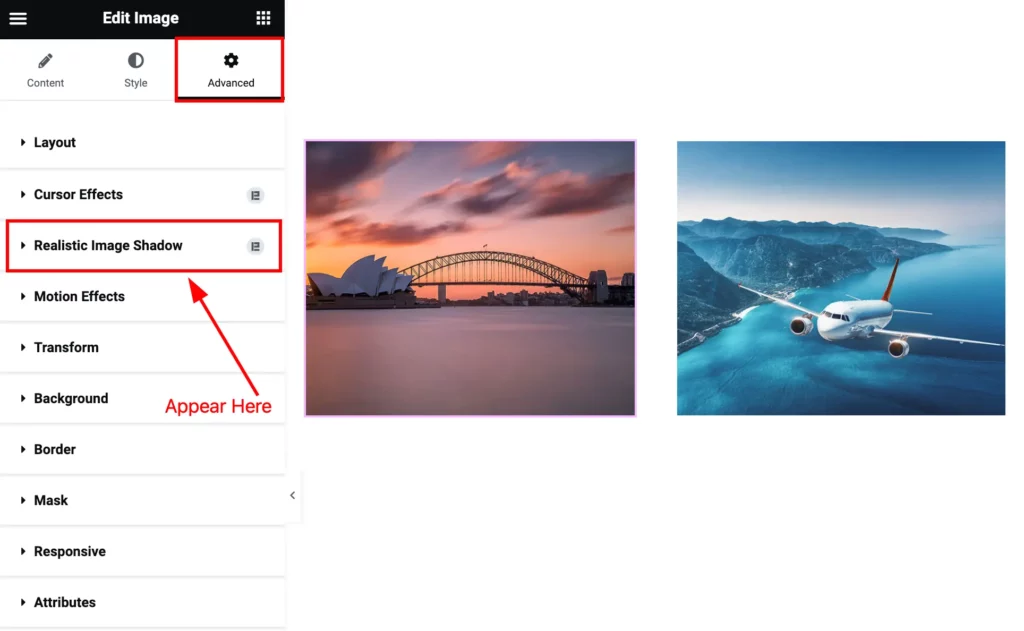
On the Advanced tab section Find the ” Realistic Image Shadow ” extension will appear.
Work with Realistic Image Shadow
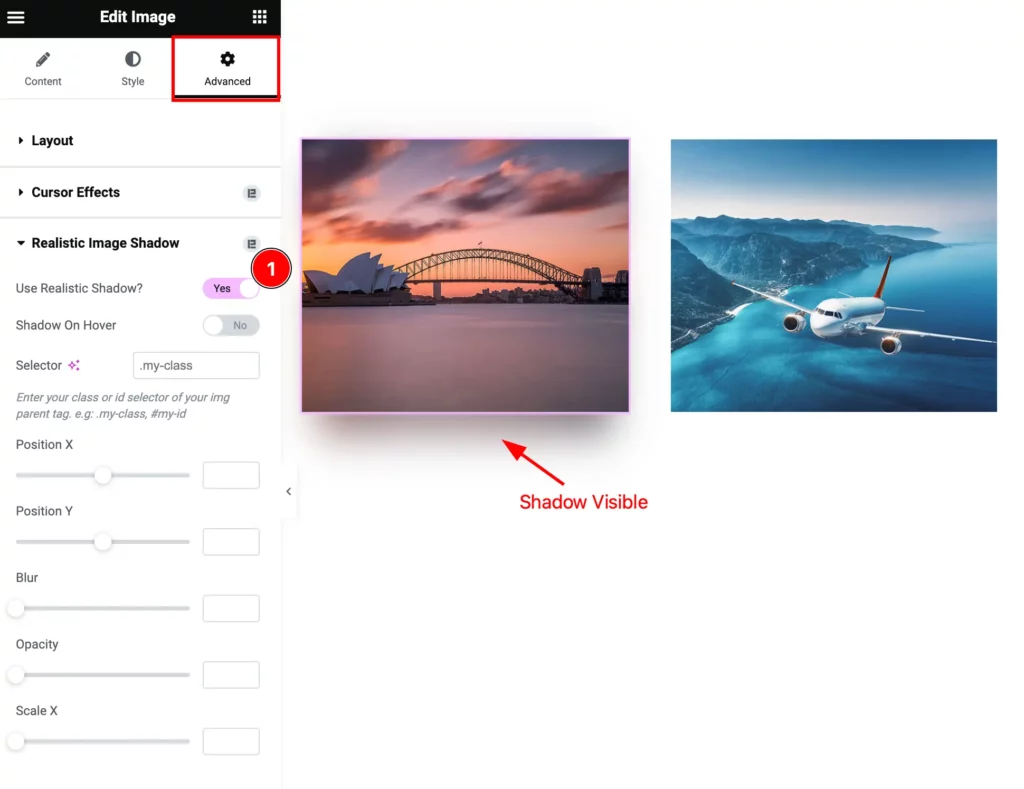
- Use Realistic Shadow?: Enable the switcher and it will app all the controls of realistic image shadow and the shadow visible.
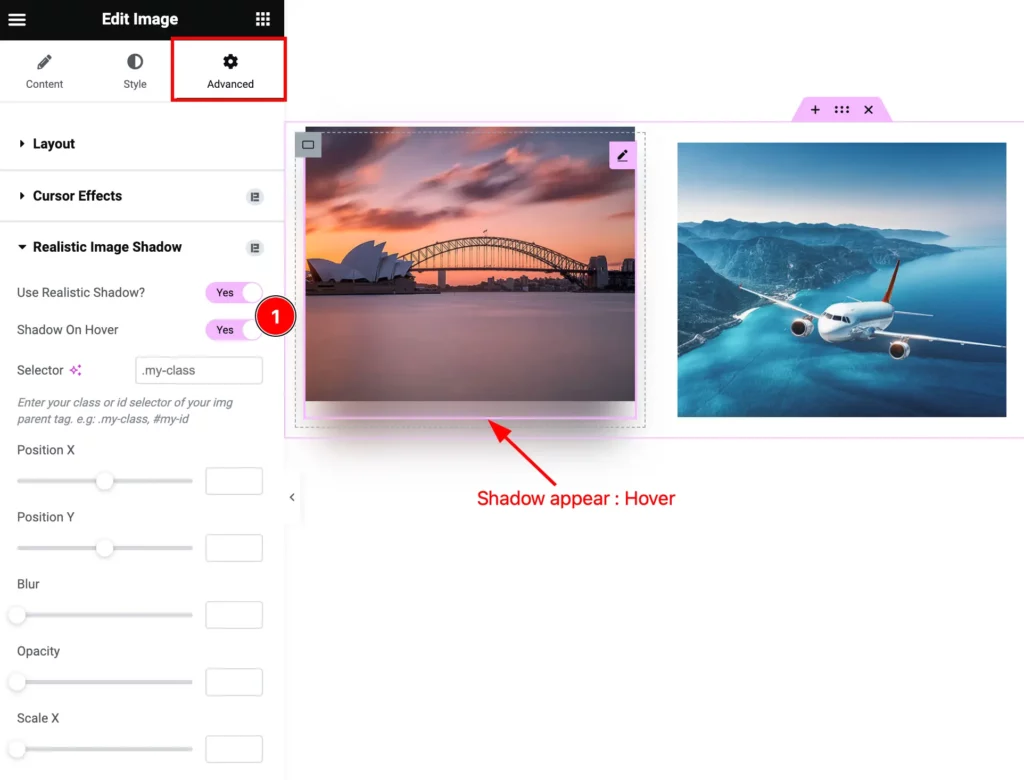
- Shadow On Hover: Enable the switcher to show the shadow on mouse hover.
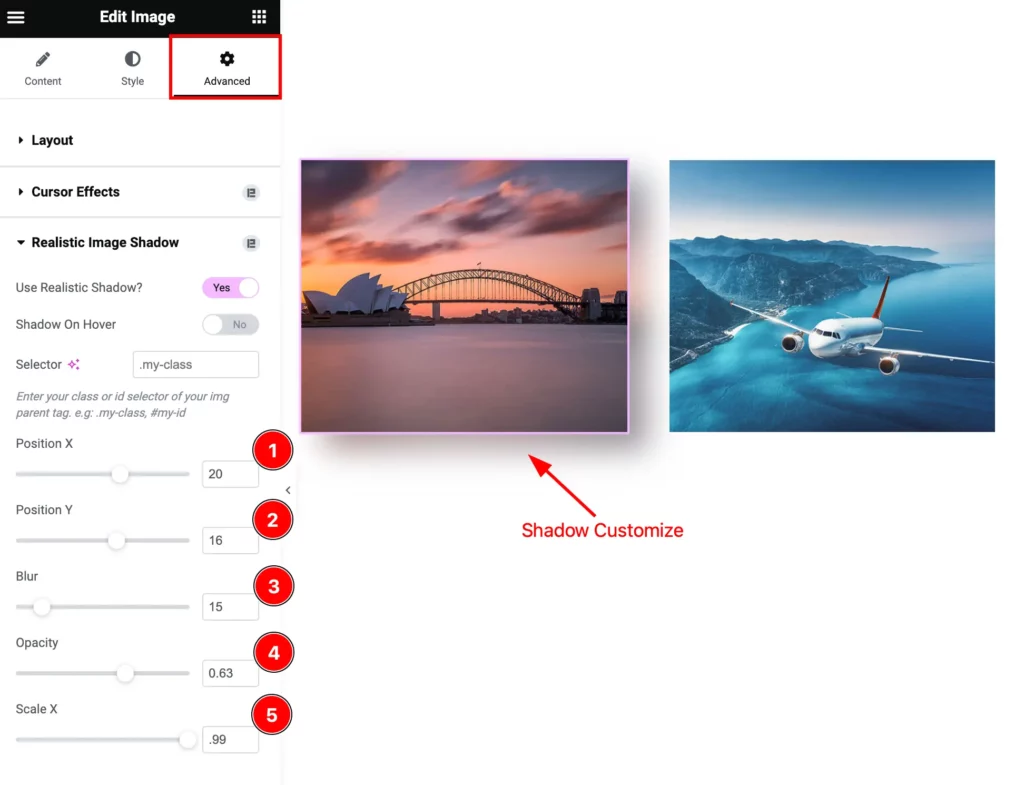
- Position X: Set the Position X in horizontal.
- Position Y: Set the Position Y in horizontal.
- Blur: Set the blur level for the Image shadow.
- Opacity: Set the opacity for the image.
- Scale X: Set the Scale in X Position for the Image.
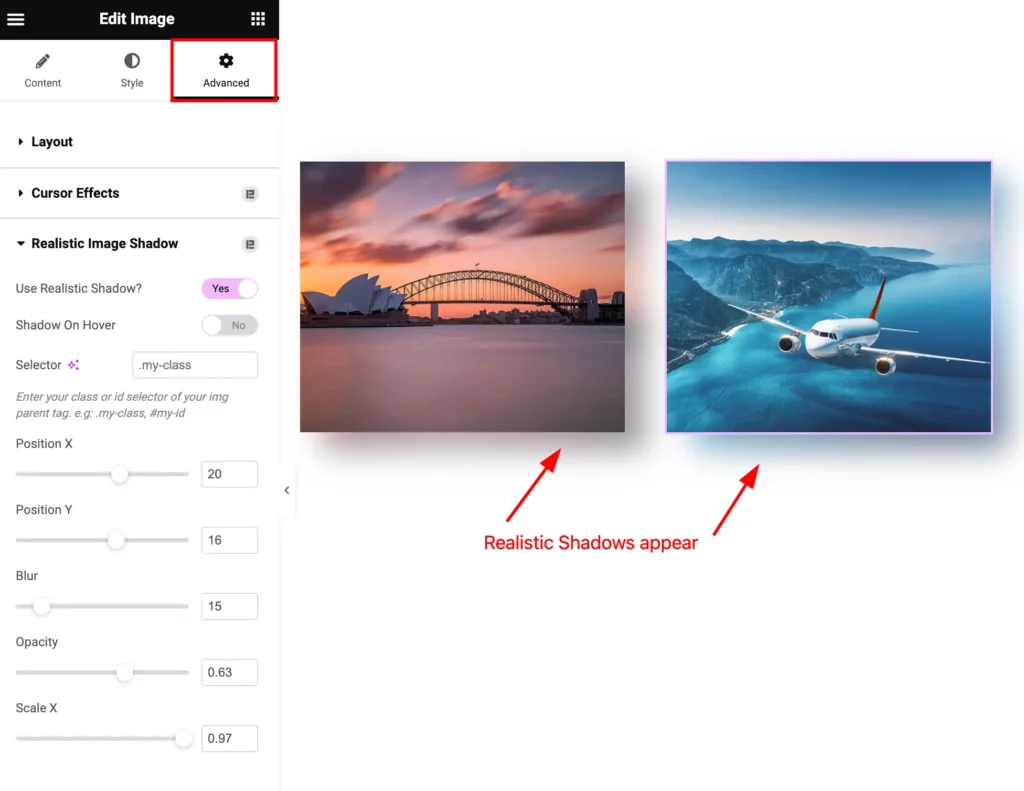
By following this you can make any image realistic.
Video Assist
You can watch the Realistic Image Shadow widget video tutorial above. Please visit the demo page for examples.
Thanks for staying with us.