In this documentation, we will discuss create a Permission Manager Feature brought to you by the Element Pack Pro.
Permission Manager
The Permission Manager gives admins full control over who can access and use specific Element Pack Pro widgets, extensions, and settings. With this tool, admins can manage editing permissions for different user roles such as Editor, Author, Contributor, and Subscriber, ensuring a secure and organized workflow across the website.
Key Features:
- Control access to Core Widgets, 3rd Party Widgets, Extensions, and Special Features.
- Only Admin can decide which widgets and settings are available for other user roles.
- Manage permissions for Editor, Author, Contributor, and Subscriber.
- Restrict or allow specific Settings Features, Widgets, and Extensions etc.
- Maintain a clean and secure editing experience with limited access to selected features.
Explore Permission Manager
Go to WP Dashboard Element Pack Pro > Permission Manager
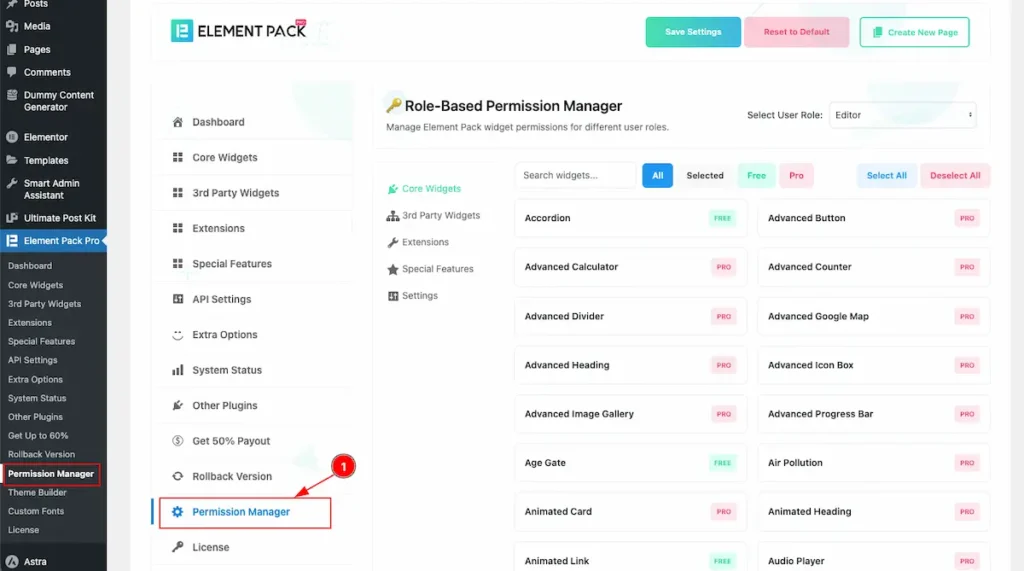
- On the Permission Manager section all the controls appear on the section.
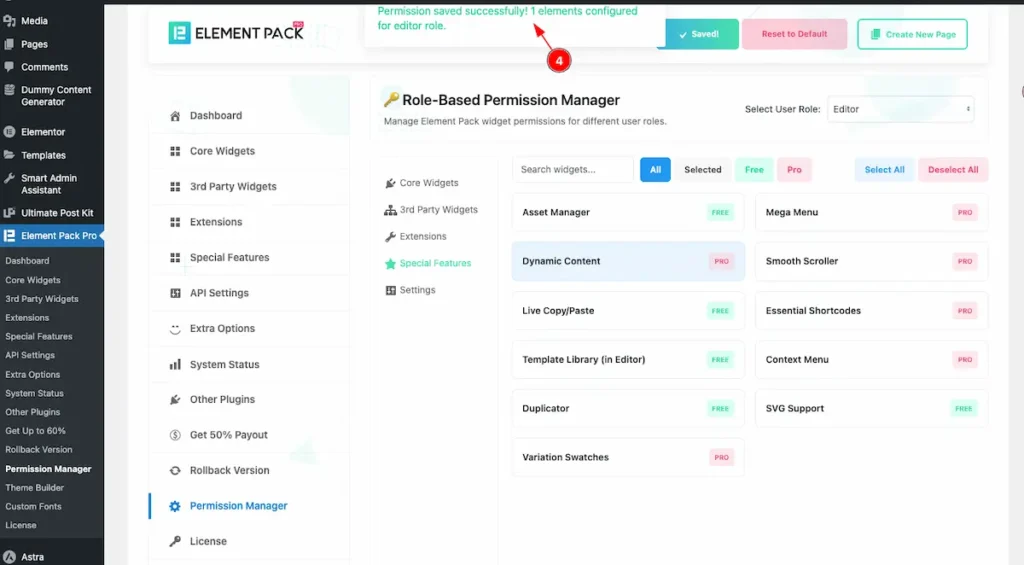
Details view of Permission Manager
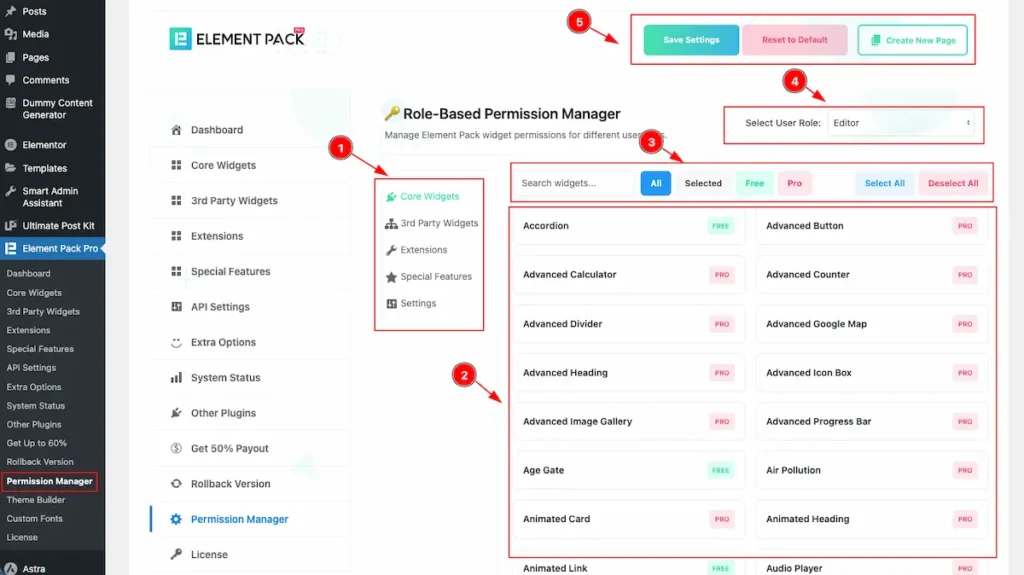
- Widget Section: It displays all the widget control sections — Core Widgets, 3rd Party Widgets, Extensions, Special Features, and Settings.
- All available widgets are listed under this section.
- It includes various controls such as Search, All, Selected, Pro, Free, Select All, and Deactivate All options.
- You can also assign widget access based on User Roles like Editor, Subscriber, Author, and Contributor.
- Finally, you can Save Settings, Restore to Default, or Create a New Page directly from this section.
Select Widget for Core Widgets
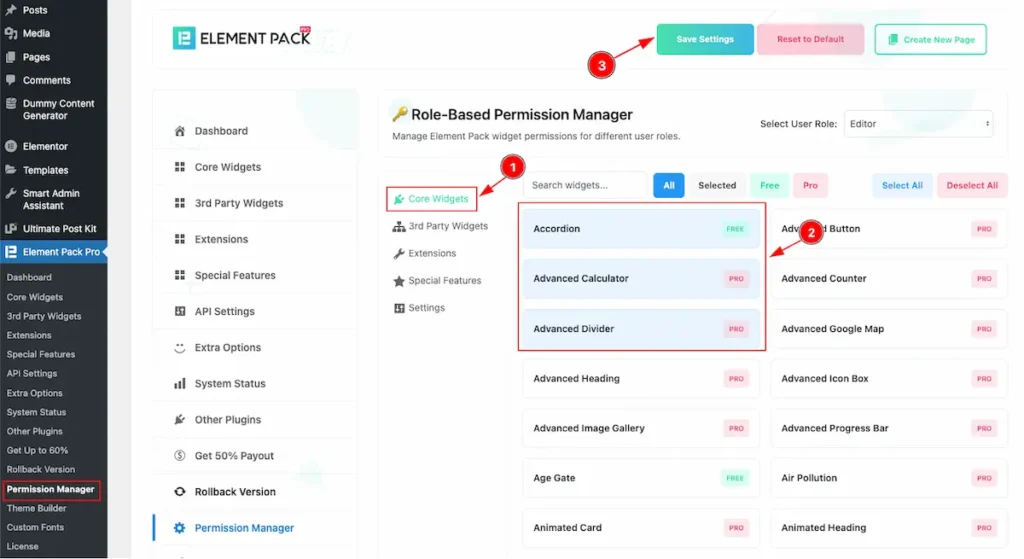
Steps to Configure Core Widgets:
- Navigate to the Core Widgets section.
- Select the widget(s) you want to enable — the selected widgets will be highlighted in light blue.
- Click the Save Settings button to apply and save your changes.
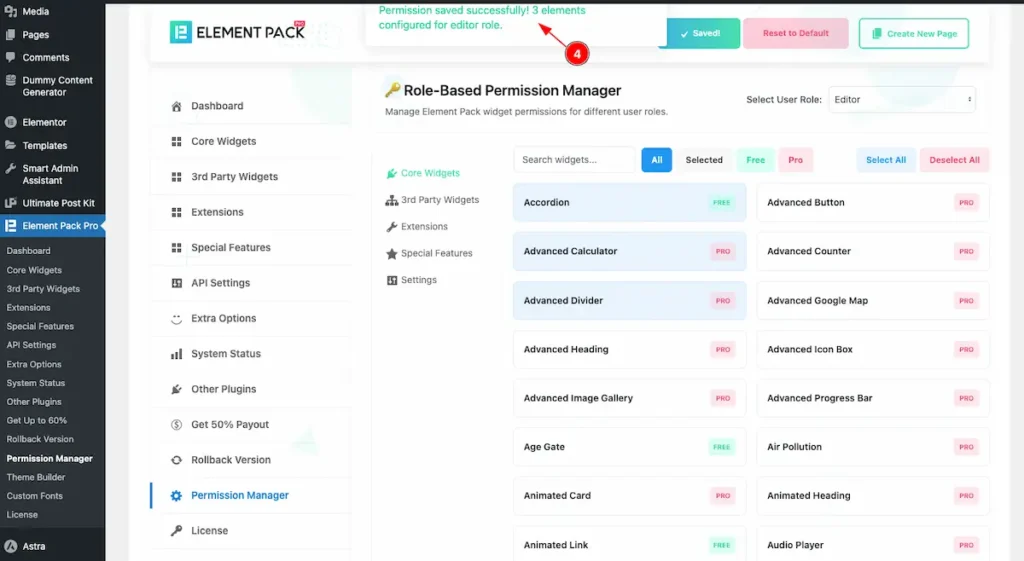
- After saving, a confirmation message will appear showing the number of elements configured for the Editor role.
Select Widget for 3rd Party Widgets
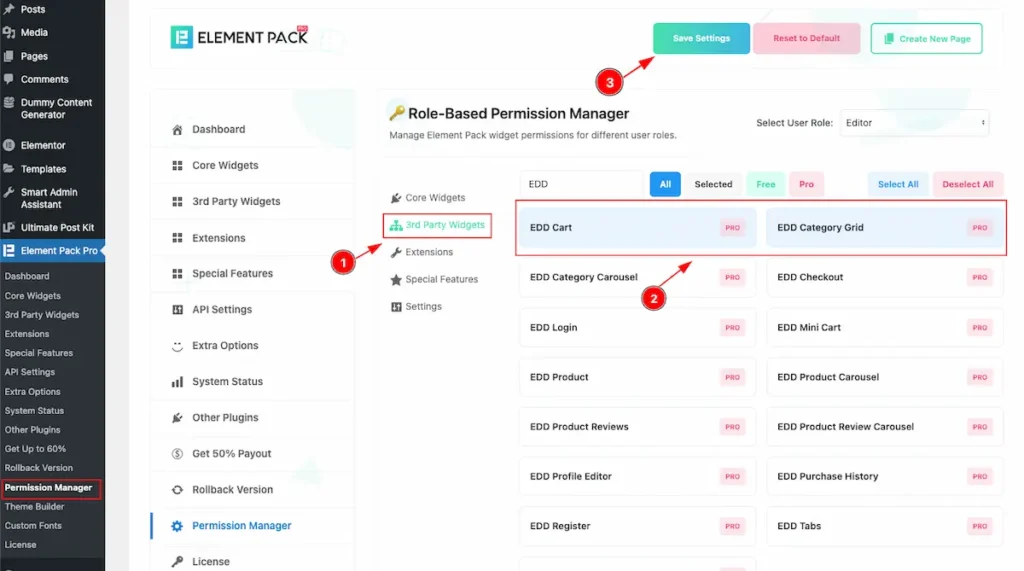
Steps to Configure 3rd Party Widgets:
- Navigate to the 3rd Party Widgets section.
- Select the widget(s) you want to enable — the selected widgets will be highlighted in light blue.
- Click the Save Settings button to apply and save your changes.
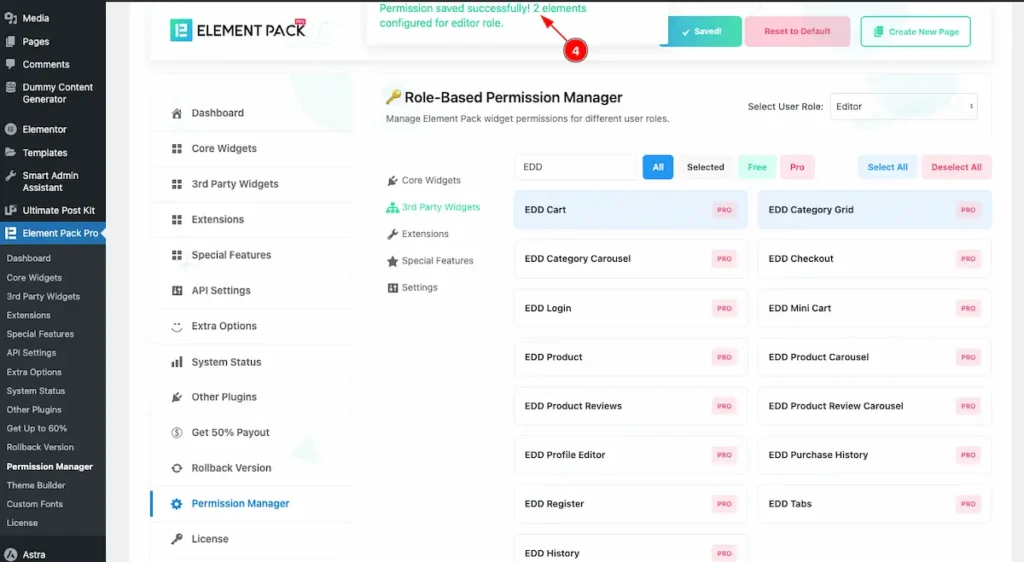
- After saving, a confirmation message will appear showing the number of elements configured for the Editor role.
Select Elements for Extension
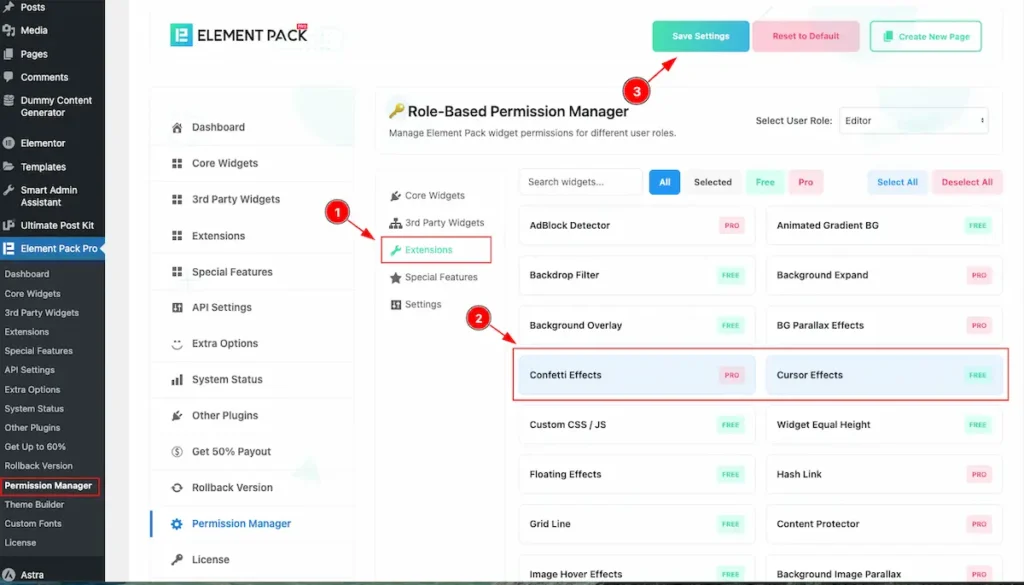
Steps to Configure Extensions:
- Navigate to the Extensions section.
- Select the widget(s) you want to enable — the selected widgets will be highlighted in light blue.
- Click the Save Settings button to apply and save your changes.
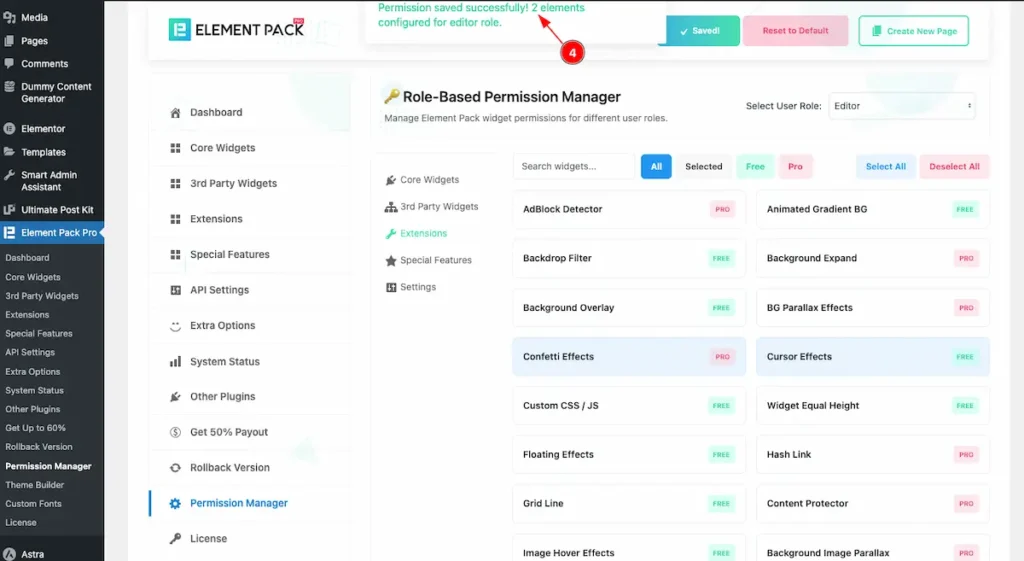
- After saving, a confirmation message will appear showing the number of elements configured for the Editor role.
Select Special Features

Steps to Configure Special Features:
- Navigate to the Special Features section.
- Select the widget(s) you want to enable — the selected widgets will be highlighted in light blue.
- Click the Save Settings button to apply and save your changes.
- After saving, a confirmation message will appear showing the number of elements configured for the Editor role.
Select Settings of Element Pack Pro

Steps to Configure Settings:
- Navigate to the Settings section.
- Select the widget(s) you want to enable — the selected widgets will be highlighted in light blue.
- Click the Save Settings button to apply and save your changes.

- After saving, a confirmation message will appear showing the number of elements configured for the Editor role.
Check the Permission Control
Create an account for Editor
Navigate to the WordPress Dashboard Create a Editor Role

- Navigate to Users > Add New section.
- Fill out all the required fields such as Username, Email, First Name, Last Name, and Password.
- Select the Role as Editor (you can also choose from other available roles).
- Finally, click on the Add New User button to create the user.
Check the Role after create
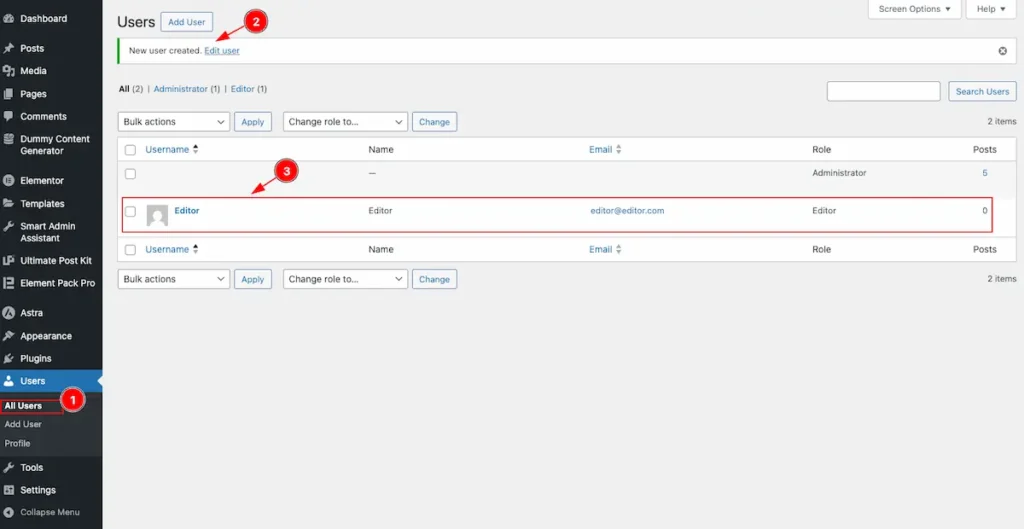
- Navigate to Users > All Users section. Here, all the existing users are listed.
- The newly created user will appear in the list.
- You can see the user’s Name, Email, and Role (e.g., Editor) displayed in the table.
Login to Dashboard with Editor Role
Now login the account where want to check it.
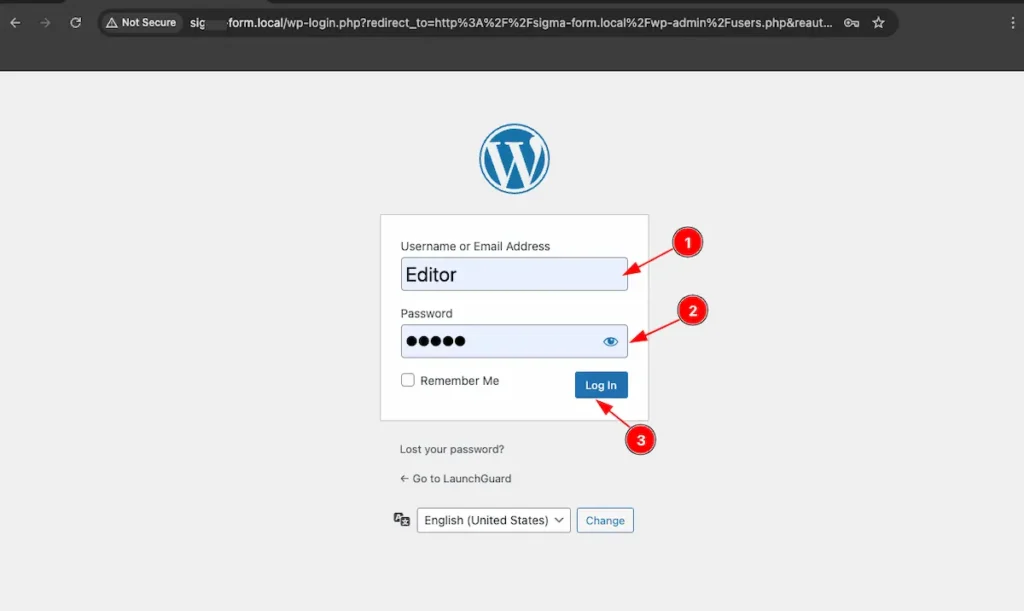
- Enter your Username or Email Address.
- Then, enter your Password.
- Finally, click on the “Log In” button to access your account.
Open the Editor Page
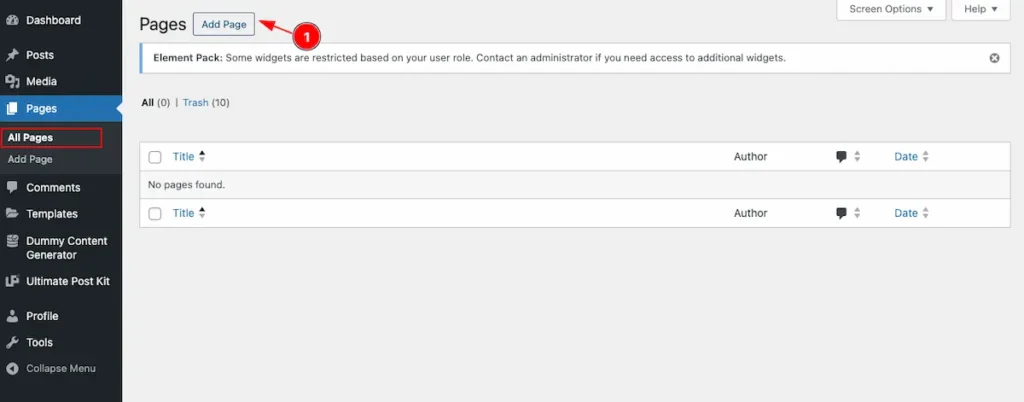
- Navigate to Pages > All Pages from the WordPress dashboard and Click on the “Add New” button to create a new page.
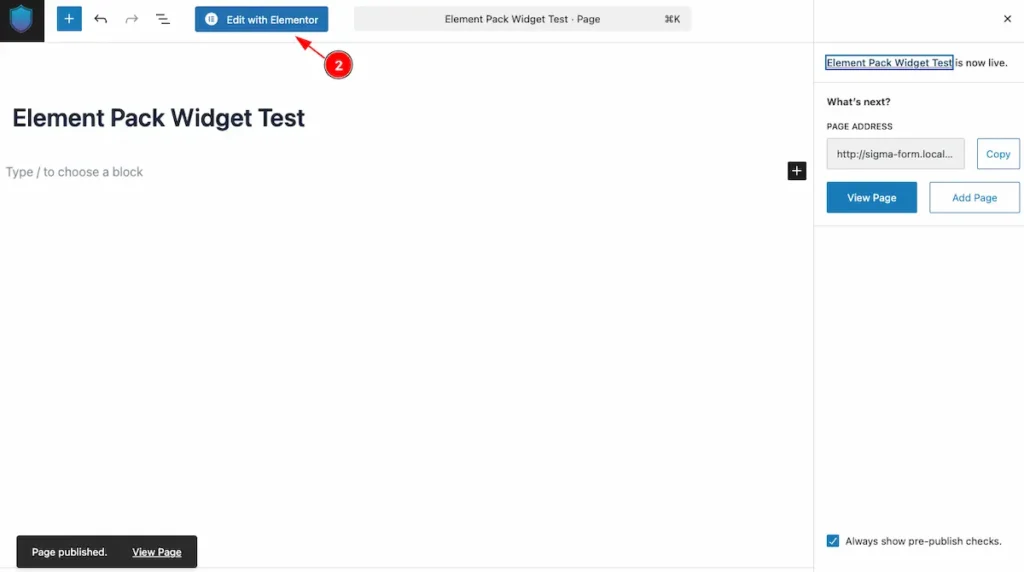
- Now click on the “Edit with Elementor” button to open the page in the Elementor editor.
Check the Core Widgets
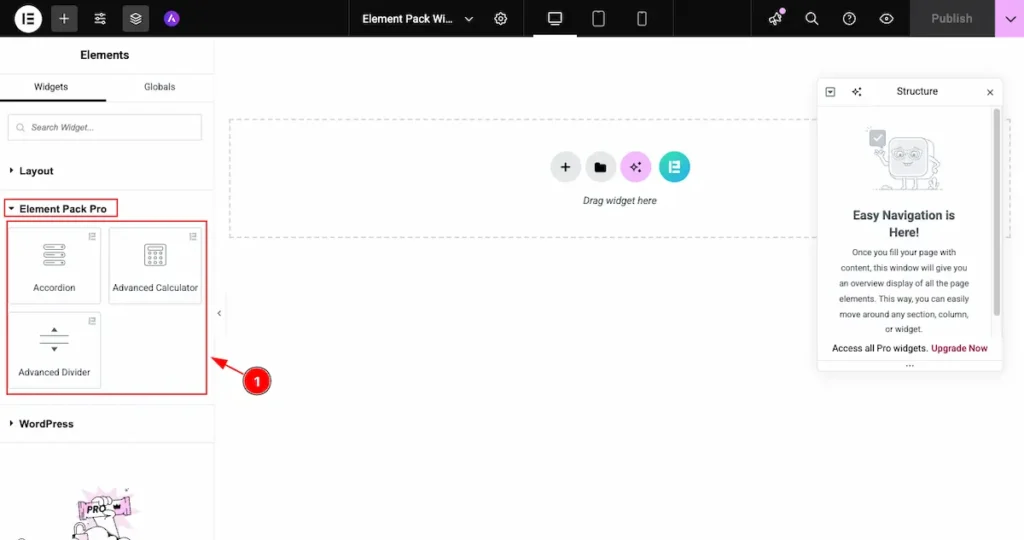
- Now locate the Element Pack Pro section — you’ll see that only the three widgets you permitted earlier are visible and available for use.
Check the 3rd Party Widget
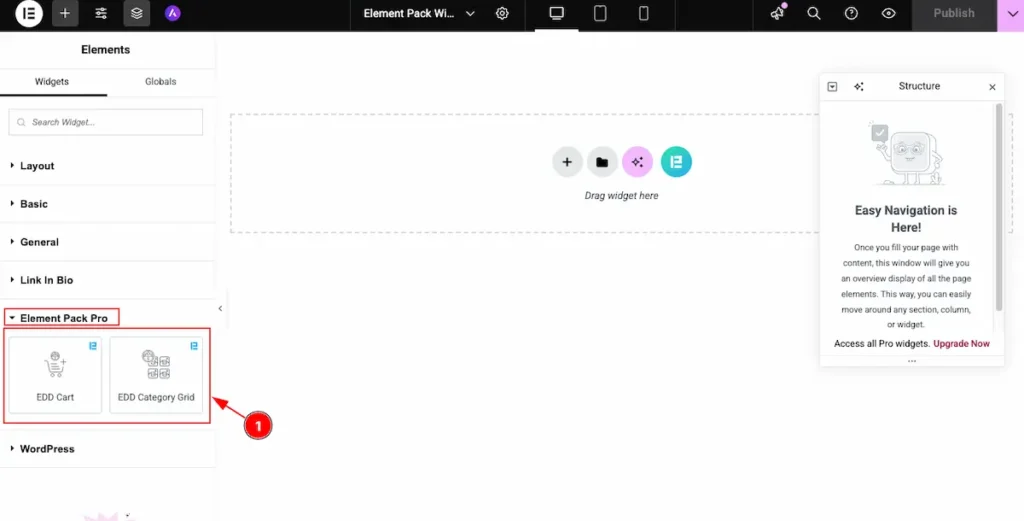
- The 3rd Party Widgets section is visible and activated. For example, the EDD Cart widget appears and is ready to use.
Check the Extensions ( Container )
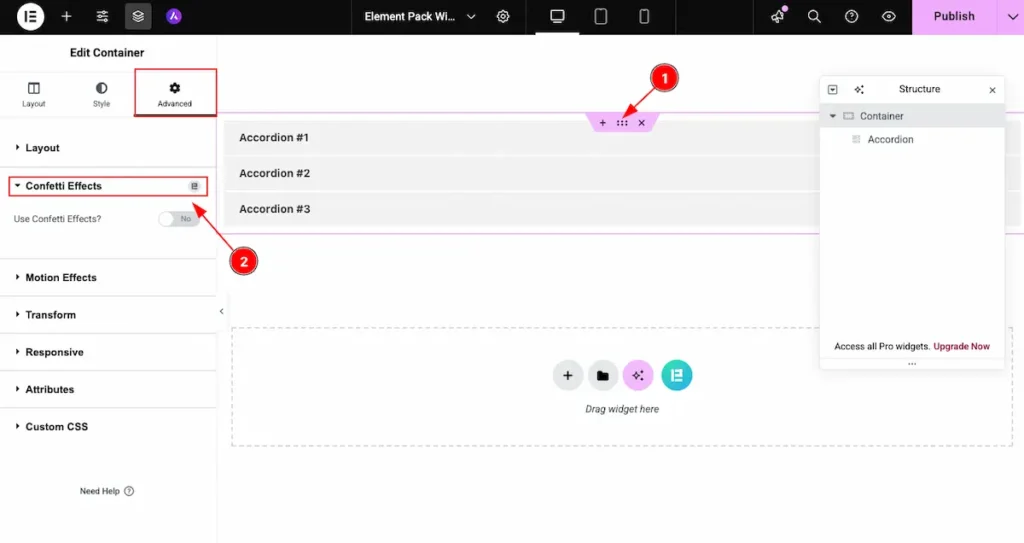
- Now click on the “6 dots” of the container and navigate to the Advantages page.
- Locate the Extension section, where available extensions appear, for example: Confetti Effects.
Check the Extensions ( Widget )
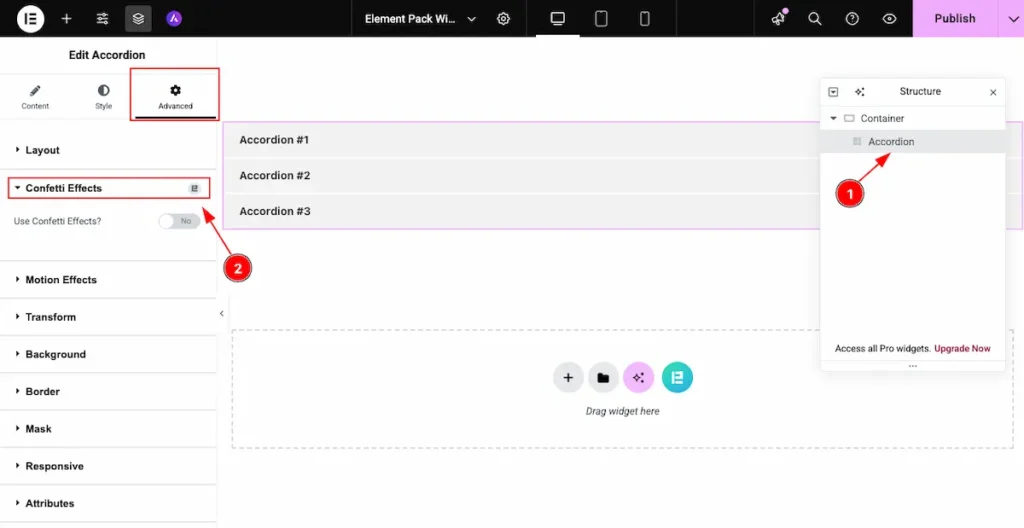
- Now select the Widget and click on it. Navigate to the Advanced Tab.
- Locate the Extension section, where available extensions appear, for example: Confetti Effects.
In this way, you can control which widgets are available for other user roles.
Video Assistant
Please watch the video tutorial to use the feature. I hope the video will help you.
Thanks for staying with us.