
The Protected Content widget is a smart tool that adds another layer of protection to your content. In many cases, you may need to hide or give access to content or feature to a specific group of people. For this purpose, Element Pack Pro has made the Protected Content widget.
This widget is specially built for business and commerce operatives who need to separate access zones. Let me give you a complete guide to it!
To Insert Widget
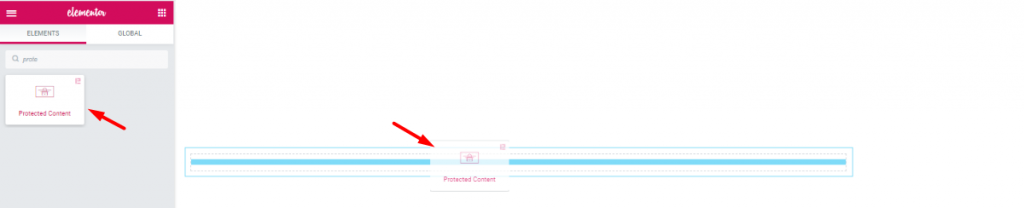
Inserting the widget is just a matter of drag and drop. However, click and hold on the widget icon from the menu and drag the Protected Content widget to the drop point. Follow the picture above.
Content Tab
Using the Content tab, you can basically make a layout of a particular part of the website using the Protected Content widget in Elementor.
Protection Type

In this section, you can choose the Protection type. If you want, you can select the type of User-Based. As well, you can introduce the user type that will help you to trace the users.
Simply, go to Content Tab > Protection Type > Select User Based > Select User Type.

In the same way, you can select Password-Based from the Protection type to create password protected content. After you set a certain password from the Set Password field, anyone with the password will be able to see the content.
Just, go to Content Tab > Protection Type > Password-Based > Set Password.
Protected Content
Go to Content Tab> Protected Content.
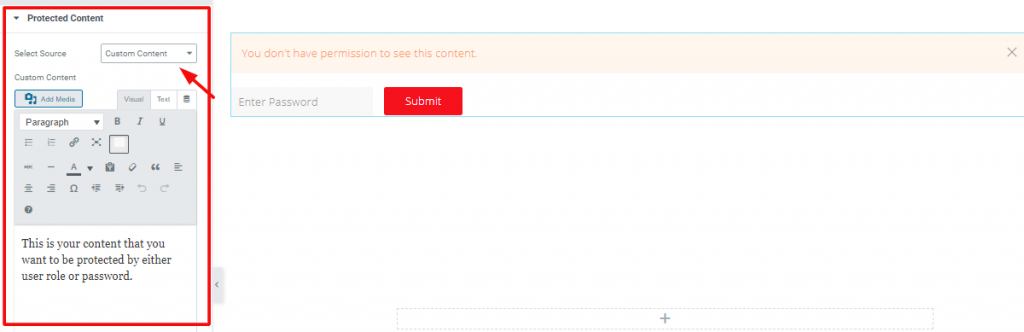
You can select the source that you want to protect from Select Source in this section. After you choose Custom Content, you will see a field where you can write anything or insert any media.
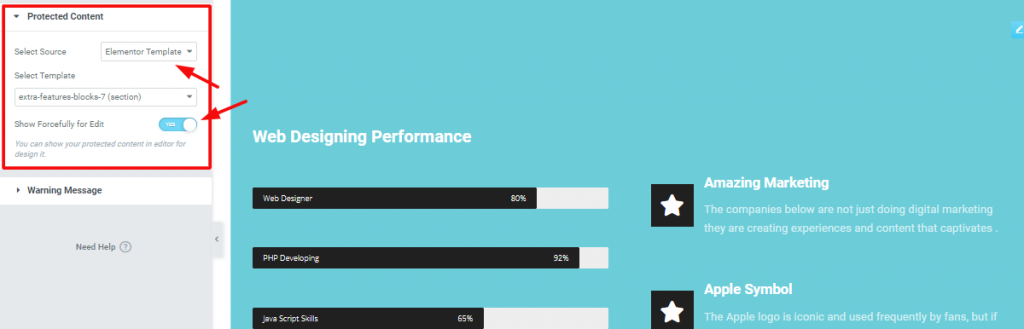
On the other hand, you can select the Elementor Template or AE Template from Select Source.
N.B: If you go for the Elementor Template and AE Template, you should have saved templates under the Templates menu in the WP-Dashboard. Go to WP-Dashboard > Templates > Saved Templates.
One more thing, you will get a switcher Show Forcefully For Edit. The switcher will only appear if you select Password-Based protection from the Protection Type section. Turning on the switcher will forcefully show the Template you want to protect by the Protected Content widget by Element Pack.
Warning Message

Now, come to the Warning Message section, you can select Message Type(Custom Message, Elementor Template, or AE Template, or even None). Also, the switcher below controls the Close Button.
Style Tab
Now, time for some style. In this Style tab, you will have more options to beautify your unique Protected Content layout as you like. However, you will find a different set of sections in the tab on the basis of changes in the Content Tab. Let’s get into it!
Protected Content
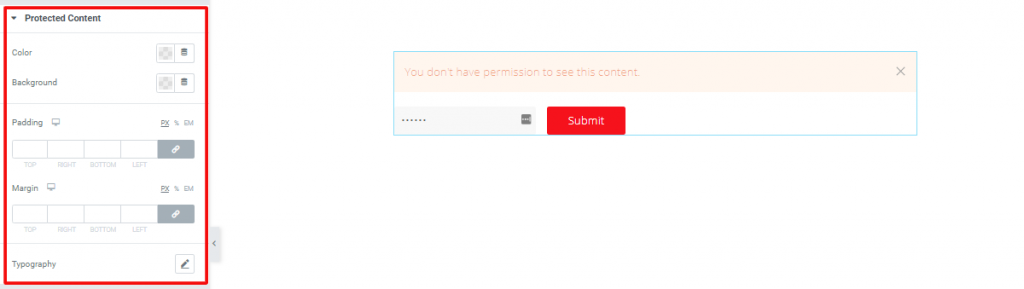
You can edit the style of the custom-protected content from this section. Only, go to the Style tab > Add padding, adjust margin, or apply any color from here. You can also change the typography of the content.
Warning Message
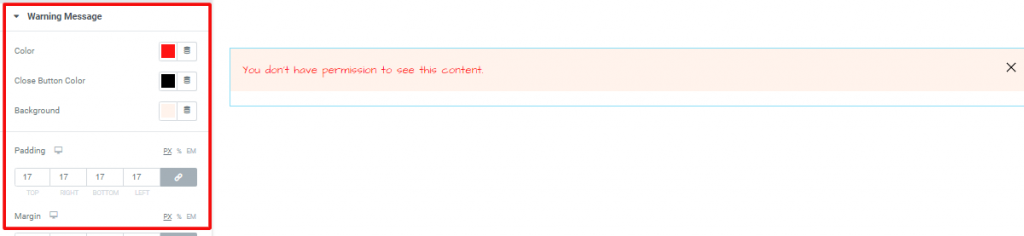
After you select User-Based in Protection Type and Elementor/AE Template in Protected Content inside Content Tab, you will see the Warning Message section alone in the Style Tab. Here, you can change the color, add some padding, or adjust the width of the warning message box from here.
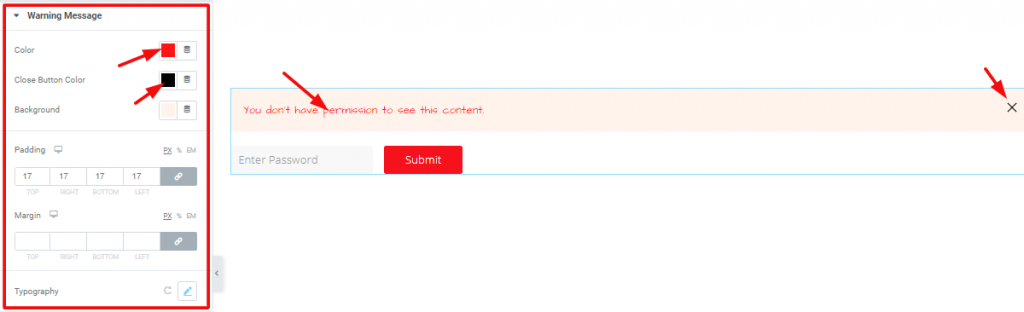
However, the Warning Message section is also the same for the Password-Based protection type.
Go to Style Tab> Warning Message.
Password Input
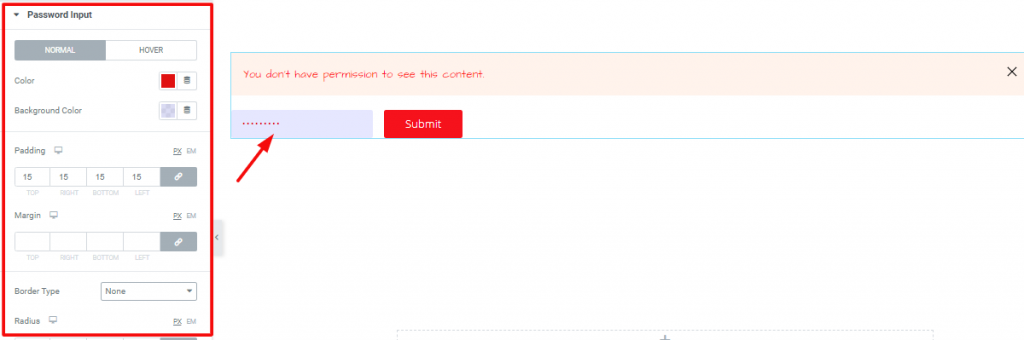
Here, you can change the text color, background color, add padding, margin, and also the border of the password input box. Mostly, you can go for the Hover mode. However, this section appears when you select the Password-based protection type.
Submit Button
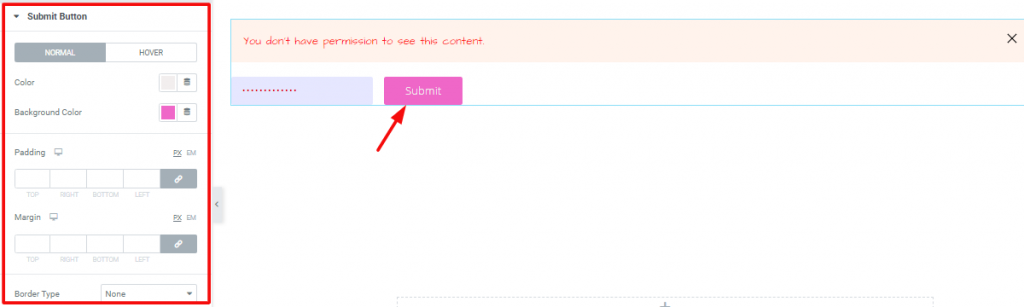
The last section, Submit Button, allows you to change the appearance of the submit button.
Go to Style Tab> Submit Button.
Video Assist
Well done. Seems you have learned the whole thing and how it works. It is easy and fun. Watch Video Assist and to get more in-depth ideas about the usage of the Protected Content widget by Element Pack, take a tour to the demo page.
[Note- on-page video link]