
The Forminator Forms widget is one of the most versatile form-building tools in WordPress. One way, it’s a great tool for beginners, the other way it’s a complete setup for professionals.
Let’s see how to use this widget.
Configuring Forminator Forms
Forminator Form is a third-party widget of Element Pack. You have to manually install it to make it work.
Step-1
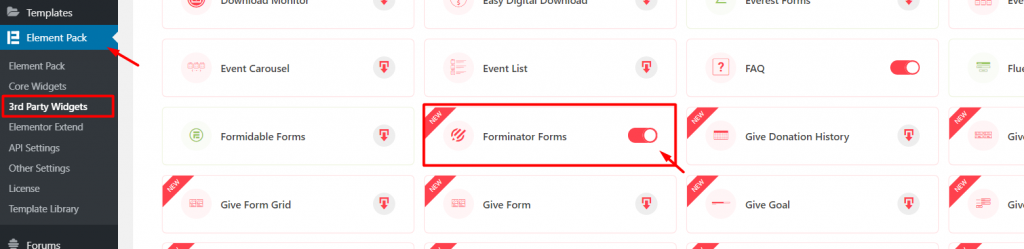
Go to Dashboard> Element Pack> 3rd Party Widgets> and find the Forminator Forms widget. Click on the button to install and activate it.
Step-2
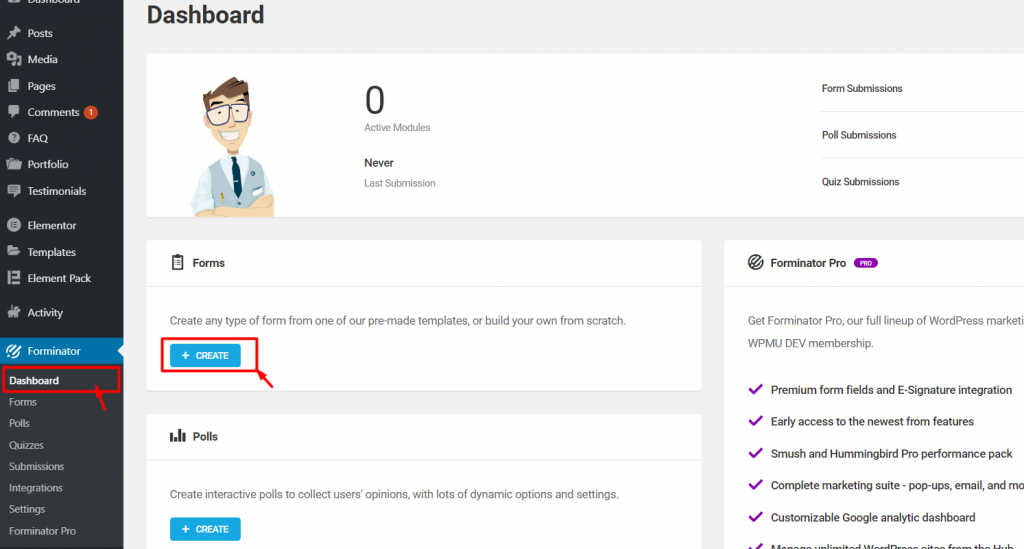
You will see a new title named Forminator inside your dashboard. Click it to access the tab and then click the Create button under the Forms window to create your first WordPress form.
Forminator needs you to manually build your forms inside the dashboard and then import them into the page editor.
Step-3
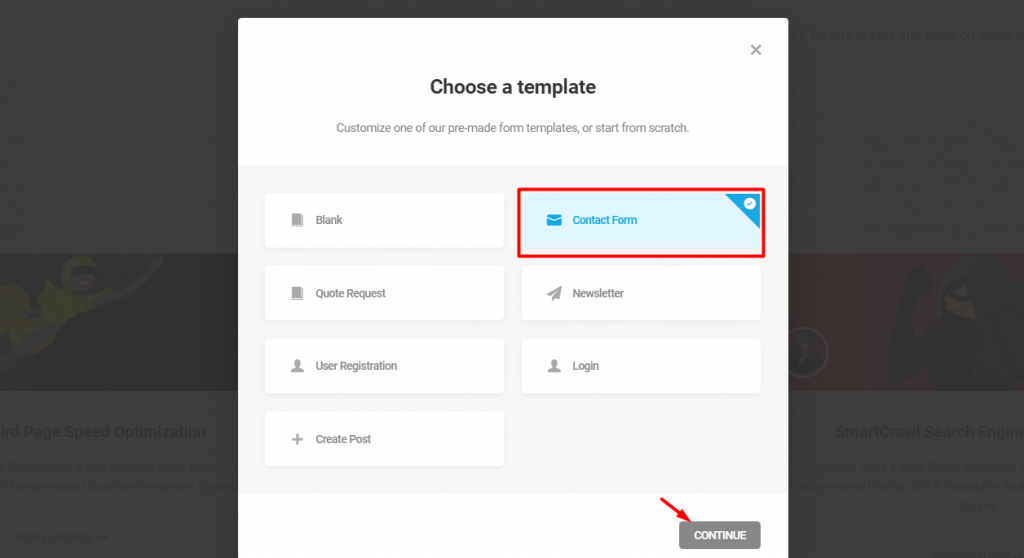
Once you click the Create button, a new popup window will appear and tell you to choose a template for the web form. Let’s go with the Contact Form. Hit the continue button.
Step-4
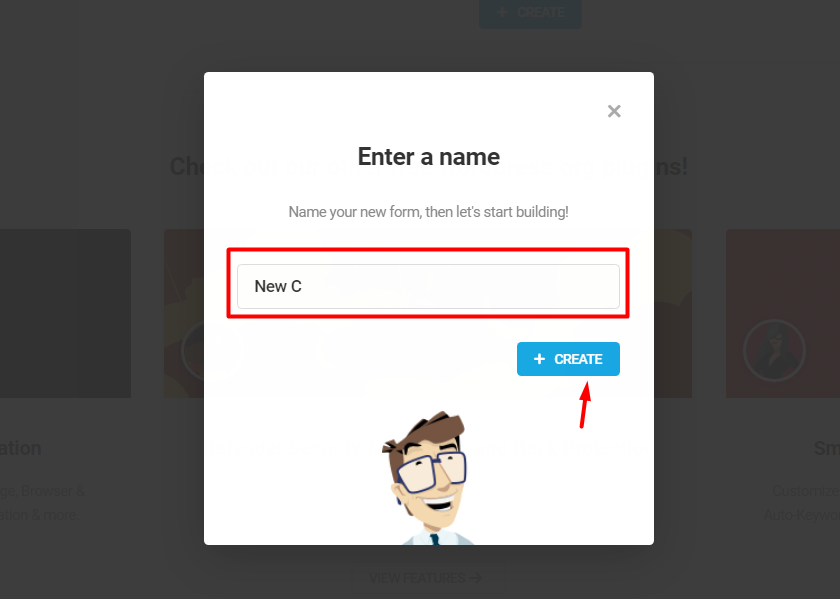
Name your form and click on the Create button on the WordPress form plugin.
Step-5
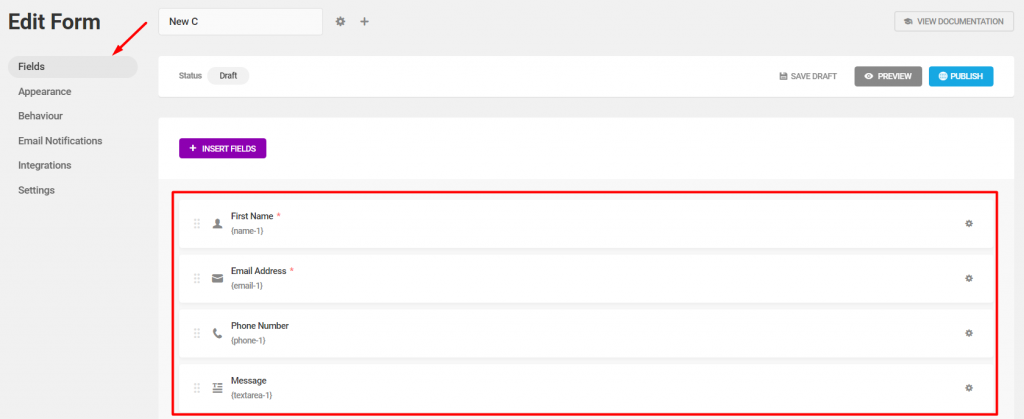
On a new page, you will see the form’s layout with a bunch of options on the left side. The form layout for a simple contact form consists of the first name, email, phone number, and a message box. The layout is in block field format.
Step-6
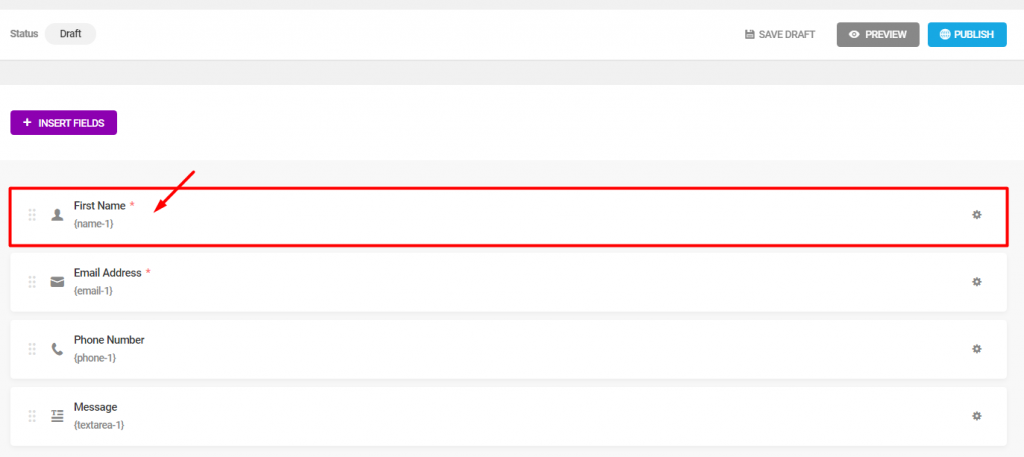
Click on any layout block fields. For example, click on the First Name block.
Step-7
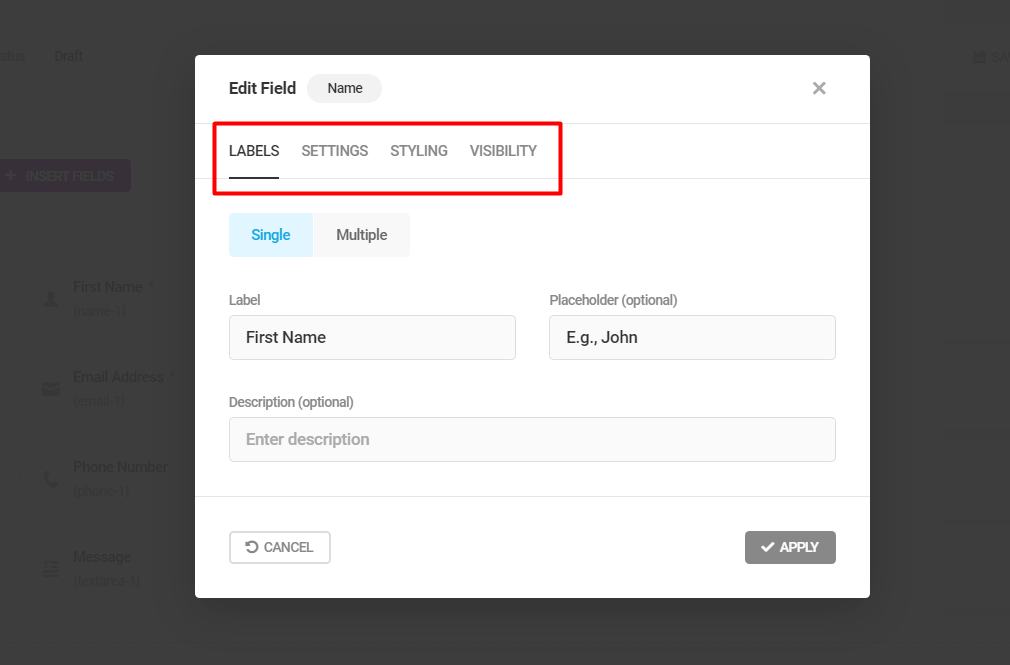
A new popup window will appear where you will see 4 settings tab for the block field.
- Label: Create labels of the field with a placeholder and a description as optional choices.
- Settings: Make the field optional or force users to fill it.
- Styling: Insert CSS properties to style the field.
- Visibility: Add rules to show/hide the field for any specified condition.
Step-8
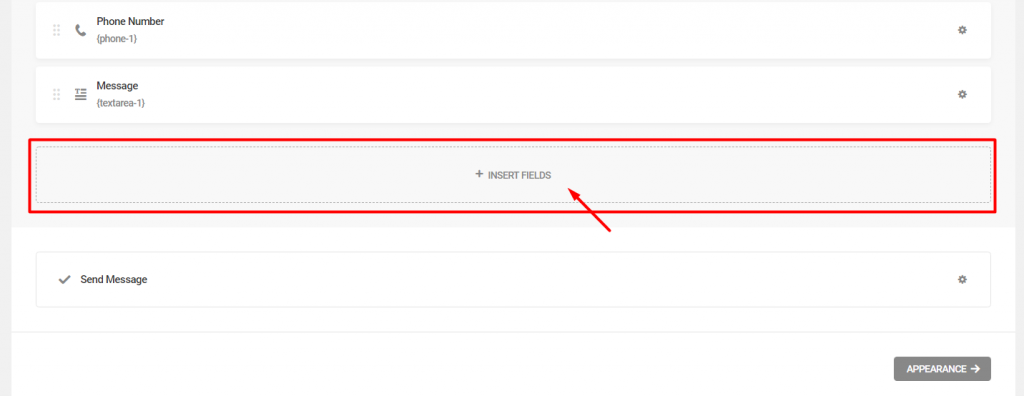
If you want to add more fields on the form, scroll down until you see the Insert Fields option. Then click it.
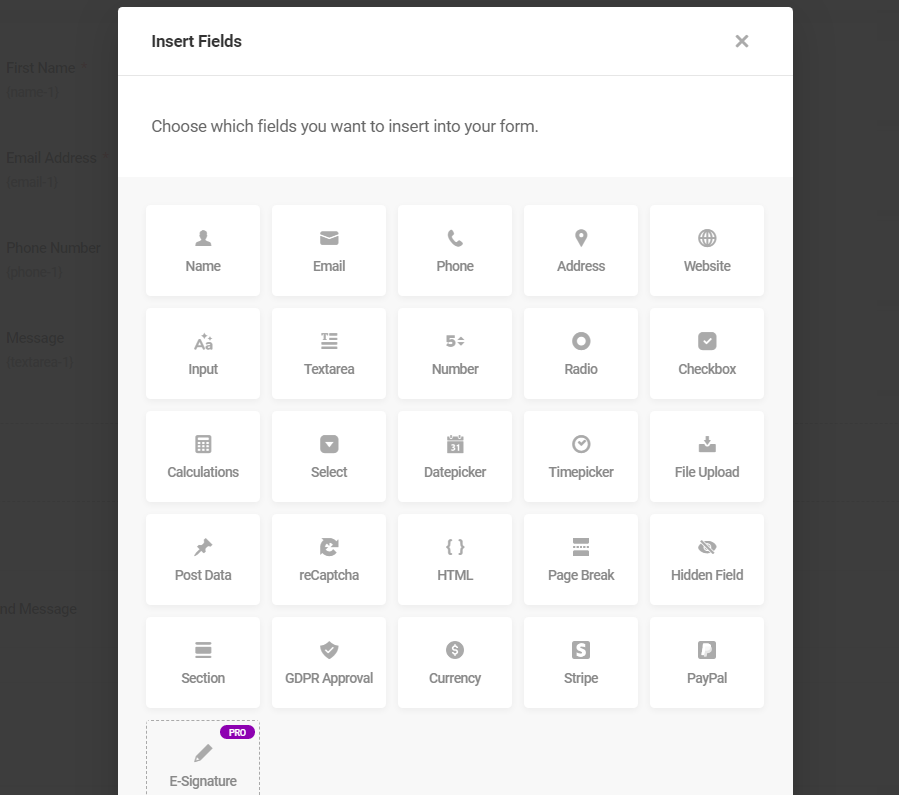
Step-9
Once clicked, a new popup window having field blocks will appear. Select what you want to insert and click Insert.
Step-10
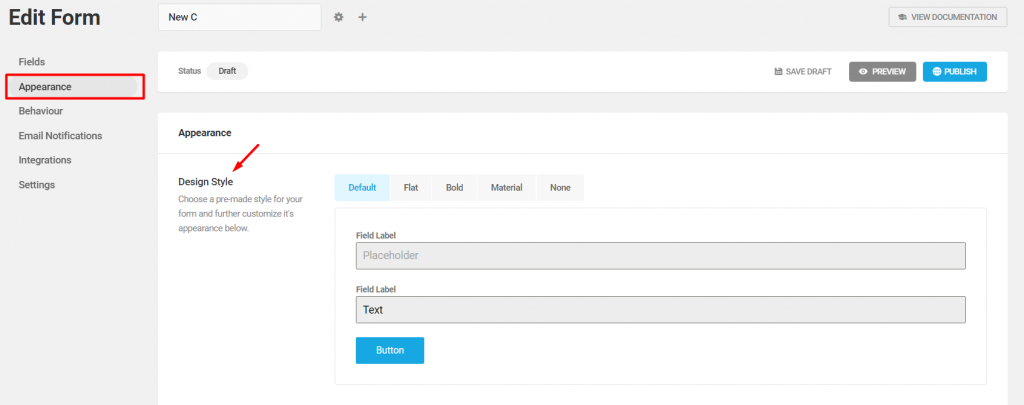
The settings on the left side of the display have options to change the rules or appearance of the whole form. Click Appearance to insert color, change the font, add CSS, etc.
Step-11
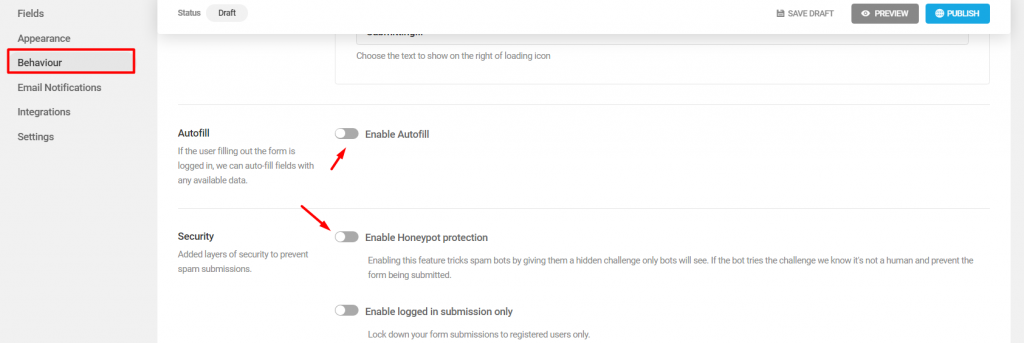
Next menu Behaviour has options for inline message, redirect URL, autofill, security, lifespan, and rendering.

Step-12
Set an email to receive a confirmation email against successful form submissions from the Email Notification menu.
Step-13
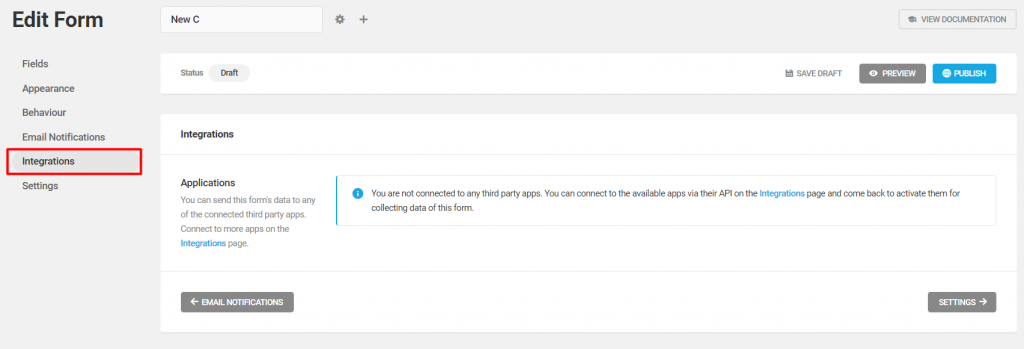
You can add 3rd party app with your form for more dynamic activities from the Integrations menu.
Step-14
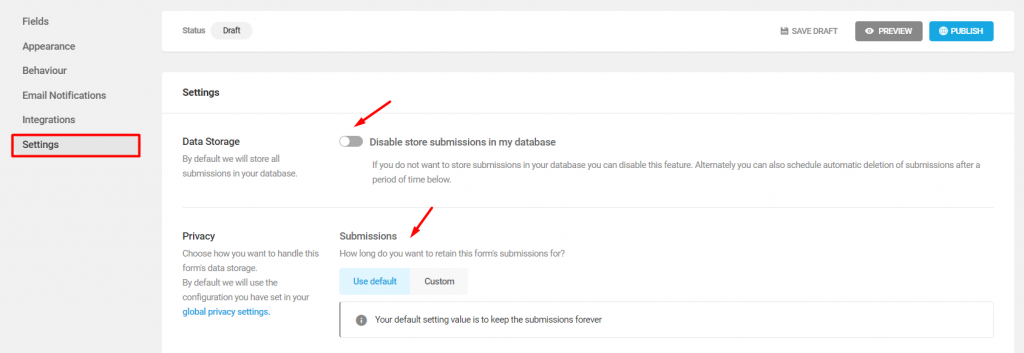
Lastly, check the Settings menu for privacy and data storing options.
Step-15
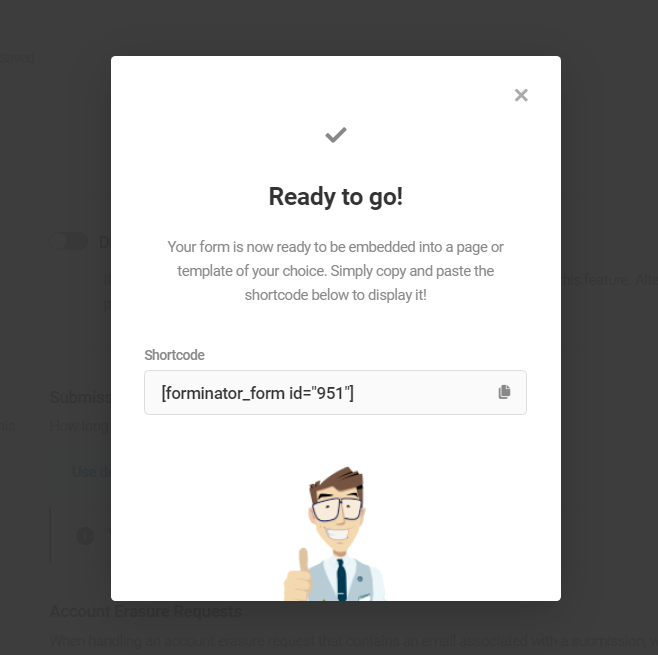
Once done, hit the Publish button on the top-right corner and your form is ready to go! You will receive a Shortcode for the form you have just created.
Inserting widget
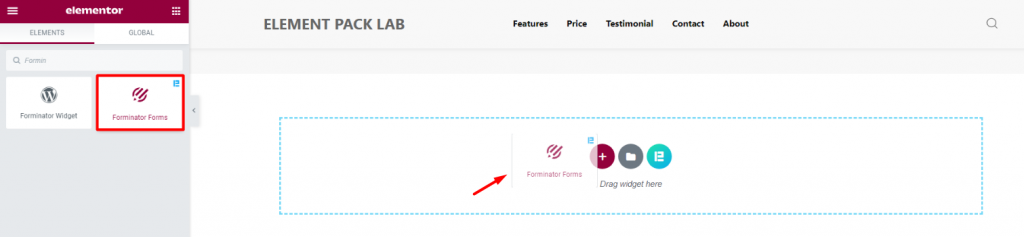
Find the Forminator Forms in the widget menu in Elementor page editor and drag it inside your page.
Content tab

On the Content tab, you will see an option to select your form and a switcher to hide the labels on your form. Let’s select the one we made right now.
Style tab
The style tab has several sections to customize the appearance of your WordPress form plugin.
Labels
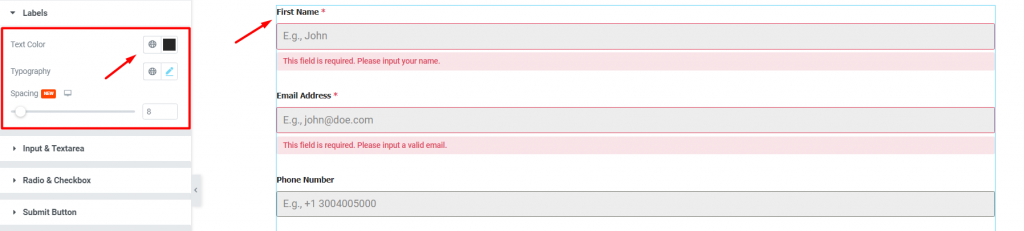
Go to Style> Labels
Change the color and typography of the labels on your form. You can adjust their spacing using the scrollbar.
Input & Textarea
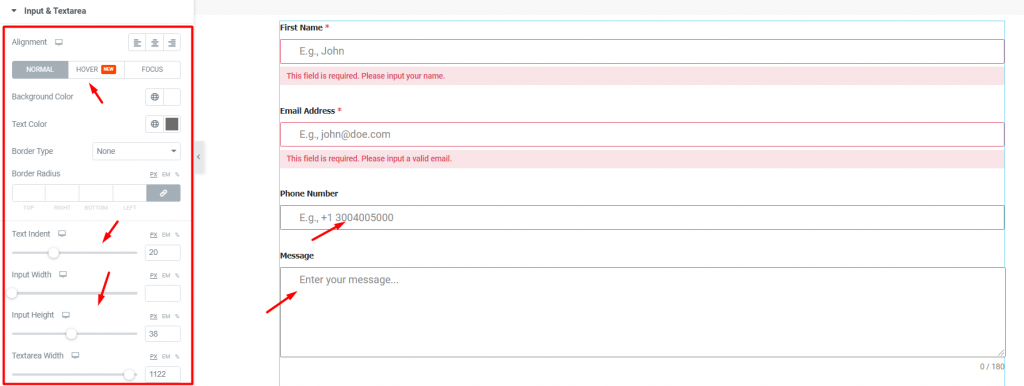
Go to Style> Input & Textarea
In this section, you can change the color, size, and border radius of the input fields of WordPress form.
Radio & Checkbox
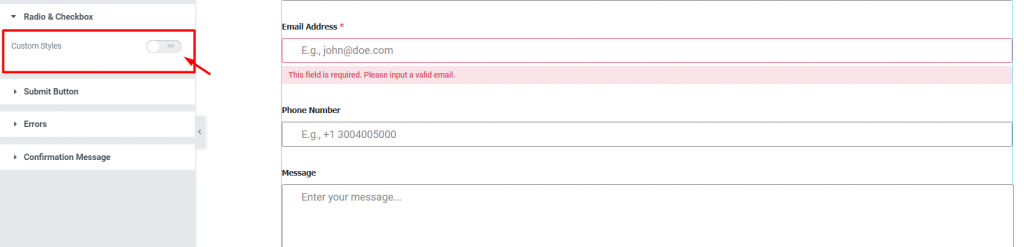
Go to Style> Radio & Checkbox
If your form has any radio or checkbox, you can customize it manually. Once you turn on the Custom Style switcher, a number of options including color, border, padding will popup.
Submit button
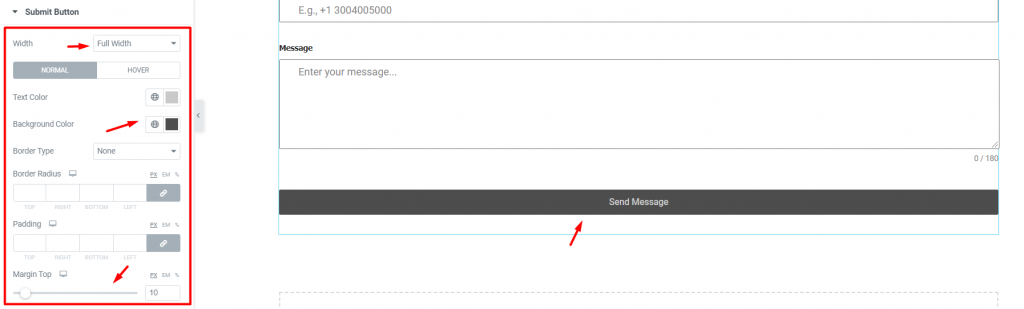
Go to Style> Submit Button
Here, you can customize the submit button below your web form. You can make it small or make it full-width, change its color or add padding.
Errors

Go to Style> Errors
You can change the color and typography of the error messages that will appear upon invalid form item submission.
Confirmation Message
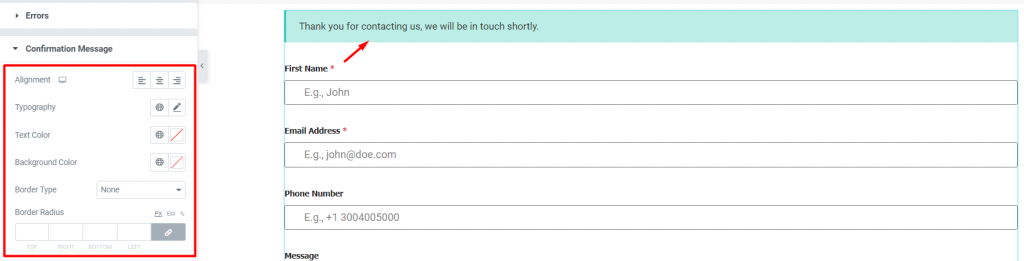
Go to Style> Confirmation Message
Once a user successfully completed the form, a confirmation message will popup from the Forminator Forms widget. You can customize that message in this section.
Conclusion
Still stuck?
Watch this video to get the whole picture together. Visit the demo page for more examples on the Forminator Forms widget, developed by Bdthemes.