
The Age Gate widget lets you place user restrictions by age on your website to prevent or authorize who could access your content. Provided by BdThemes and a part of the Element Pack Pro widgets collection, let’s see how the widget works.
Inserting widget
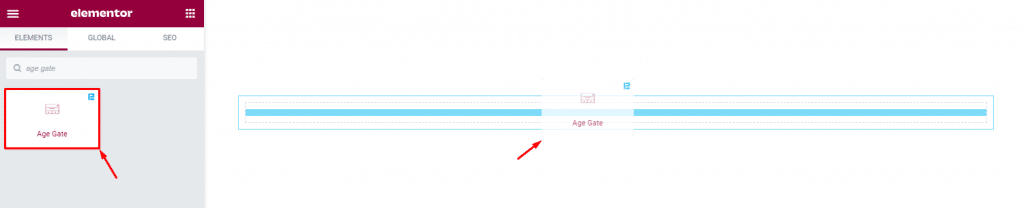
Find the Age Gate widget from the widget menu inside the Elementor page editor and drag it inside the page.
Customize widget layout using the Content tab
The content tab is where all the layout options reside for the widget to help you customize the output interface according to your needs.
Layout customization and setup
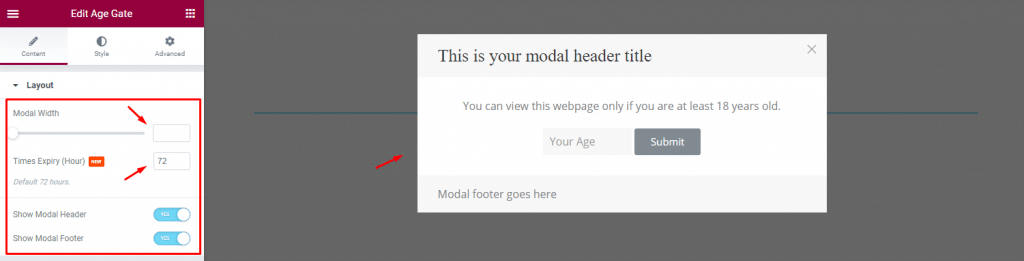
Go to Content> Layout
The Age Gate widget appears as a popup window on the target page. The popup asks users to confirm their age before proceeding to access the content inside the page.
After inserting the widget, you will find some controls in the layout section. First, you can change the popup or modal width using the scrollbar. Then comes an expiry timer that triggers the popup once the timer is up to confirm the user’s age again.
The two switchers at the bottom show or hide the modal header and footer.
Customize Modal Header text
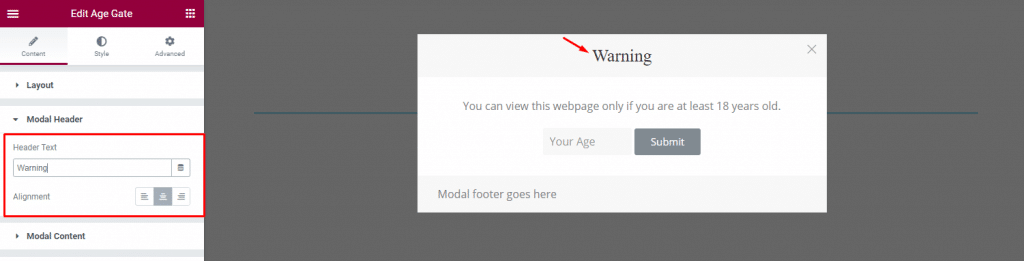
Go to Content> Modal Header
Here, you can change the header text of the modal along with text alignment.
Change modal content
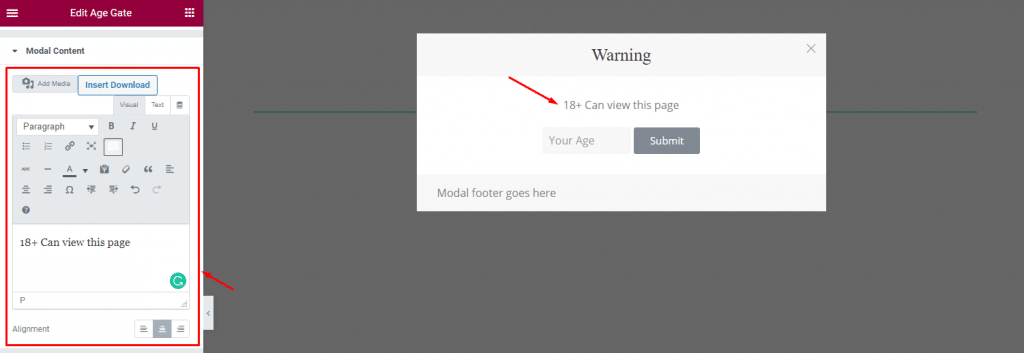
Go to Content> Modal Content
As for the content for the modal, you can put text or other media files into the description field provided in this section for the age gate widget.
Customize Modal Form for layout
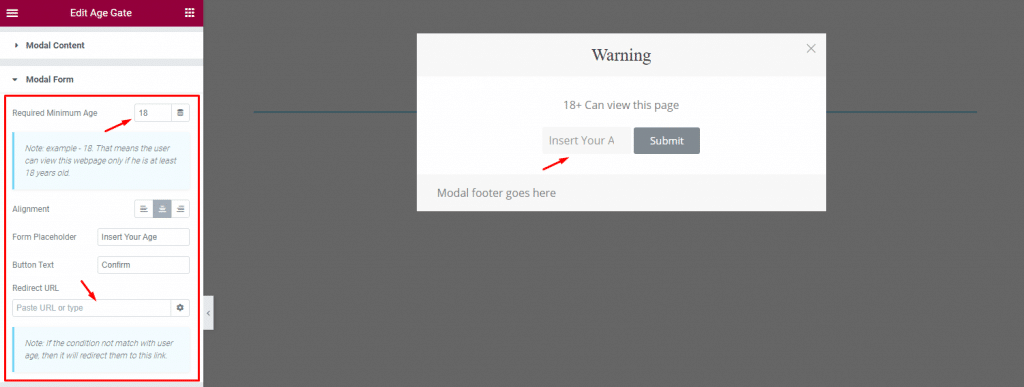
Go to Content> Modal Form
This is where you need to define the age of the user to apply the age restriction on your page. Let’s say we want users above 18 years of age to access the site, so we put 18 in the “Required Minimum Age” field.
Then comes the alignment option, placeholder text, button text, and a redirect URL field that you can use to redirect users to another page when he/she fails to fulfill the age restriction.
Age Gate widget Modal Footer
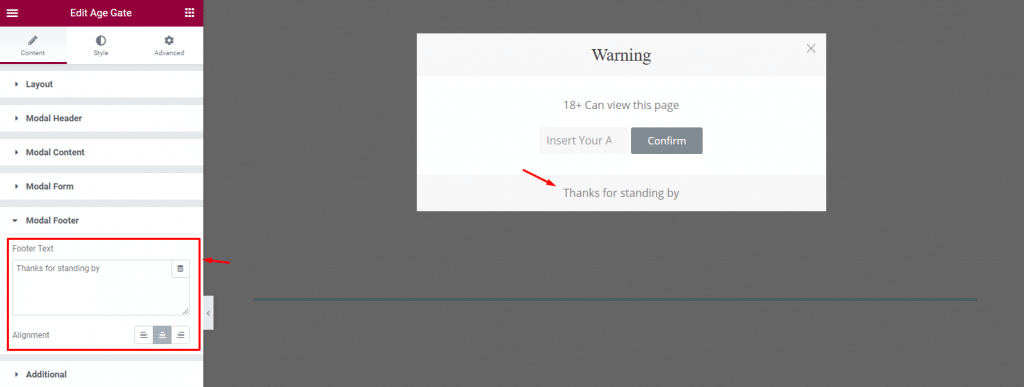
Go to Content> Modal Footer
In this part, you get the same options as the widget header.
Don’t forget the Additional settings
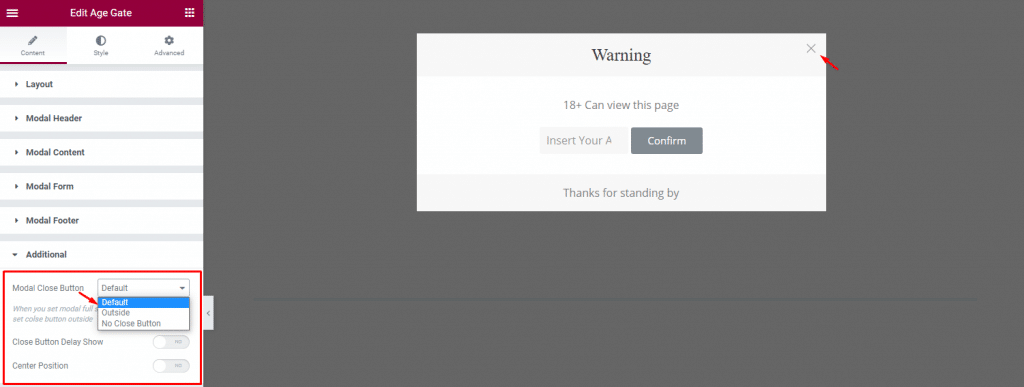
Go to Content> Additional
Here, you can see a close button customization option to make it appear inside of the modal or outside. Then you can delay the appearance of the close button on the modal or make the modal center positioned using the switchers at the bottom.
Customize the widget interface using the Style tab
The style tab is where you can customize the layout appearance by color, border, padding, typography, etc. Let’s see how to do it for the Age Gate widget.
Customize Modal Close Button
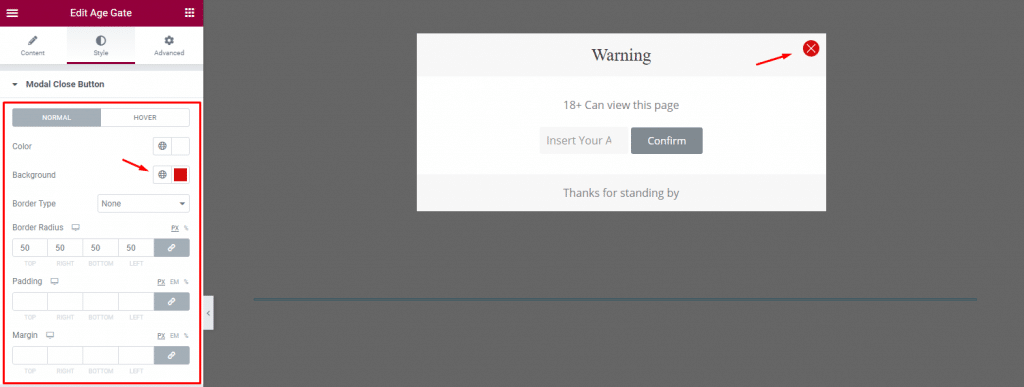
Go to Style> Modal Close Button
Here, you can change the background color and icon color of the close button. Let’s pick a color that goes well. Then add some border radius to make them round.
Customize the Modal Header

Go to Style> Modal Header
Let’s make the age gate widget header stand out by applying a bright color on the background, no border, then changing the font by typography and adding box shadow.
Change the Modal Content Layout
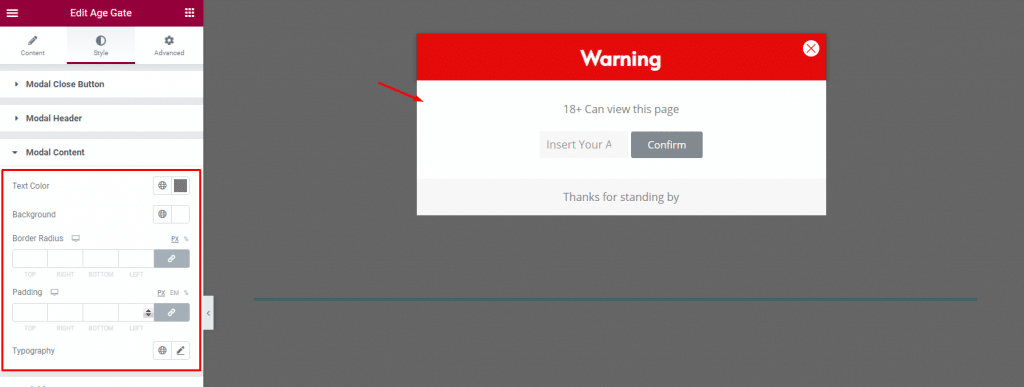
Go to Style> Modal Content
This section lets you customize the text color, background, border radius, and padding of the modal body.
Customize the age gate field
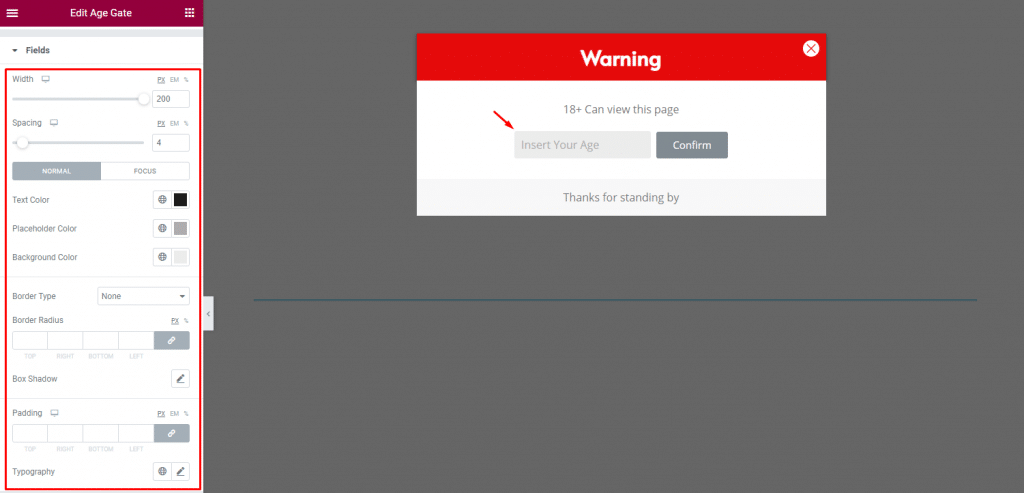
Go to Style> Fields
Let’s increase the field width and spacing first. Then you can change the text and background colors. There are more options like padding, box shadow, typography here.
Customize the submit button
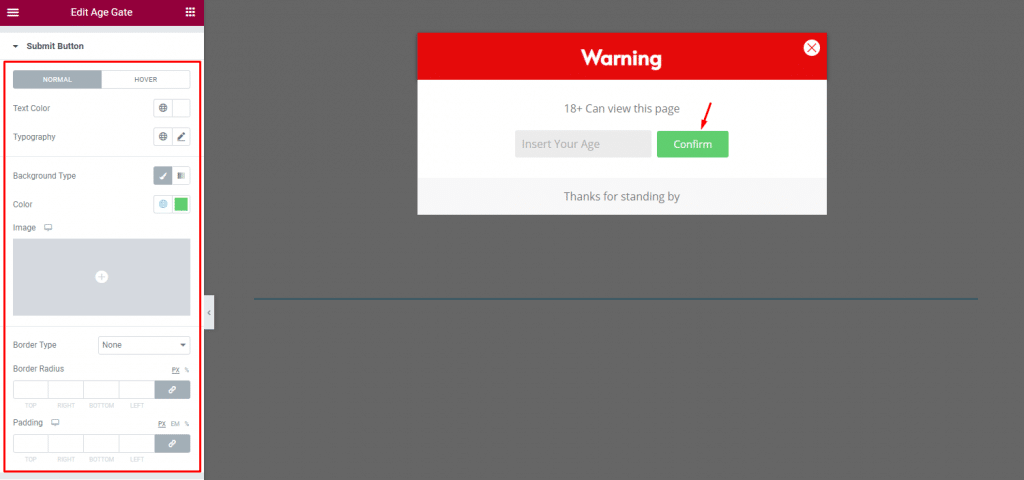
Go to Style> Submit Button
In this section, you can customize the submit button by changing the background and text color. Leaving border and padding as they are.
Customize the Modal Footer
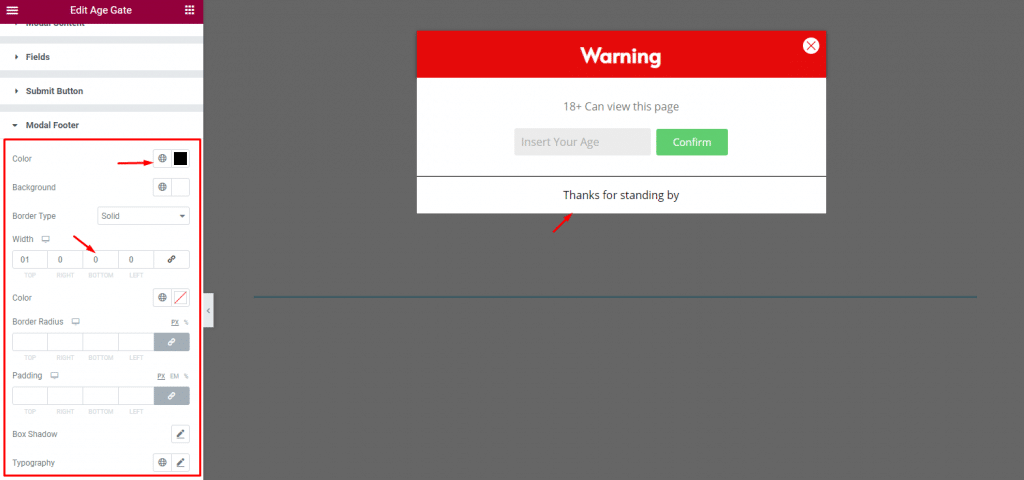
Go to Style> Modal Footer
Here, you can change the modal footer using similar options as the modal header. We are changing the color of text, white for the background and border on top of the text.
Use the Additional section

Go to Style> Additional
With this section, you can place an overlay color over the web page as a part of the user restriction to further enhance data protection. The color option comes with opacity control. Once the user submitted his age, the color restriction will lift, revealing the main content.
Video Assist
Watch this quick video to learn more about the age gate widget and visit the demo page for examples.