This documentation provides comprehensive insights into using the Custom Icons developed by Element Pack Pro.
Why Custom Icons Feature?
The Custom Icons feature allows you to upload and use your own icon sets instead of relying only on the default icon libraries (such as Font Awesome or Elementor Icons). This gives you complete creative freedom and helps you maintain consistent branding across your website.
Add Custom Icons
Go to WP Dashboard > Element Pack Pro

- Now navigate to the ” Custom Icons ” tab on the Element Pack Pro dashboard tab. It will open the custom Icons page.
- Find the ” Add New Icons ” button on the top Left corner and click on the button.
Set Icon Name & Upload
2. Name: Set the Custom Icons Name.
3. Upload Custom Icon File: Click on the drop icon button and upload your downlaod icon zip file.
4. Click on the “update” button to save the uploaded icon file.
Note: Right now, the icon supported formate are – IcoMoon, Remixicon, and Icofont.
After uploading the custom icon zip file, just go to the Element Pack Pro dashboard > Custom Icons. Then your uploaded custom icons list will appear.
Where Apply the Custom Icons Features?
To use the custom icons features, just insert any icon library supported widget and click on the icon library option to upload the custom icon. Here we insert the Advanced Button widget to demonstrate the feature.
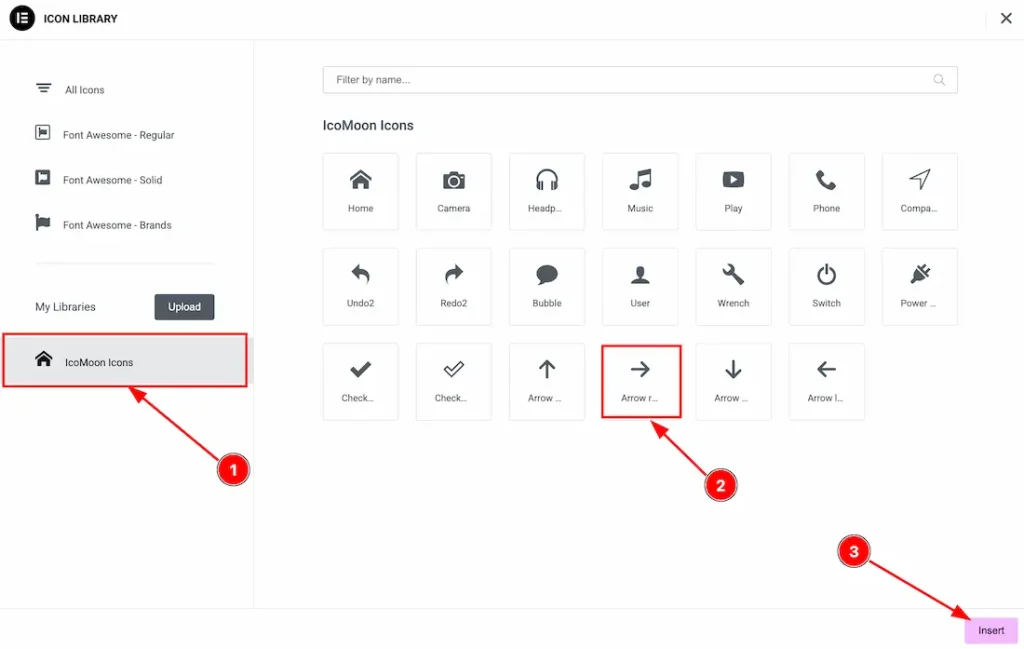
- After clicking on the Icon Library option, your uploaded custom icons will appear as shown in the screenshot above. In this example, we uploaded IcoMoon Icons, which is why the uploaded custom icon set is labeled as “IcoMoon Icons”.
- Select your prefer icon.
- Click on the “Insert” button to add your custom icon.
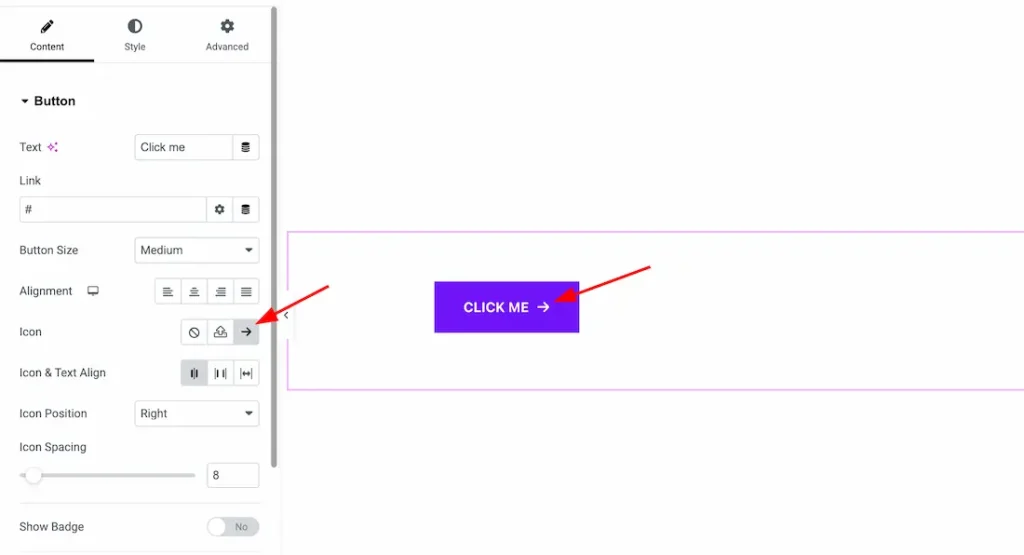
After selecting your custom icon, the icon will appear inside the widget.
In the same way, you can use the custom icons feature inside any icon library supported widget.
Video Assist
The Video and demo will come soon. Thanks for staying with us.