In this documentation, we will show you how to customize the Dark Mode widget presented by Element Pack Pro.
Inserting The Dark Mode Widget

On the Elementor editor page, Just Search by the Dark Mode widget name and drag it and drop it on the page.
Note: You need both Elementor and Element Pack Pro installed to use this widget.
Content Tab Customizations
Dark Mode section
Go to Content > Dark Mode
Step-1
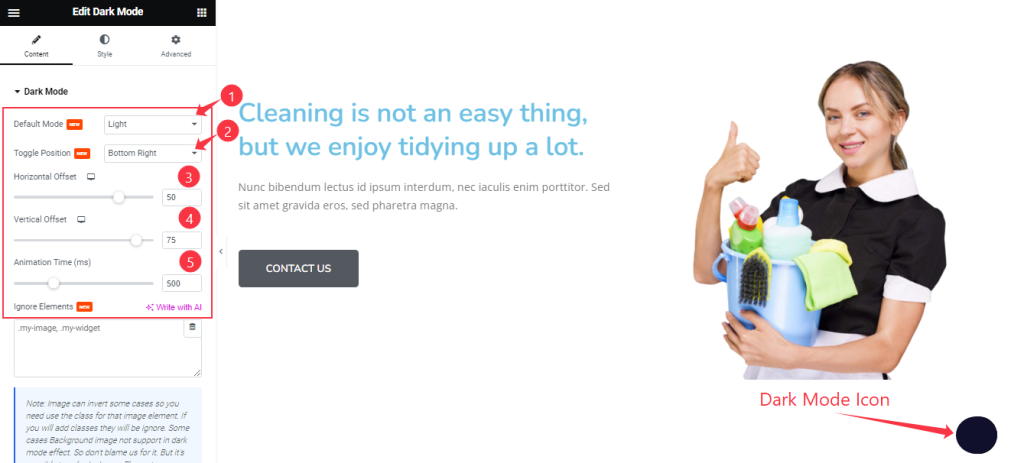
Find the Select mode(Light, and Dark), Toggle Position(Top Left, Top Right, Bottom Left, Bottom Right), Horizontal Offset, Vertical Offset, and Animation Time options.
Step-2
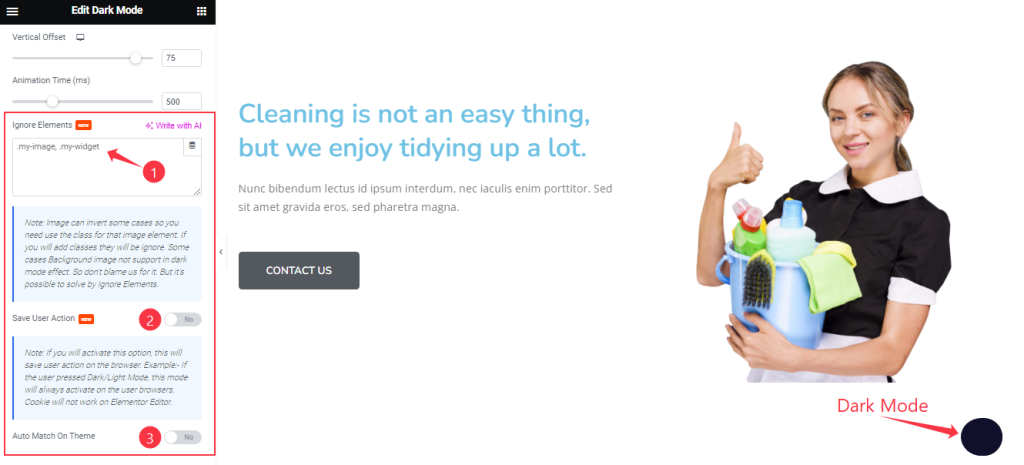
Also find the Ignore Elements (add object class ID to exempt it from Dark Mode), Save User Action (saves if the dark mode was/wasn’t used last time), and Auto Match On Theme (dark mode color will match the theme used) options.
Work with The Style Tab
Style The Dark Mode Section
Go to Style > Dark Mode

In this section, you will find two subsections; Day Mode and Dark Mode. In Day Mode, you can change the Background color like in the above screenshot.
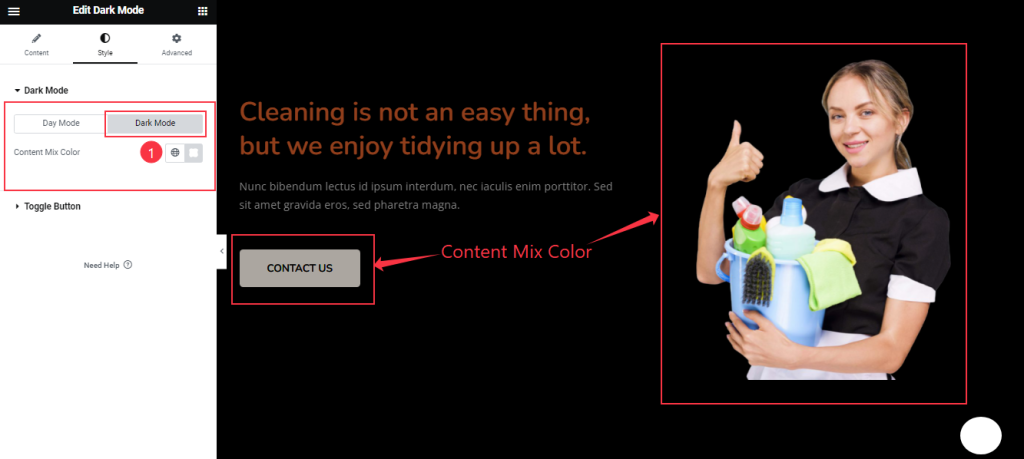
In Dark Mode, you can change the Content Mix Color.
Toggle Button Section
Go to Style > Toggle Button
Step-1
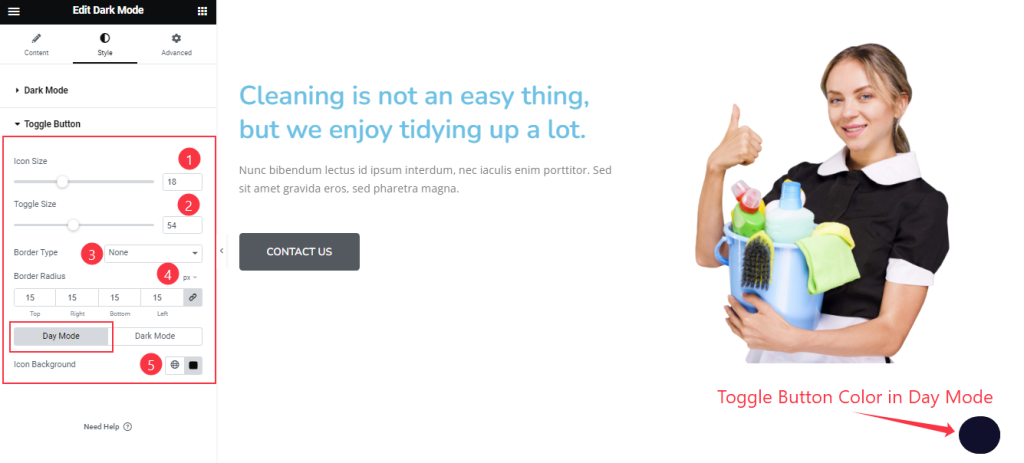
Find the Icon Size, Toggle Size, Border Type, and Border Radius options. In Day Mode, find the Icon Background Color option.
Step-2
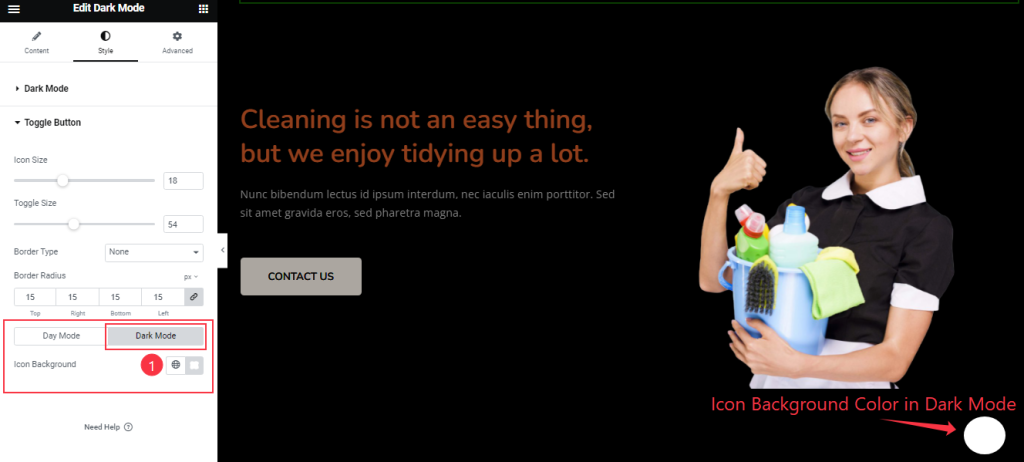
In Dark Mode, find the Icon Background Color option.
All done! You have successfully customized the Dark Mode widget on your website.
Video Assist
You can watch the video above to learn about the Dark Mode widget. Please visit the demo page for examples.
Thanks for staying with us.
