

The Mega Menu widget provided by Element Pack Pro is one of the easiest addons for both beginners and web design masters in order to create mega menus for websites. As the plugin is meant for Elementor, we will show you how to use the mega menu widget inside the Elementor editor page including the customizations.
Please read the whole content to learn about the precise controls to use the mega menu widget yourself.
Basic preparations come first
In order to work with the mega menu widget, you have to make sure the feature is activated as well as the widget is turned on.
So first, go into your WordPress dashboard and click on the Other Settings option under Element Pack Pro.
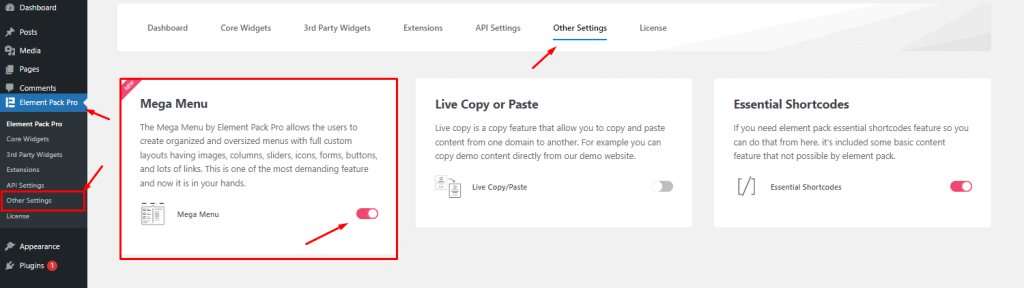
Then find and turn on the Mega Menu switcher and save settings. After that, click on the Core Widgets tab.
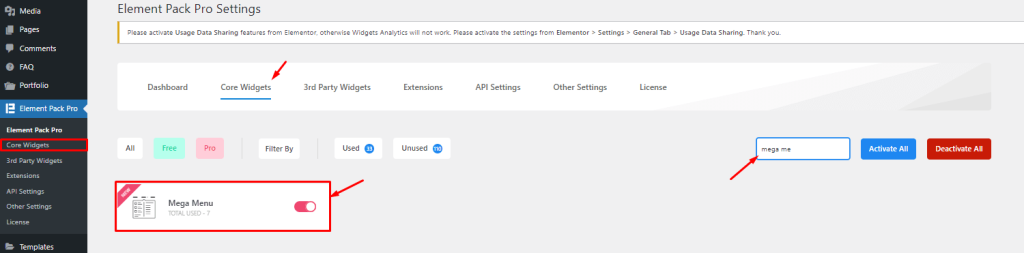
Here, you can type Mega Menu inside the search bar on your right and find the widget. Then turn on the widget’s switcher and save settings. Now, we are ready to move into the main process.
Create a Mega Menu instantly
Before using the Mega Menu widget to display mega menus inside your webpage, you need to first create a mega menu of your choice from the WordPress dashboard. Let’s take a look at the procedure of creating a mega menu within 5 minutes.
Step 1: Get into Menu Settings
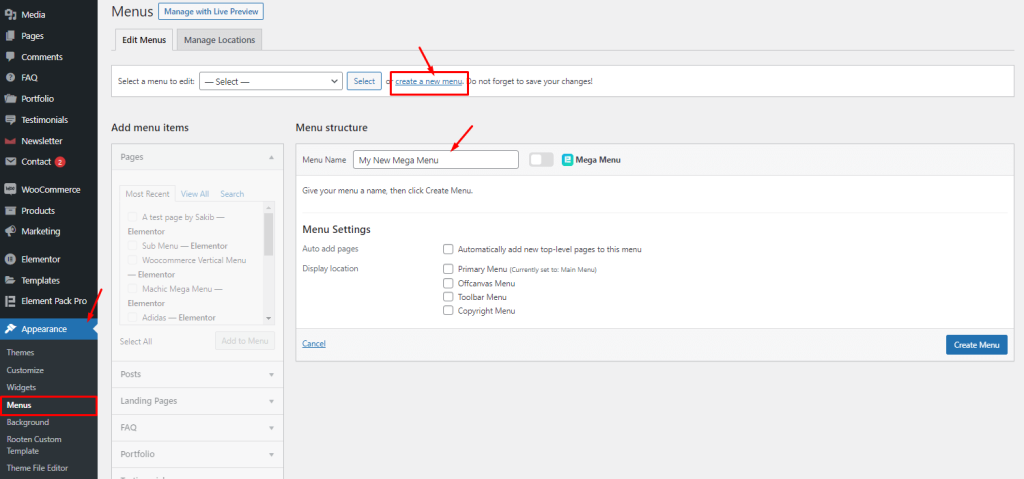
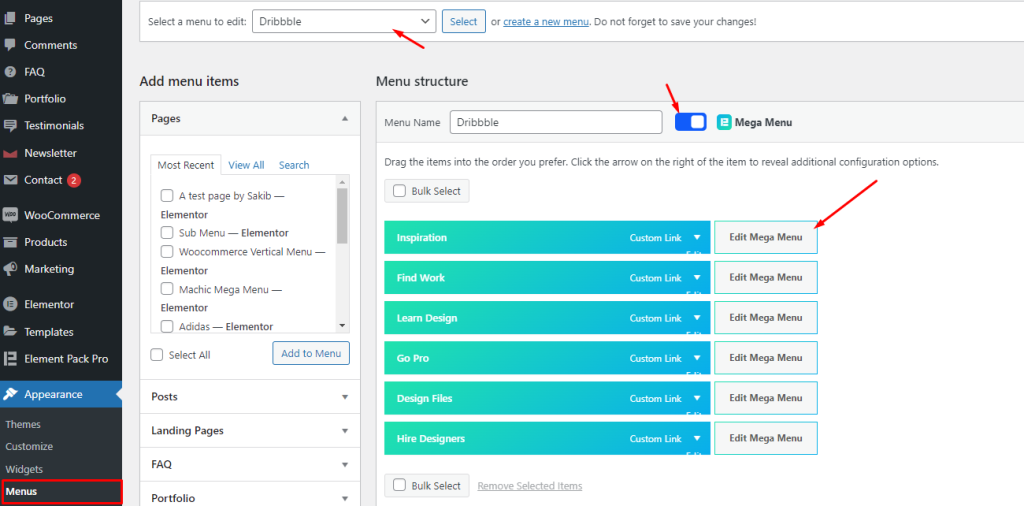
First, go to Appearance> Menus to access the menu settings for WordPress within the dashboard.
Step 2: Create a menu
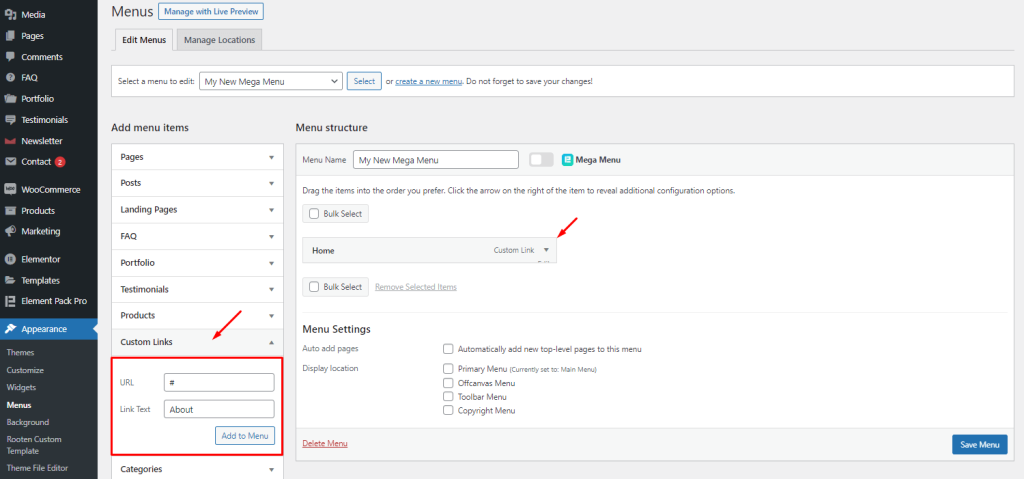
Now, create a new menu and add a menu title. Then add custom links to create the base menu items. After that, click on the Save Menu button at the bottom right.
Step 3: Mega menu creation
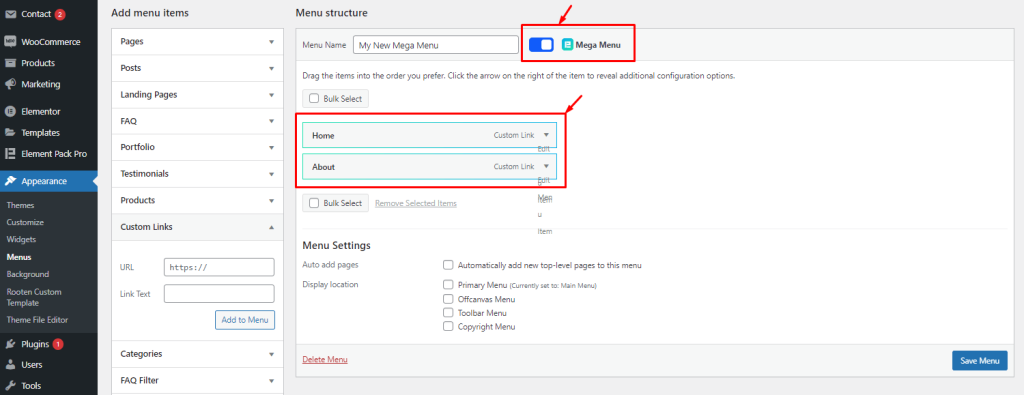
When the menu is ready, you have to turn on the Mega Menu switcher that is visible along the menu title field. Turn it on and you will see the existing menus glowing in green. This indicates that the menus are ready to be turned into mega menus.
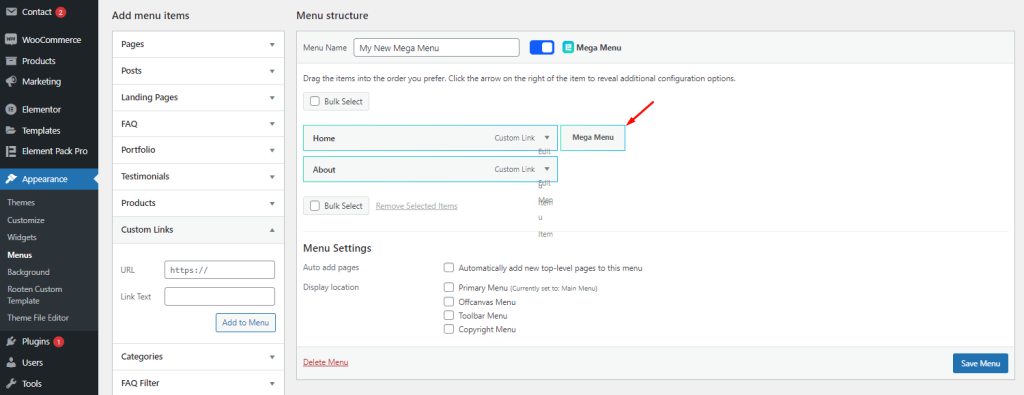
If you hover over the menus, you will see a floating option named mega menu appear beside the menu items. Now, click on the floating button.
Step 4: Customize Mega menu settings
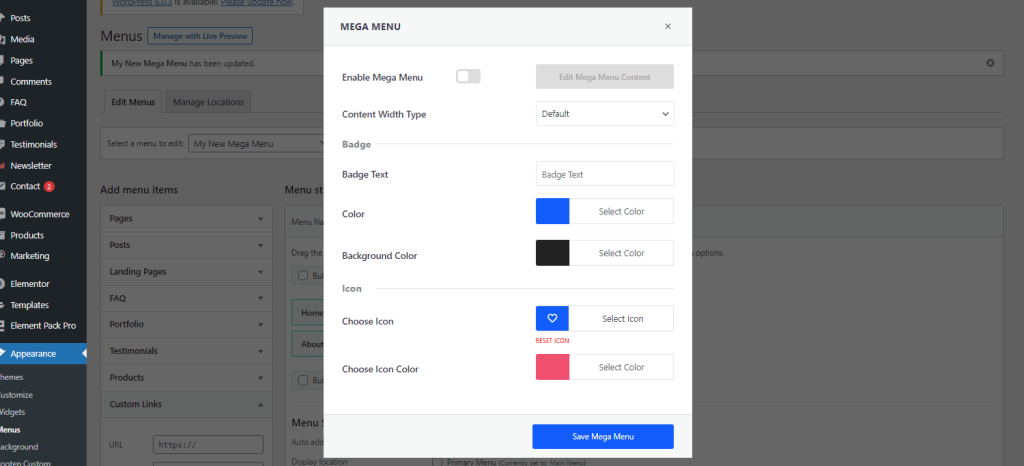
Clicking the floating button will open a popup window that contains the basic settings for the mega menu.
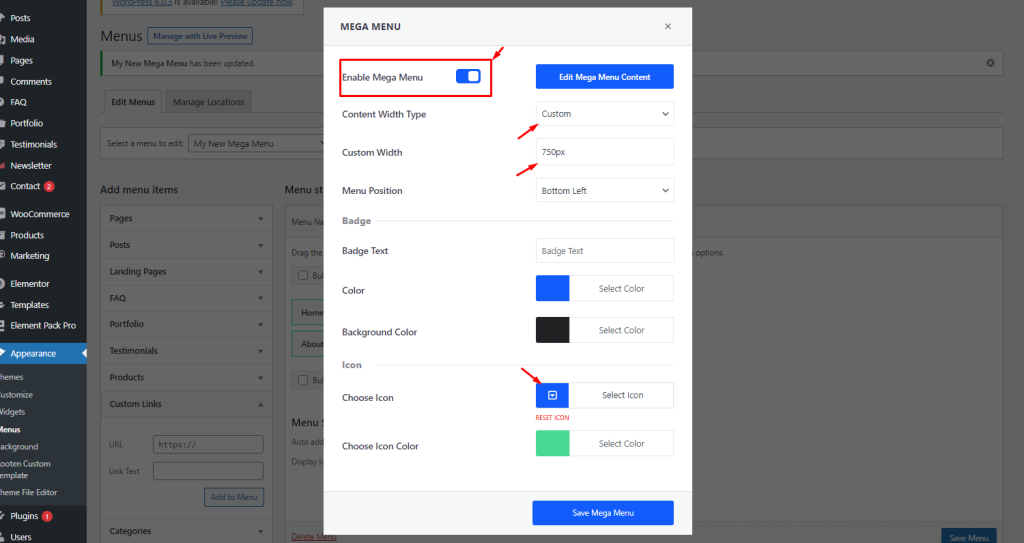
Here, you need to turn on the Enable Mega Menu switcher first, and then select a custom width for the menu. By default, the width is set to 750px.
Then you can select the menu position, and add a menu badge, and icon. Once done, click the Save Mega Menu button once.
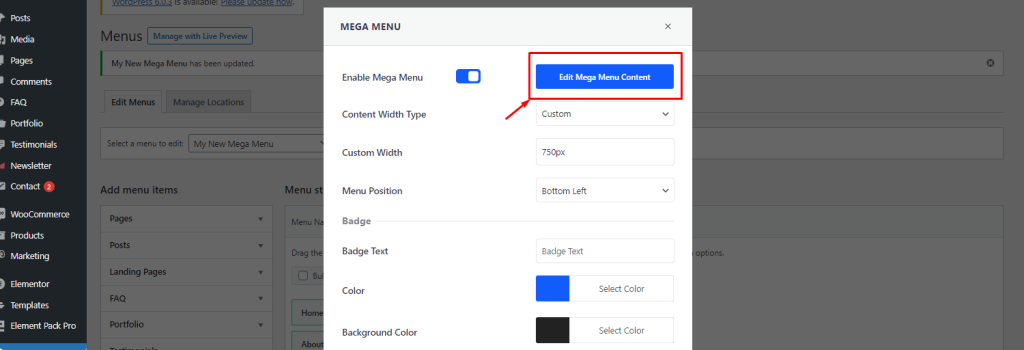
Lastly, click on the Edit Mega Menu Content button at the top to begin inner content customizations.
Step 5: Customize inner menu content
Once clicked the button mentioned just above, a second popup window will fill your whole browser screen with the Elementor editor page. This is where you will find the necessary options for the actual function of the mega menu.
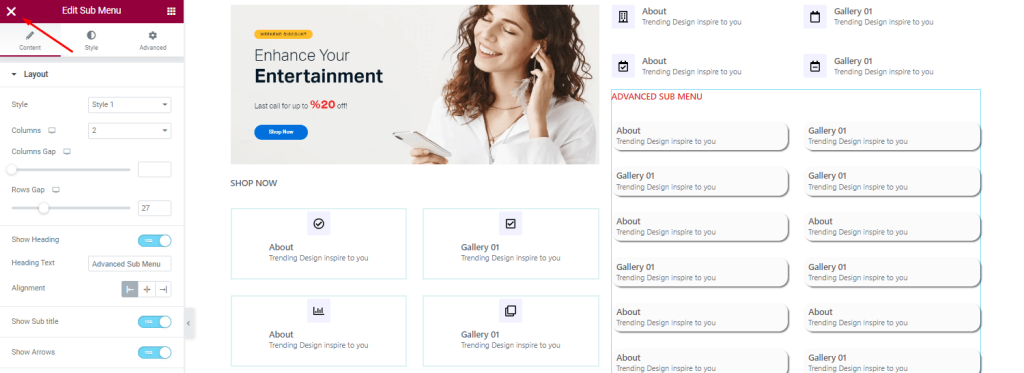
Here, you can drag and drop widgets inside the window and design your mega menu content. For this, we used an image widget and the sub menu widget to design the mega menu.
Once you are done making the layout, click on the X icon at the top-left corner of this page.
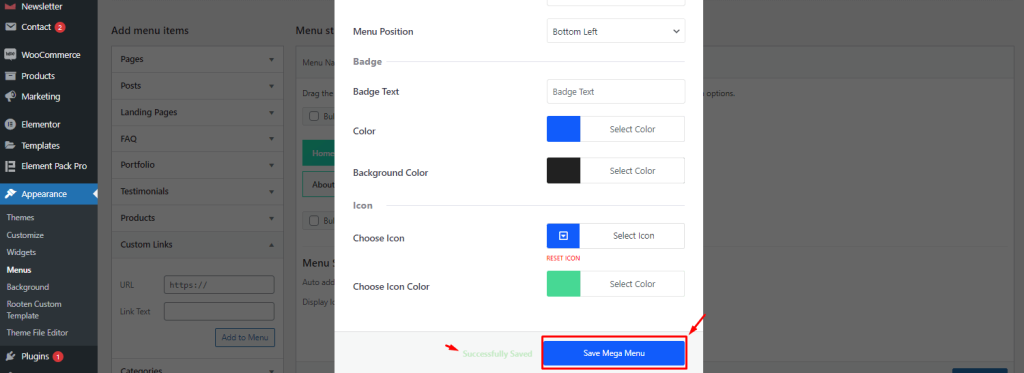
With that, you will return to the menu page with the basic mega menu popup window still open. Now, click on the Save Mega Menu button again to save everything you have done till now.
Your mega menu is now ready.
Inserting the widget

Open your target page in the Elementor editor and search for the Mega Menu widget from the widget panel. Then drag and drop the widget inside the page.
As Element Pack Pro relies on Elementor website builder to work, you are required to install both at the same time.
Layout Customizations
The Content tab contains customization controls for the actual shape of the layout for the Mega Menu widget. To customize mega menu, the first step always starts with the layout.
Let’s explore the options.
Mega Menu Layout

Go to Content> Layout
The widget first asks you to choose a menu. Until you choose, the display will show this message.
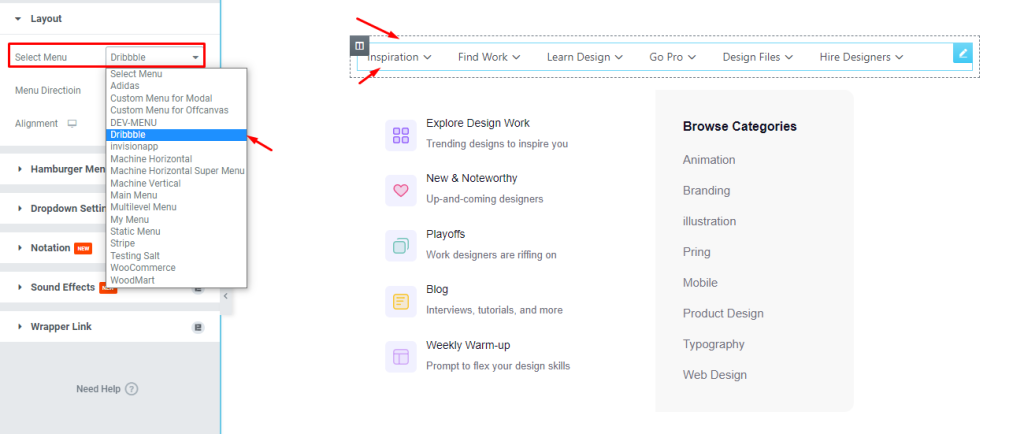
Here, we selected one of our premade mega menus, the lookalike Dribble menu. You can see the base menu items at the top and hovering over them will show the menu content that’s been hidden inside.
For your note, the base menu items are the menus created within the WordPress dashboard and the hidden menu content is the mega menu content created through the popup Elementor editor window [already mentioned earlier in this content].
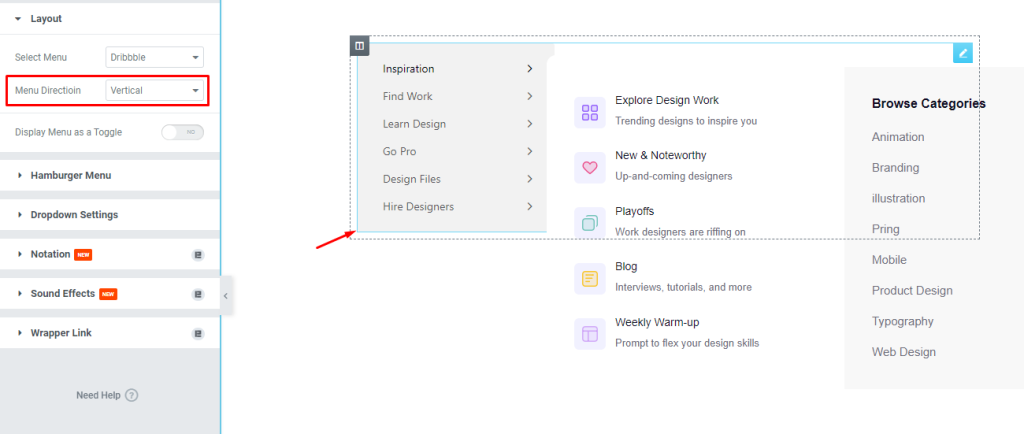
Also, you can switch the menu orientation from horizontal to vertical at any time. Vertical mega menus are suitable for eCommerce websites.
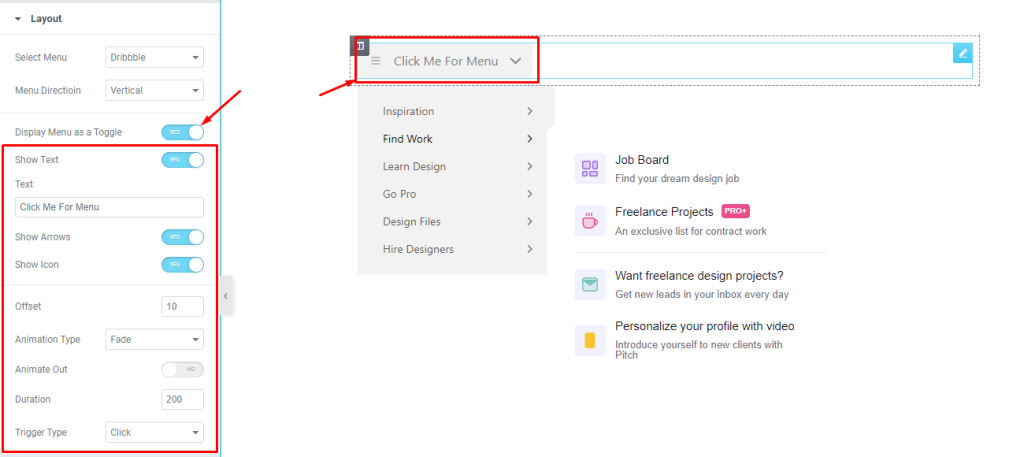
Then you can turn on the Toggle switcher in order to create a toggle menu. The toggle option comes with additional settings like a toggle heading text, arrows, icon, offset, and animations.
Hamburger Menu Settings
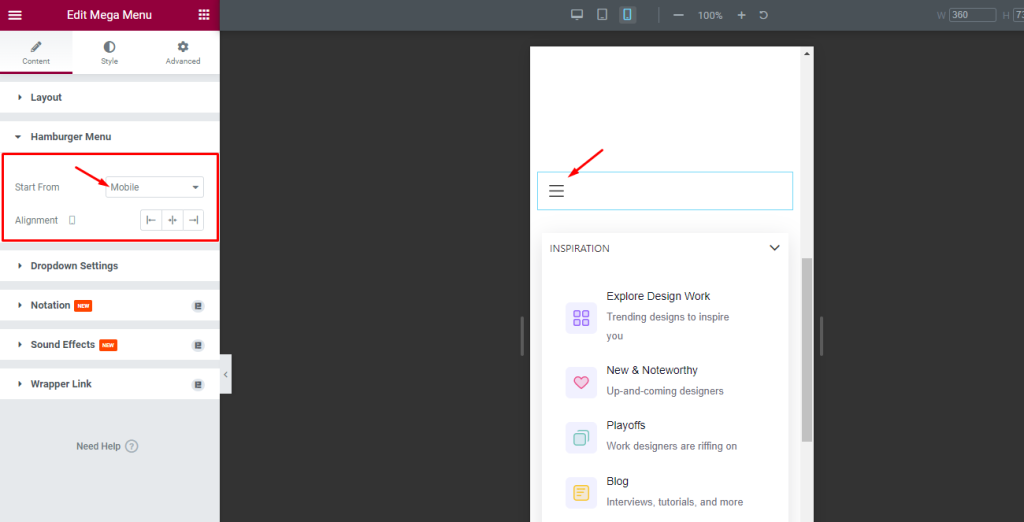
Go to Content> Hamburger Menu
For responsiveness, it is required to make your mega menu widget displayable on mobile devices. This section lets you customize the hamburger menu alignment and on which device it will appear.
Dropdown settings for Mega Menu
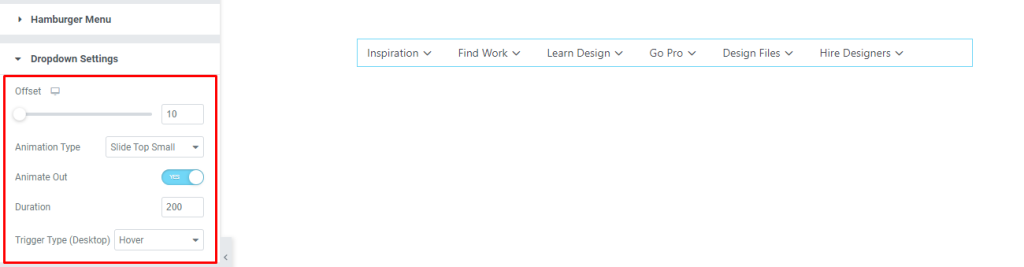
Go to Content> Dropdown Settings
All menus have dropdowns and from this section, you can customize the settings. You can apply offset value, customize the animation type, duration, and select a menu trigger type from this section.
Style Tab Customizations
The Style tab of the Maga Menu widget is packed with options to help you customize the appearance of your menu layout, including colors, padding, border, and more. With Element Pack Pro, the customizations are even more user-friendly and selective so you can take maximum advantage of the system to design unique mega menus yourself easily.
Let’s explore.
Menu Items section
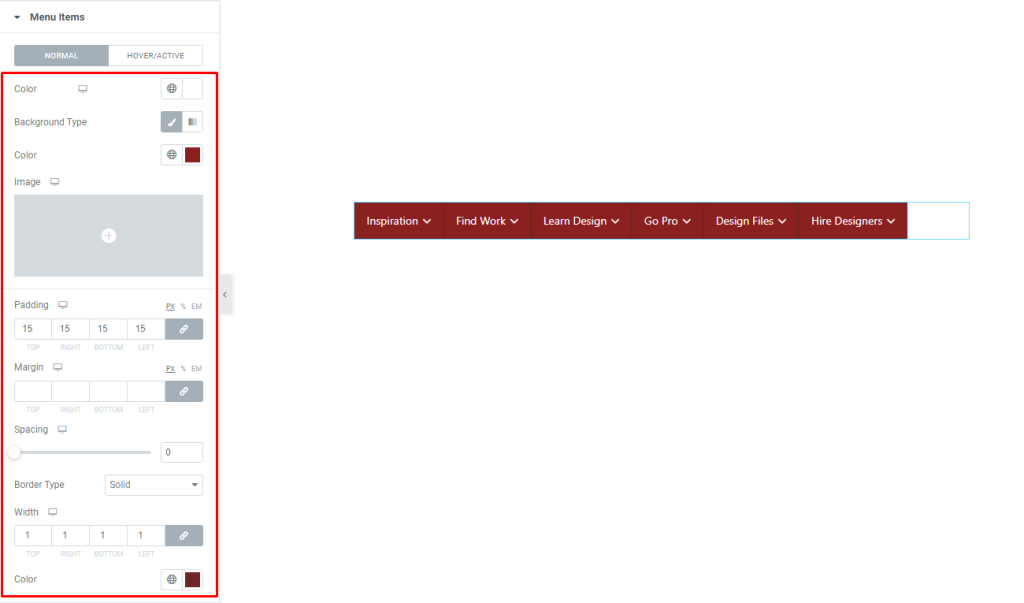
Go to Style> Menu Items
The first section in the Style tab lets you customize the whole menu bar with custom text color, background color, padding, margin, border, and box shadow. We just painted it red and see how it looks. Also, you can set different color tones for hover.
Dropdown customizations
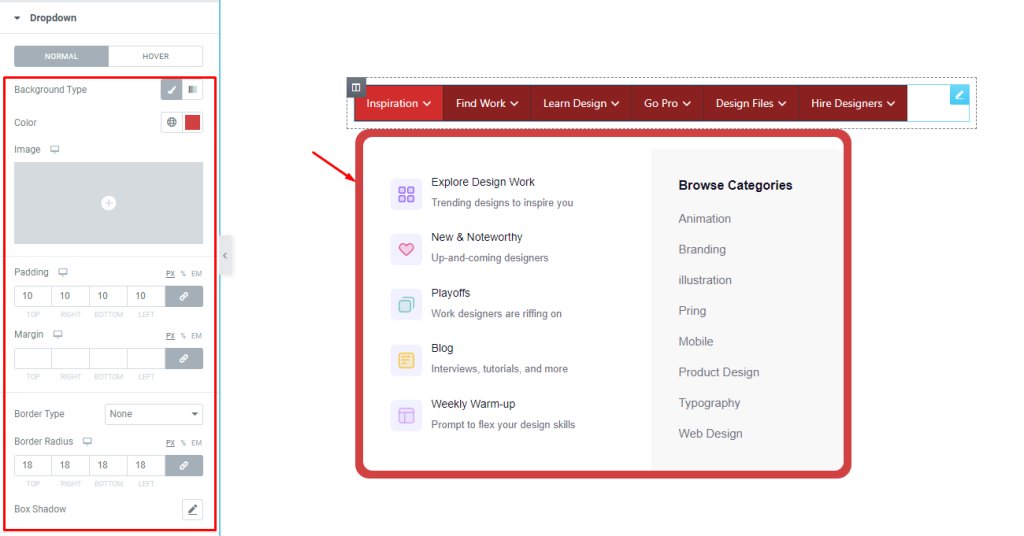
Go to Style> Dropdown
The menu content customized for the base menu items will appear as a dropdown when hovered. This section lets you change the background color of the dropdown window with additional options like padding, margin, border, radius, and shadow.
In our case, the designed content already has a white background so the changed color can only be seen with padding around the content within the mega menu widget.
Hamburger menu customizations
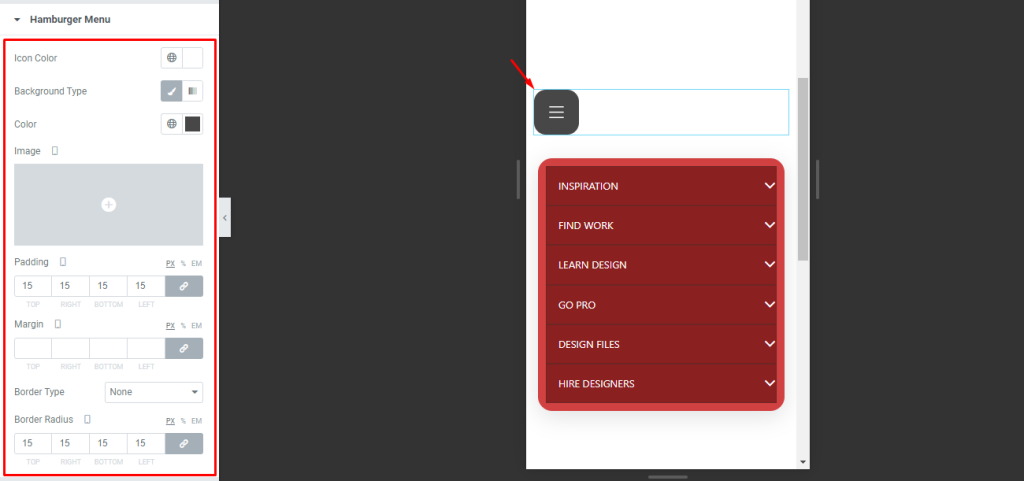
Go to Style> Hamburger Menu
The hamburger menu icon appears on mobile devices to shrink down the menu bar for responsiveness. Here, the section lets you change the color of the icon, and icon background, add padding, margin, etc.
Customize Mega Menu Badge
The base menu badge can be set from your WordPress dashboard and from the badge section within the mega menu widget, you can further modify the badge.
Following the image above, you have to go to the menus tab inside the Appearance tab and click on the edit mega menu button for the base menu where you will show the badge.
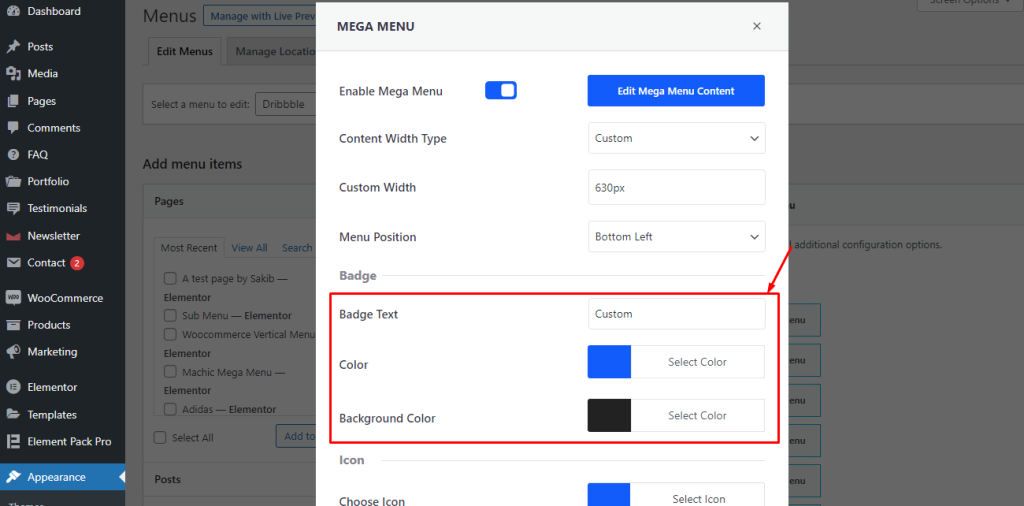
On the popup window, you will see a field to insert custom badge text and set badge text color and background color.
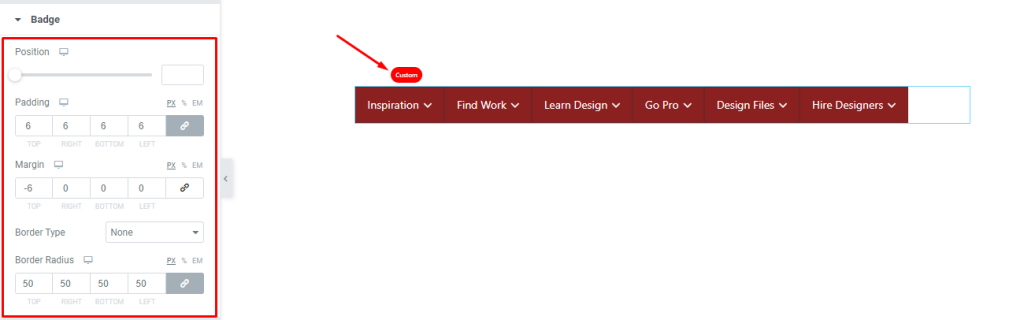
Then from the mega menu widget settings inside the editor page, you can customize the badge position, padding, margin, border, and border radius.
The final design will look like this following the tutorial we showed you in this article.
Video Assist
For more details, please watch this complete widget tutorial video and visit the demo page for mega menu examples.