

Download Monitor widget is an amazing tool that links your downloadable product simply with a button. This widget stores the product download link and counts how many times the visitors have downloaded it.
It is a very simple and easy-to-use widget. But, the installation process is a bit troublesome. Let me show you how it’s done!
Installing Download Monitor Widget
To install Download Monitor,
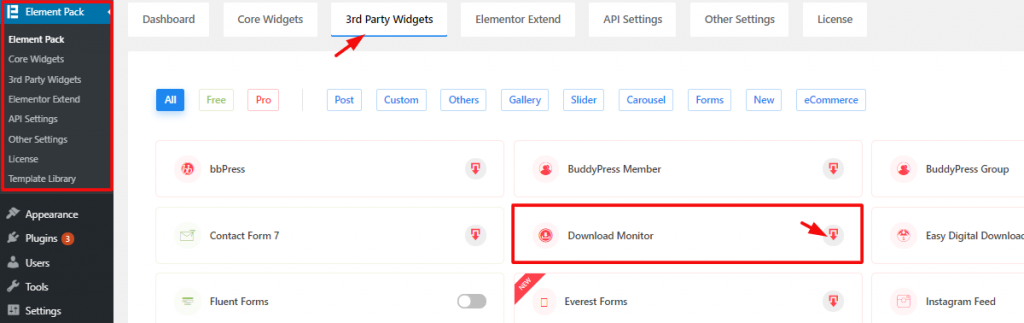
Go to WordPress Dashboard> Element Pack> 3rd Party Widgets
Here, you will see the widget along with a bunch of others. Hit the download button on the widget title to install it, then activate it.
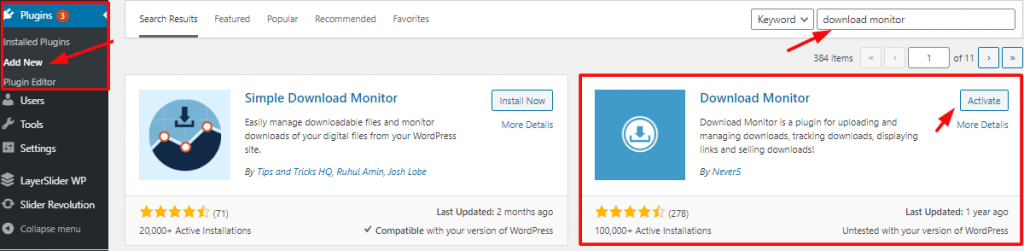
Or, you can manually download this widget from the plugins menu.
Go to WordPress Dashboard> Plugins> Add New
Type Download Monitor in the search bar and install it. After installation is done, it will show the Activate button. Click on it to activate the Download Monitor Widget.
Configuring Download Monitor Widget
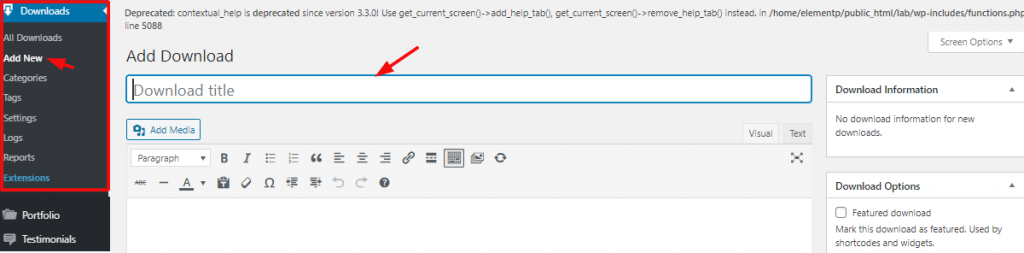
After activating, you will get a new item Downloads in your WordPress Dashboard. From there, click on Add New to add downloadable content to your inventory. You can set any title for your content or item.
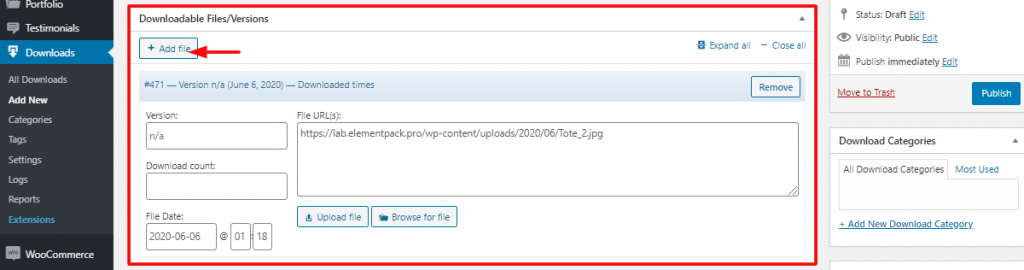
You can select the file you want to attach as the downloadable content form here. Hit the Publish button when you are finished with it.
To Insert Widget

Inserting the widget is just a matter of drag and drop. However, click and hold on the widget icon from the menu and drag the Download Monitor Widget to the drop point. Follow the picture above.
Content Tab
Using the Content tab, you can basically make a layout of a particular part of the website.
Content

Go to Content Tab> Content
In the first section, you can choose the file that you have created in the dashboard. You can see 3 switchers there also.

Turning on the switchers will show file type, file size, download counts under the title of the download monitor.
Button
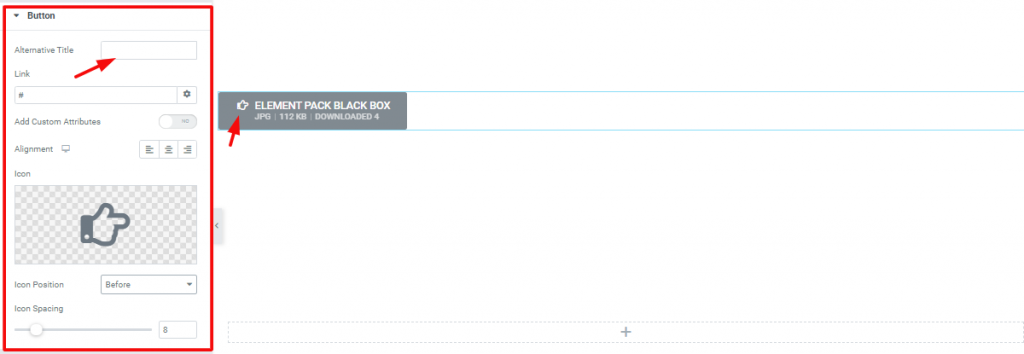
Go to Content Tab> Button
You can set custom attributes for the price table button tag. Each attribute is in a separate line. Separate attribute key from the value using | character. Also, you can choose a logo beside the title from this section. Moreover, you can change the button alignment here.
Style Tab
Now, time for some Style. In this Style tab, you will have more options to create your unique Elementor Download Monitor as you like. Let’s have a look.
Button
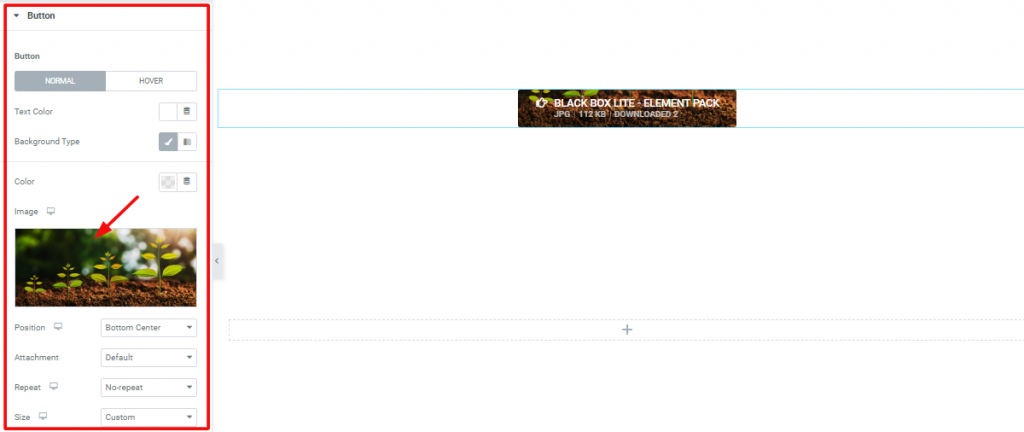
Go to Style Tab> Button
In this section, you can customize the appearance of the button. You can choose any color or even an image (adjusting its position) as the background.
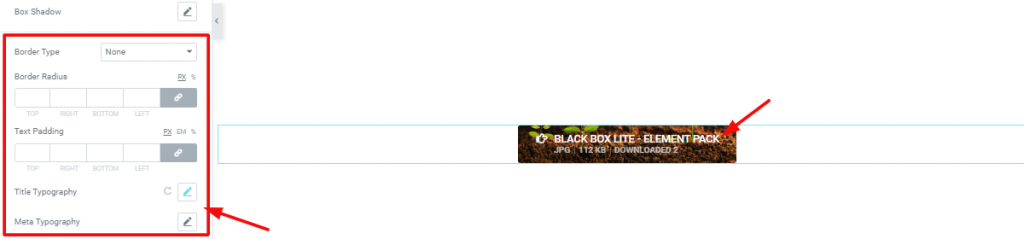
Moreover, you can add a border, text padding, and change the typography of the texts here.
Video Assist
Well done. Seems you have learned the whole thing and how it works. It is easy and fun. Watch Video Assist and to get more in-depth ideas about the usage of the Download Monitor widget by Element Pack, take a tour to the demo page.
[Note: on-site video link]