The Static Grid Tab widget is a handy feature presented by BDthemes and it is a part of the Element Pack Pro. It helps you show the items statically in a grid having tab functions.
Now, let’s learn how to use the widget on your site.
Insert the widget

To insert the widget on your page, type Static Grid Tab in the search field, then just drag-drop the widget in the text area.
Let’s create the Static Grid Tab Layout
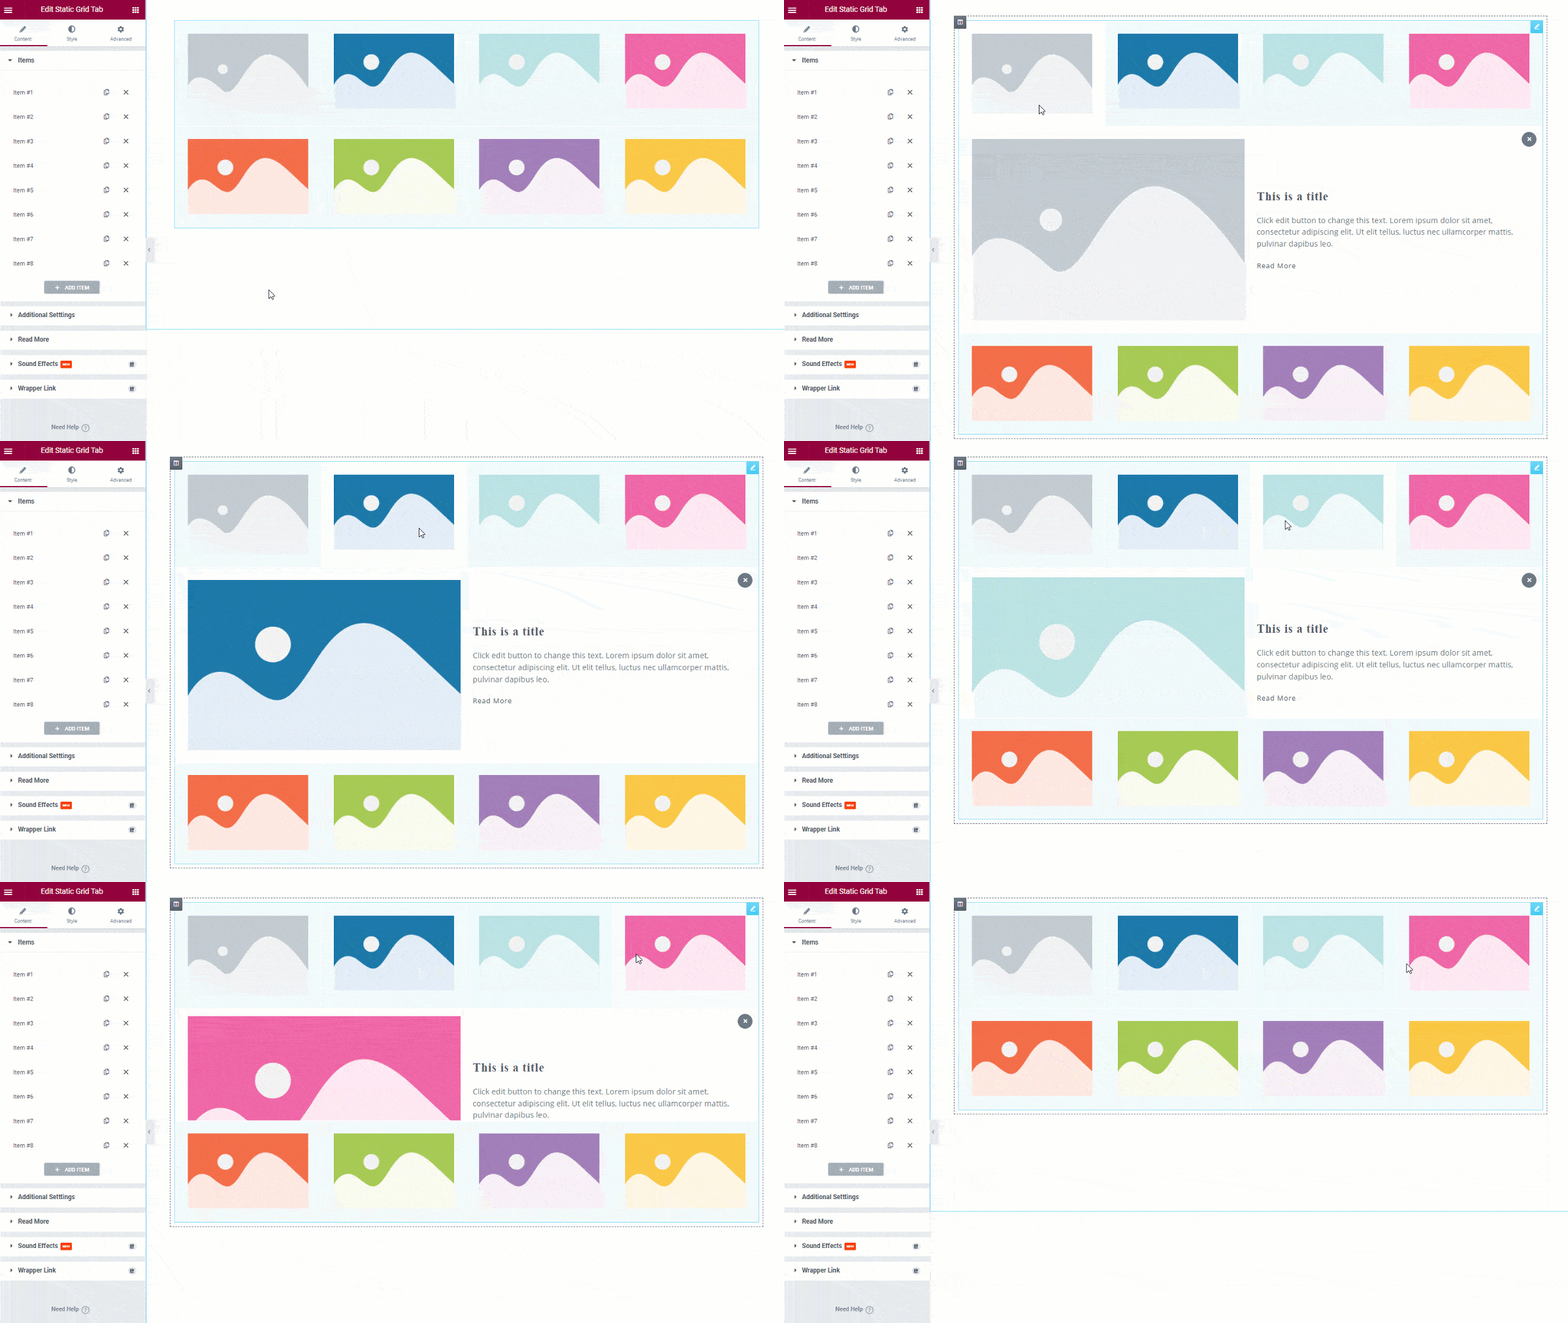
After inserting the widget, you will see a default view of the Static Grid Tab in the Items section under the Content tab.
When you hover and click on the items, you can see a tab below with an image along with title and text, and a Read More option which is the info of the item.
Step 1 – Customize grid items
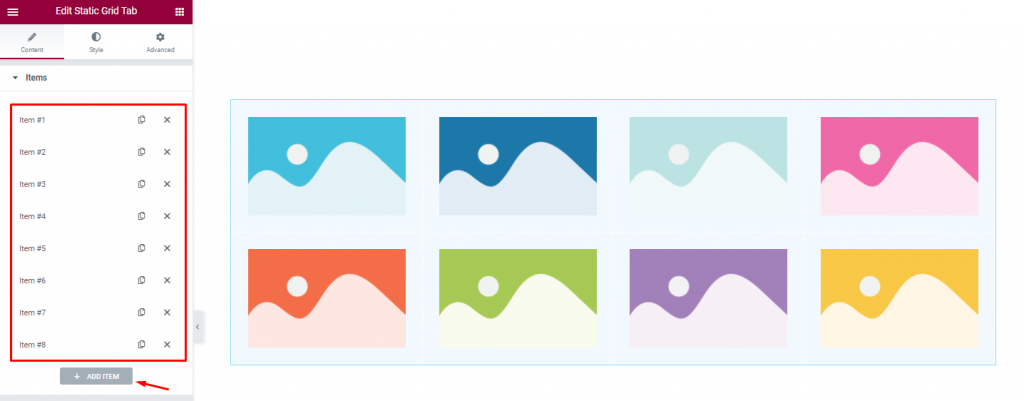
Notice that there are some items on the left in the Items section, and below them, there is a button to add more items.
Using the content tab, you can create the layout of the Static Grid Tab whatever you want.
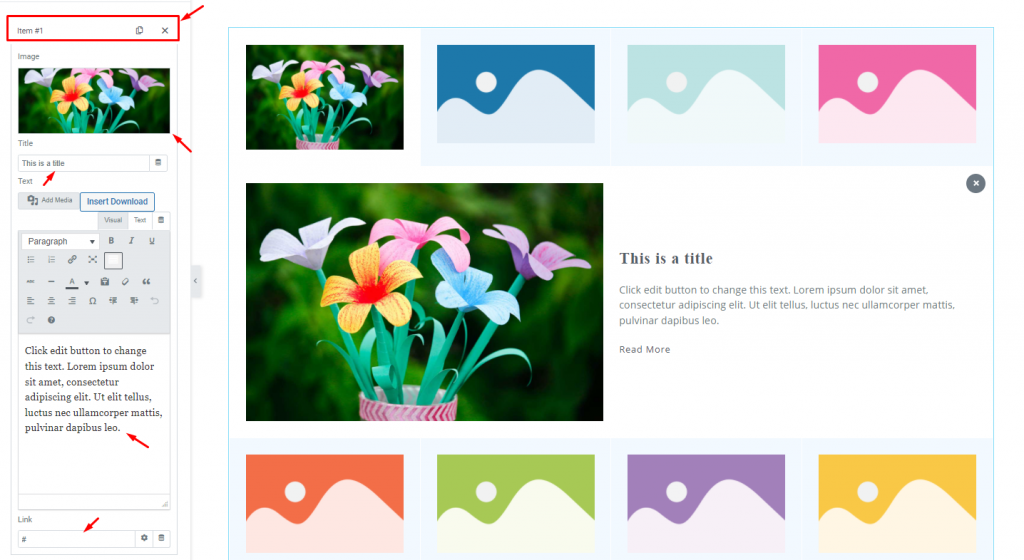
First, go to the first Item. Just click on it. Here, you can change the image, then change the title, and text. At the bottom, you will get a link field.
Step 2 – Customize from the Additional Settings
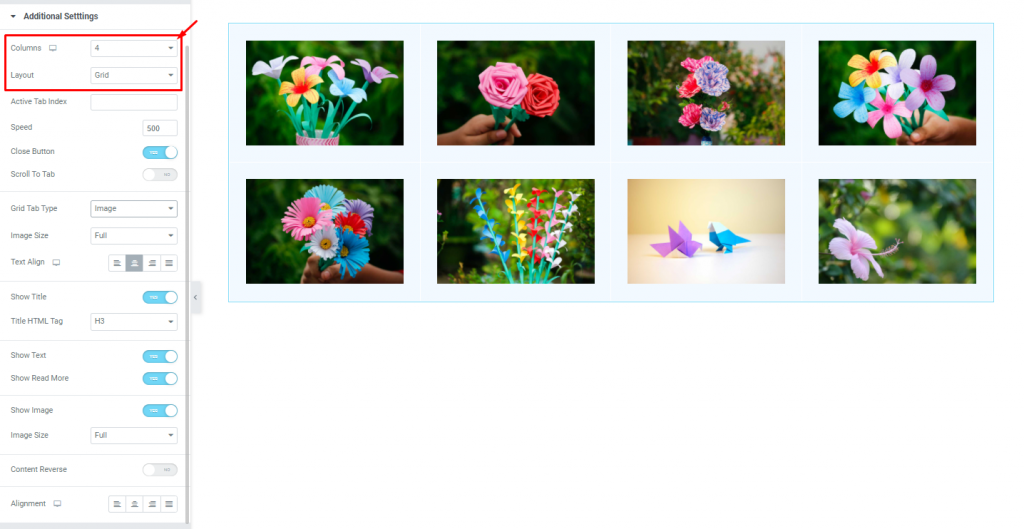
Next, go to the Additional Settings section. Here, you can select the number of columns and set the type of Layout either Grid or Tab. We will prefer Grid here.
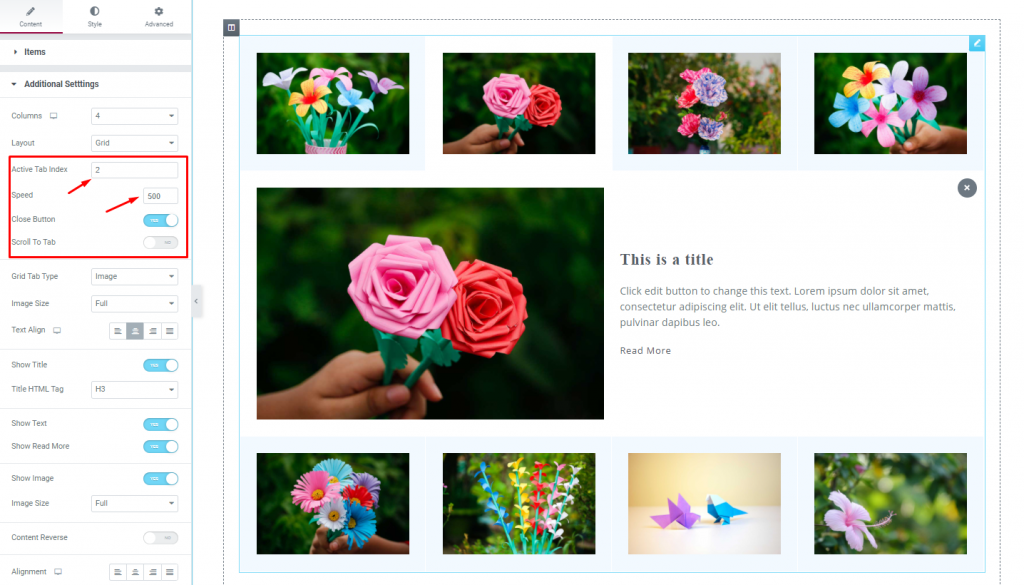
In the same section, you can select the number of Active Tab Index, then set the speed, enable or disable the Close Button, and Scroll To Tab switcher.
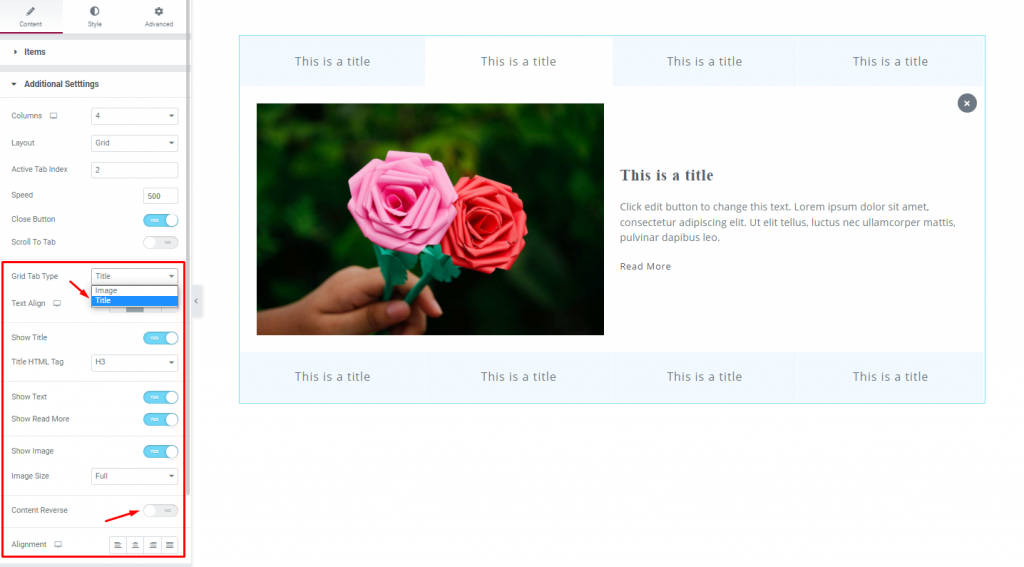
You can also change the view of the Grid Tab Type to either Image or Title. See the change after selecting the Tab Type to Title on the page.
Next, you can enable or disable the Content Reverse switcher which allows switching the image and text position. There are other options that you can manage.
Step 3 – Customize Read More button
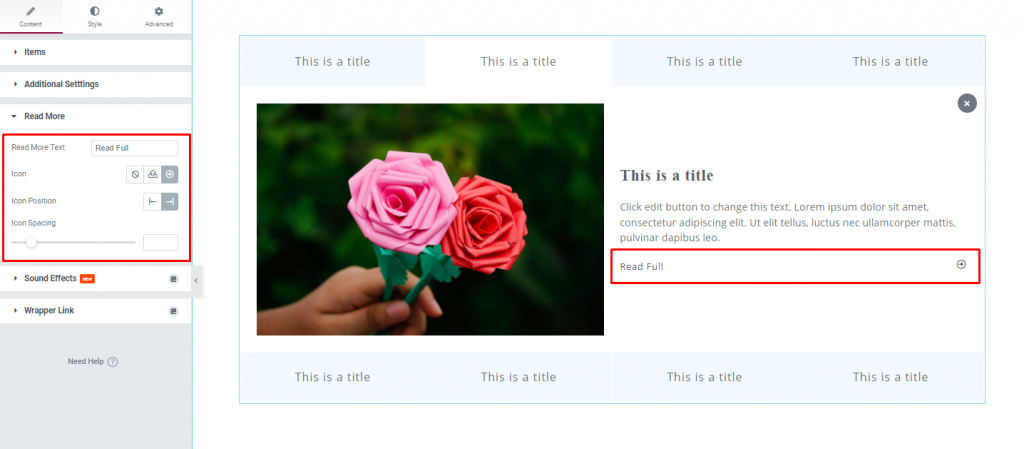
Now, go to the Read More section. Here, you can change the Read More Text, set an icon, and Icon Position. You can also select the Icon Spacing using the scrollbar.
Customize the grid view with the Style tab
Now, we are going to customize the grid view with the Style tab.
Tab section customization
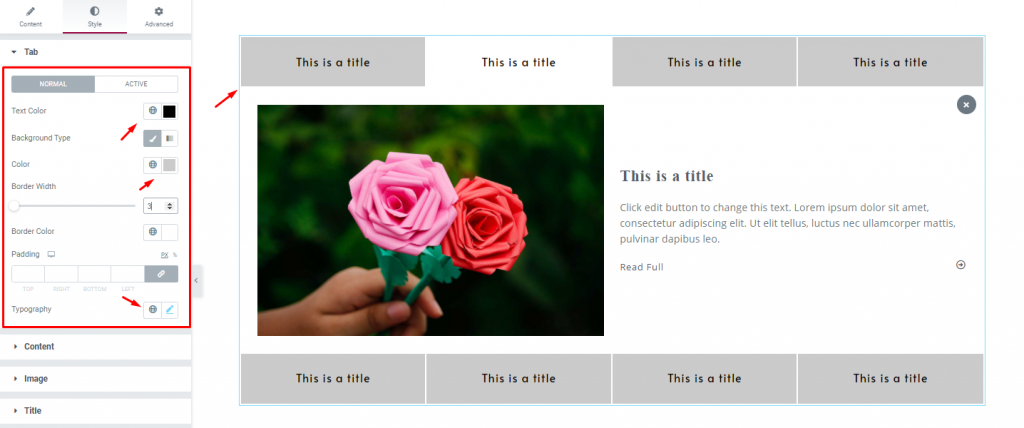
Go to Style> Tab
Here, you can change the Text Color, Background Color, and Typography of the tab grid. The changes are seen on the page.
Content section customization
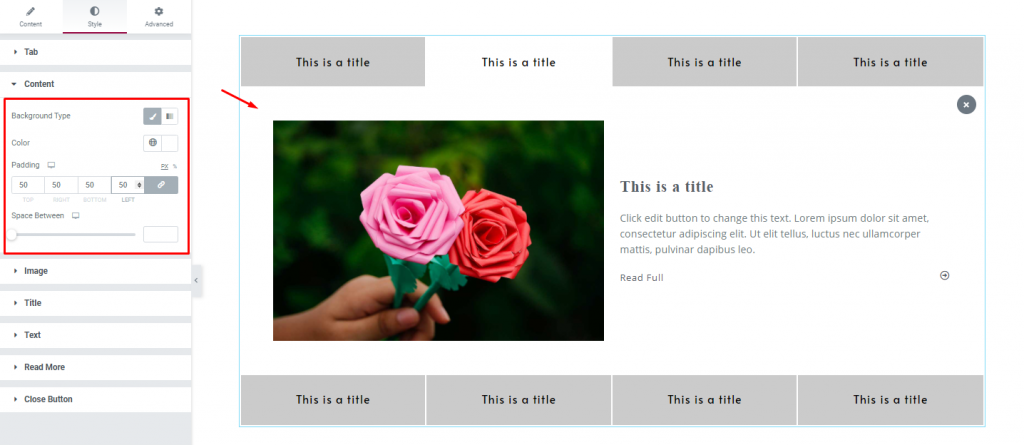
Go to Style> Content
Now, go to the Content section. Here, you can change the Background Type and Background Color for the tab content. Also, you can add some Padding, and set the Space Between using the scrollbar.
Image section customization
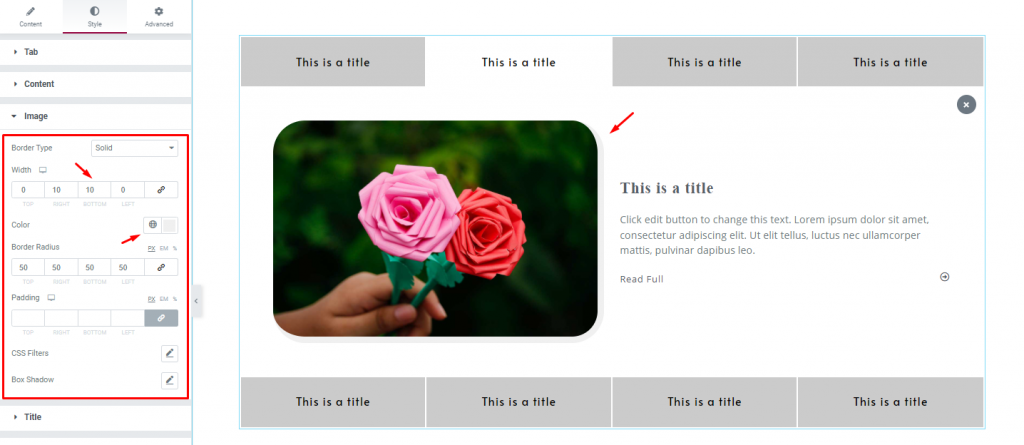
Go to Style> Image
In this section, you can set a Border with Border Width, change Border Color, and set the Border Radius to 50 for the tab images. You can also add some Padding, customize the CSS Filters, and Box Shadow.
Title section customization
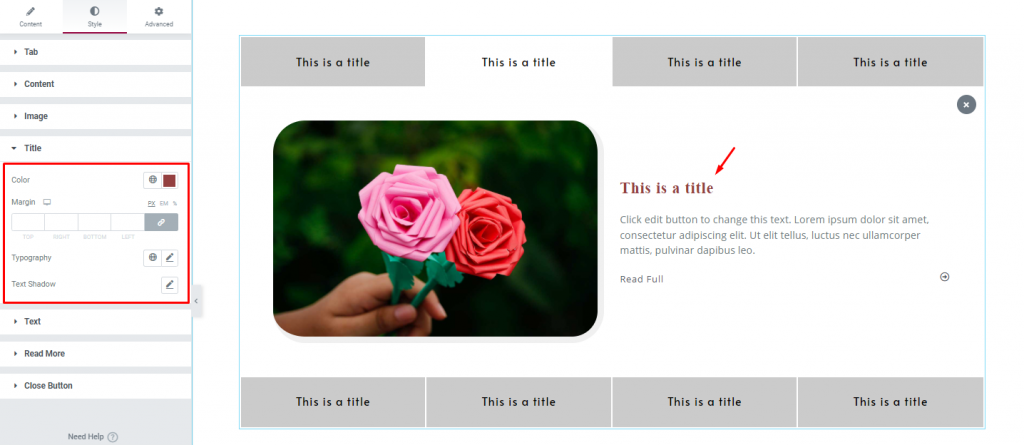
Go to Style> Title
After that, go to the Title section, you can change the Title Color, set a Margin, change the Typography and Text Shadow of the tabs.
Text section customization
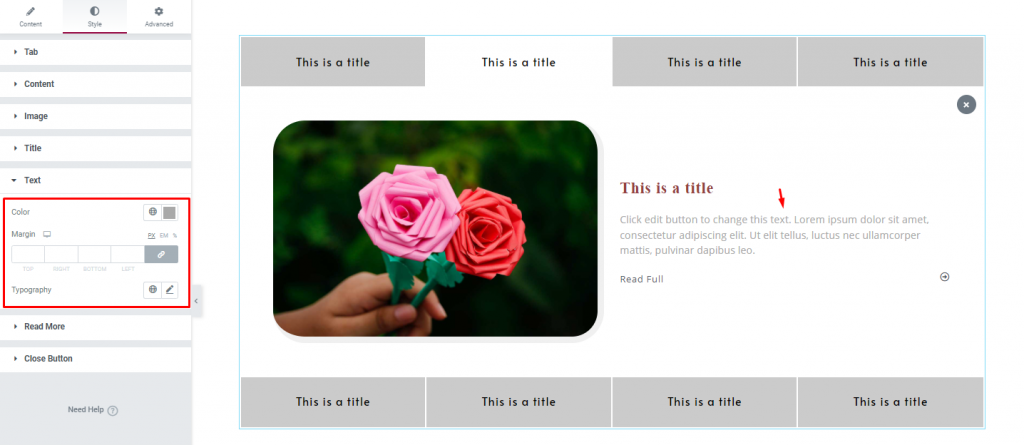
Go to Style> Text
Here, you can change the color, set a Margin, and change the Typography of the tab description text.
Read More section customization
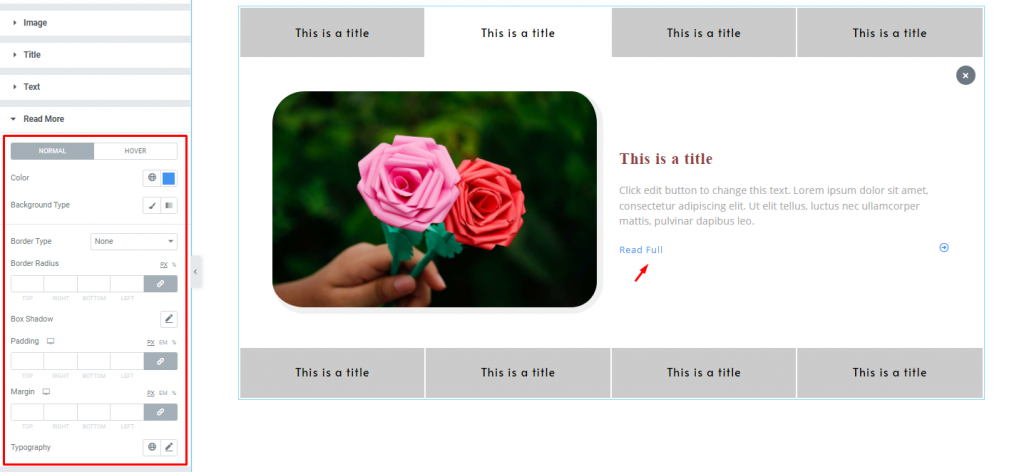
Go to Style> Read More
Here, you can change the text color, set a Background Type as well as set a border with Border Radius on the read more button/text. You can also give a Box Shadow, add some Padding, give a Margin, and change the Typography.
Close Button section customization
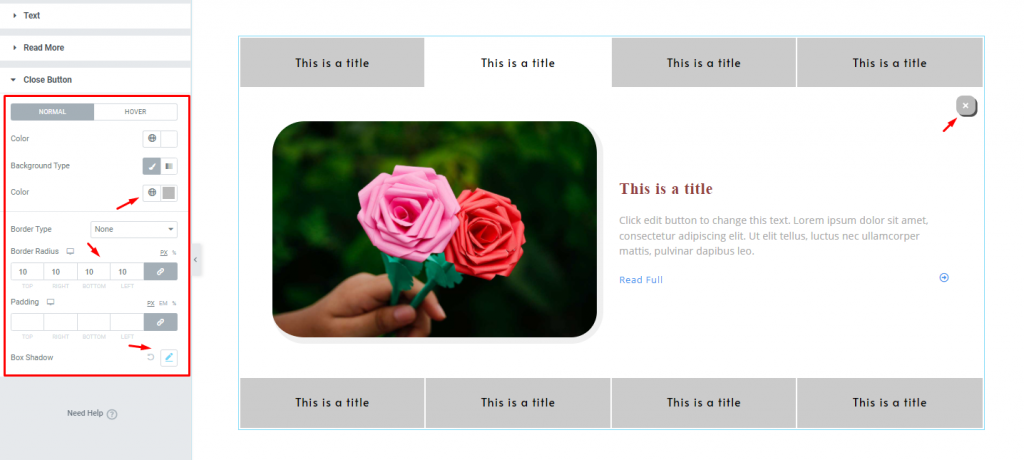
Go to Style> Close Button
Lastly, you can change the Background Color, set a Border Radius, and set a Box Shadow to the close button displayed at the top-right position on the tabs.
All done! You have successfully customized the Static Grid Tab widget on your website.
Video Assist
You can watch this quick video to learn more about the Static Grid Tab widget and visit the demo page for more examples.
This document is presented by BdThemes.

