You already have learned how to create a simple contact form in Elementor using Element Pack. And now, you will learn to set up an Email for the Simple Contact Form widget to receive emails from users/your web pages.
Let’s get started.
Step 1- Creating a form
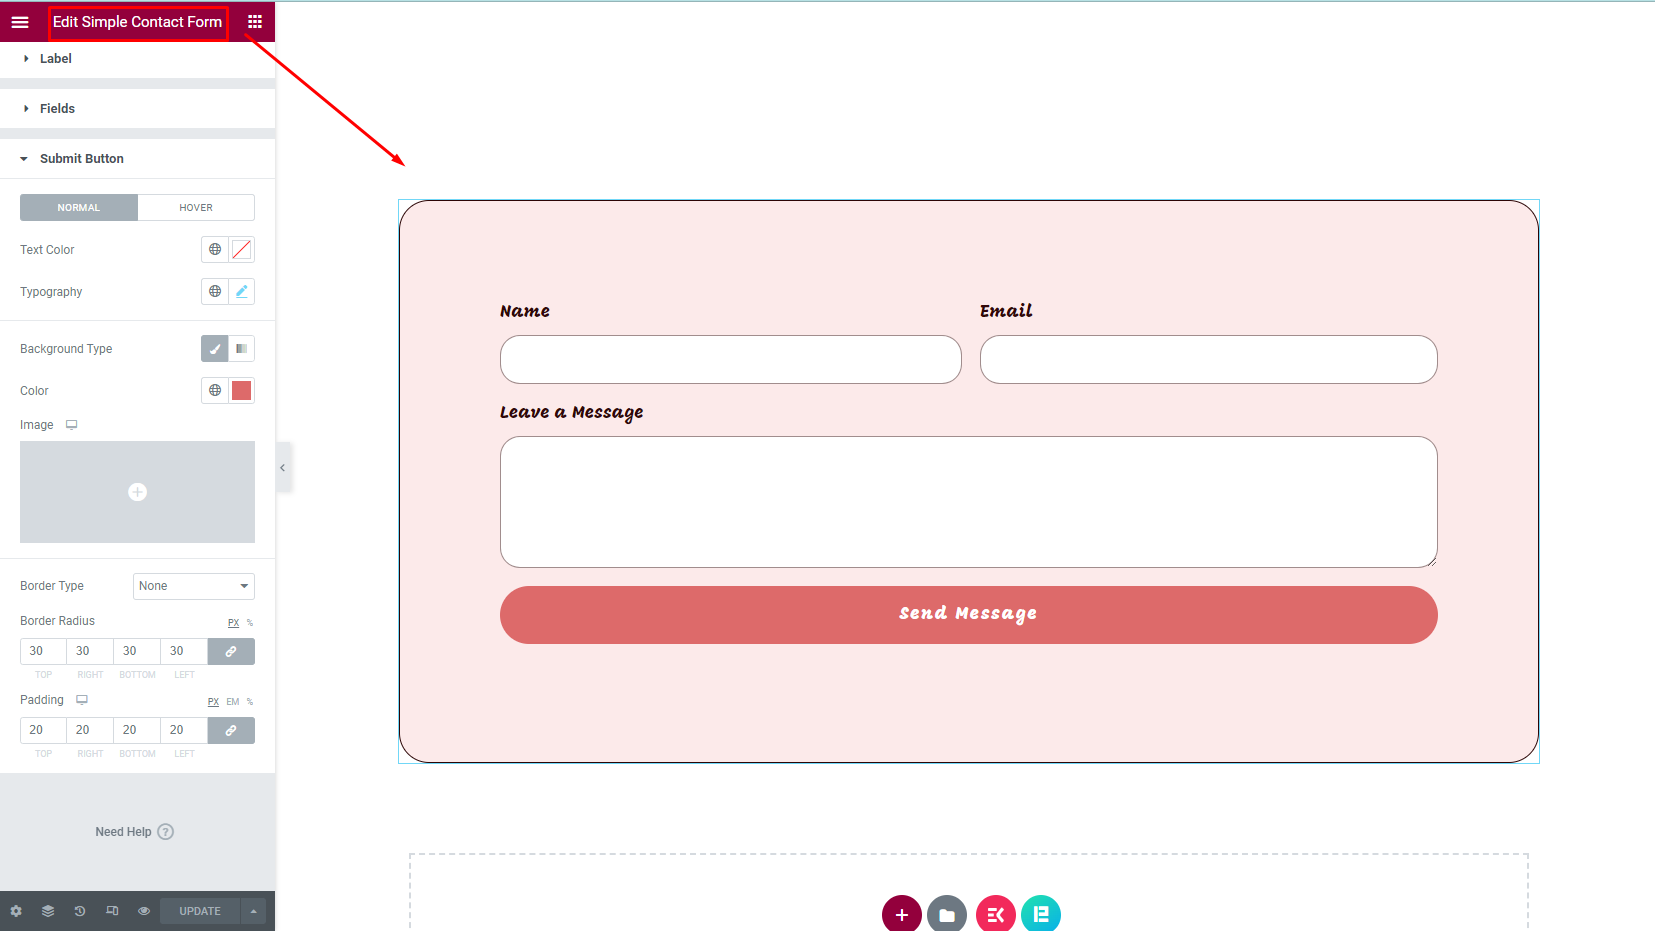
Follow the previous document and create your desired contact form as the first thing for this tutorial. If you have existing forms, you can skip creating new forms.
Step 2- Configuring API
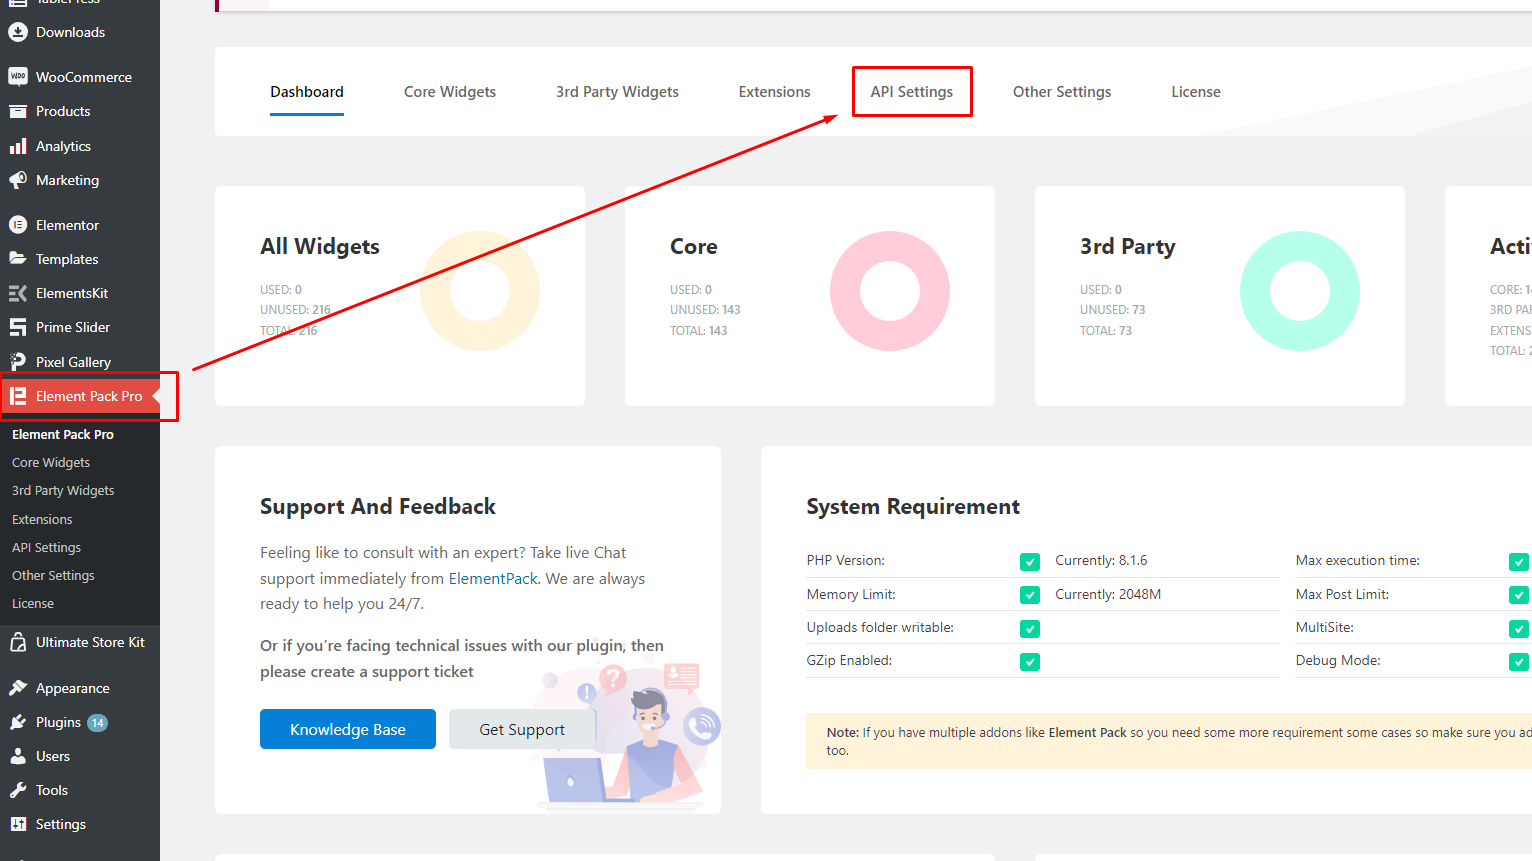
Now go to Dashboard > Element Pack Pro > API Settings.
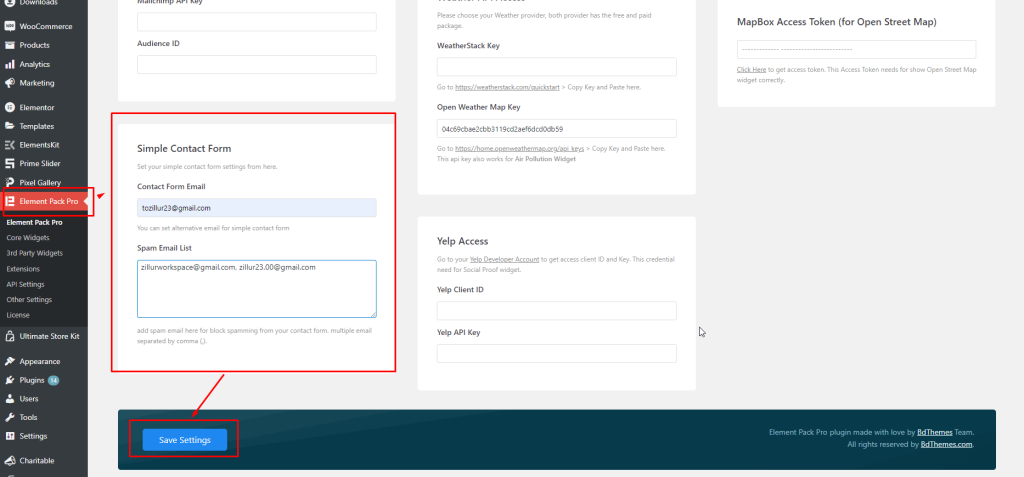
Inside the API Settings, scroll down a little bit and you will find a Simple Contact form box like this.
Here, provide your receiving email address in the Contact Form Email field.
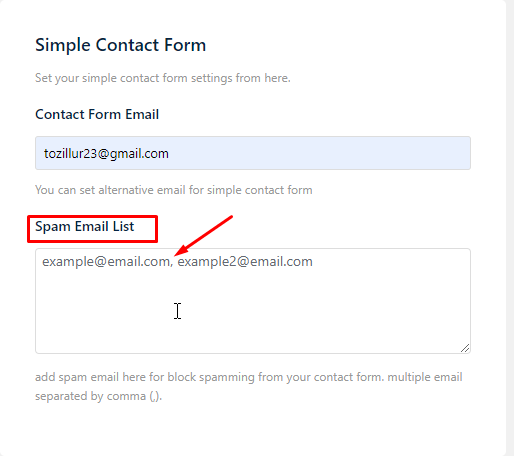
You can also block spam emails by putting them inside the Spam Email List field.
Once you finish your work you can click on save changes.
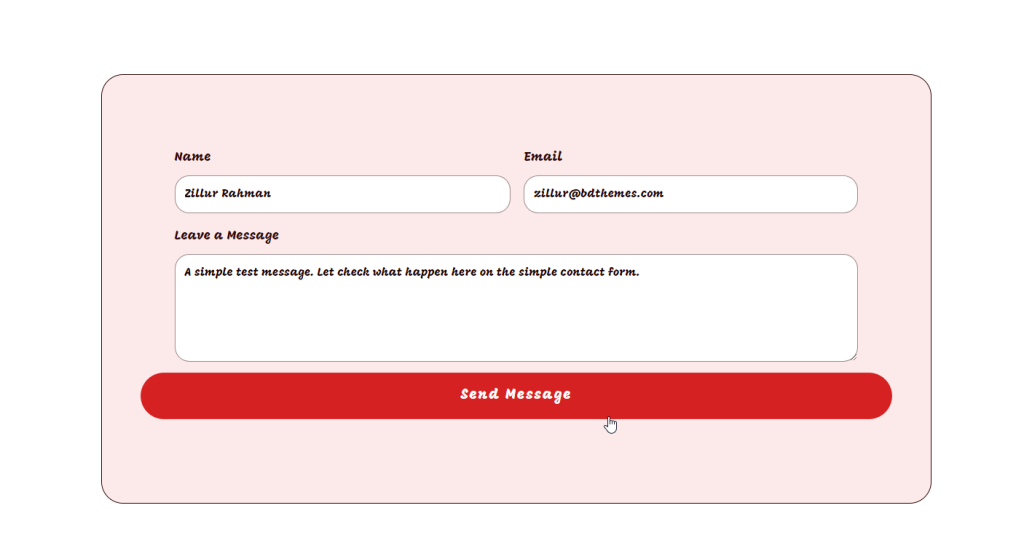
Now, when your visitors fill up the form and hit the send message button.
This would happen-
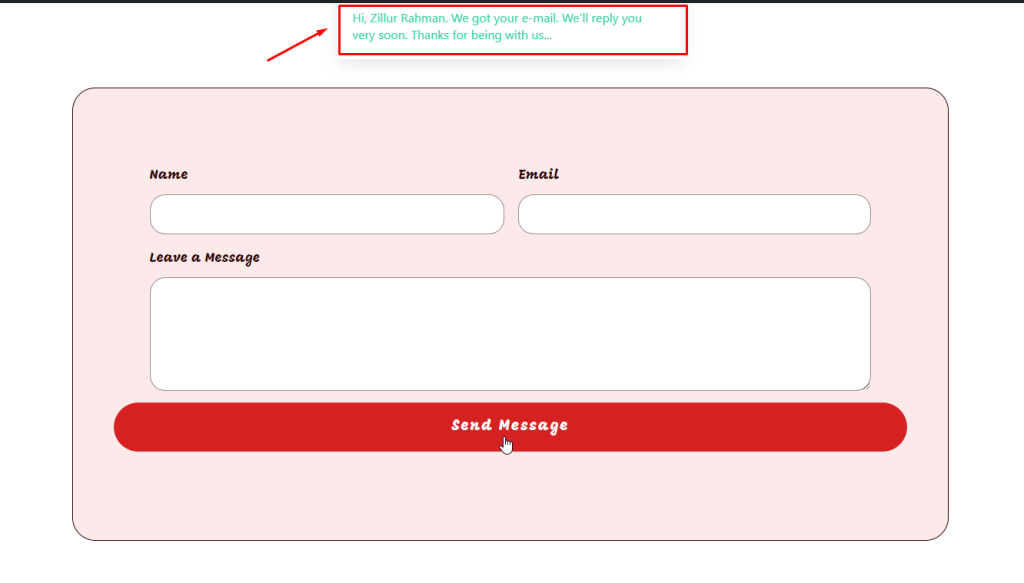
The user input will be forwarded to your connected inbox and the visitor will see a popup message on the form page.
Now go to your Email inbox/spam and you will find the email that the users have sent you.
Custom Success Message Added
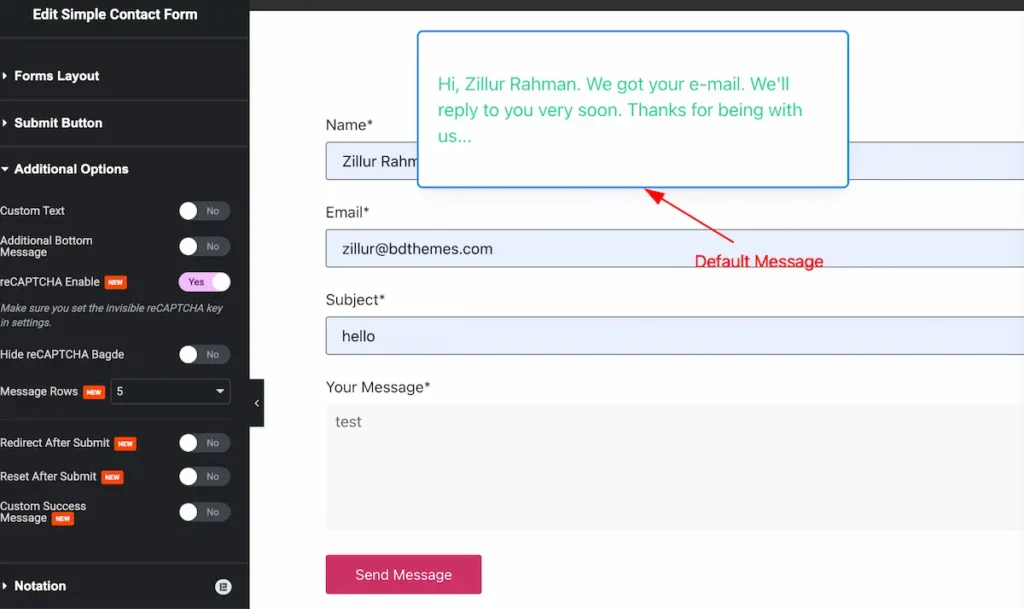
After fill the form hit the ” Send Message ” button and a default success message will appear.
Find the Custom Message
Go to Content > Additional Options
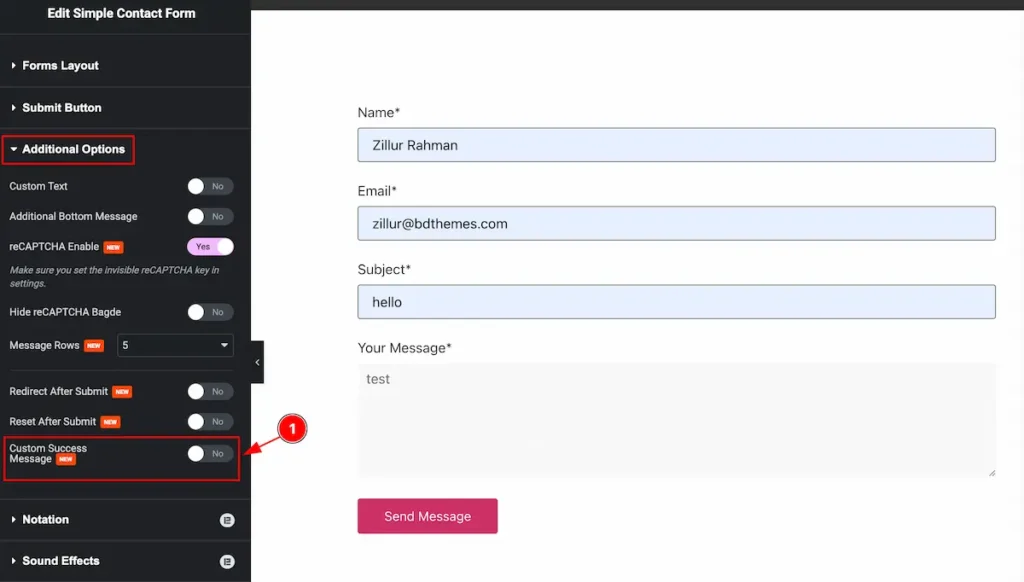
- Custom Success Message: Find the Custom success Message switcher and enable it.
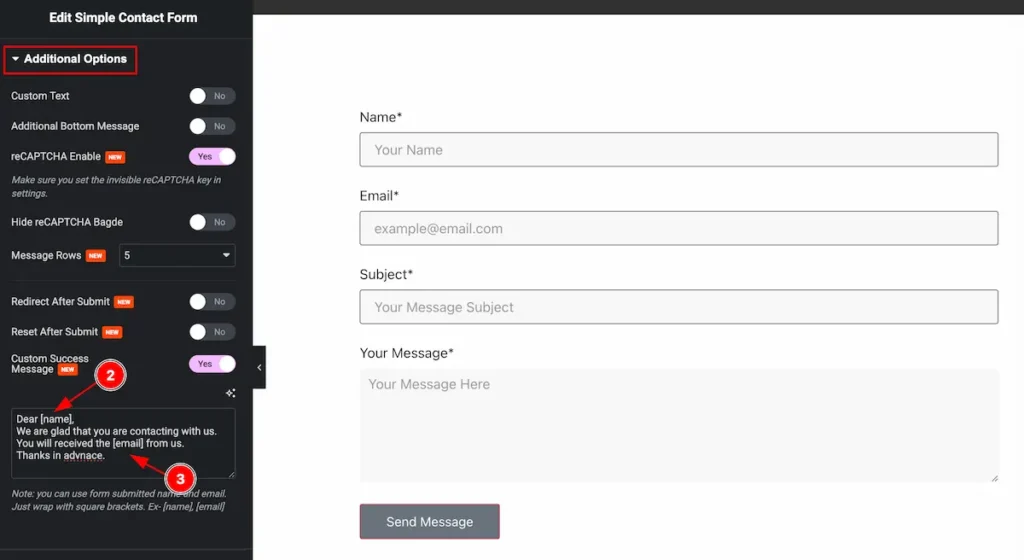
- To show the name, Set the [name] to get the username.
- To Display the user email set the [email] on the message section.
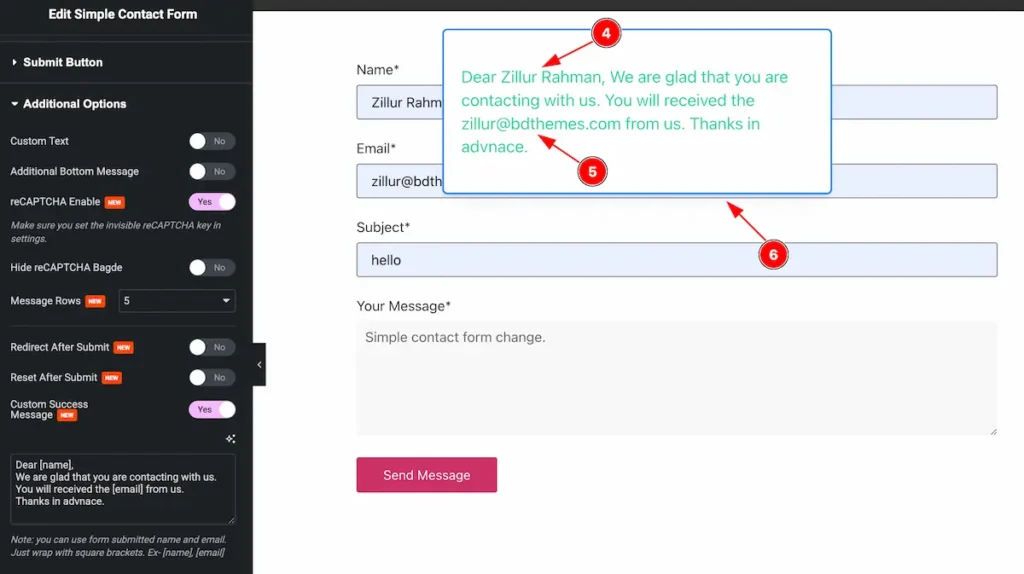
- The Name appear on the [name].
- The email will appear on there [email].
- The full custom message appear on the box.
By following the instruction, You can change the success message. The custom message will appear on the right.