The Remote Thumbs widget can be used on the Developed by Swiper carousel or slider widget and works by overtaking the default navigation of the target for remote actions.
This document will brief you on the configuration to use the Remote Thumbs widget.
Inserting a Slider widget first
As a remote-type widget, Remote Arrows require a Developed by Swiper slider or carousel widget to work on. In that case, we can simply drag and drop the Developed by Swiper slider/carousel widget on the page and hook it up with the remote widget.

Just open the page where you want to use the widget in Elementor and then drag and drop the Mercury slider widget into that page. Please note that you need both Elementor and Prime Slider installed before using this widget.
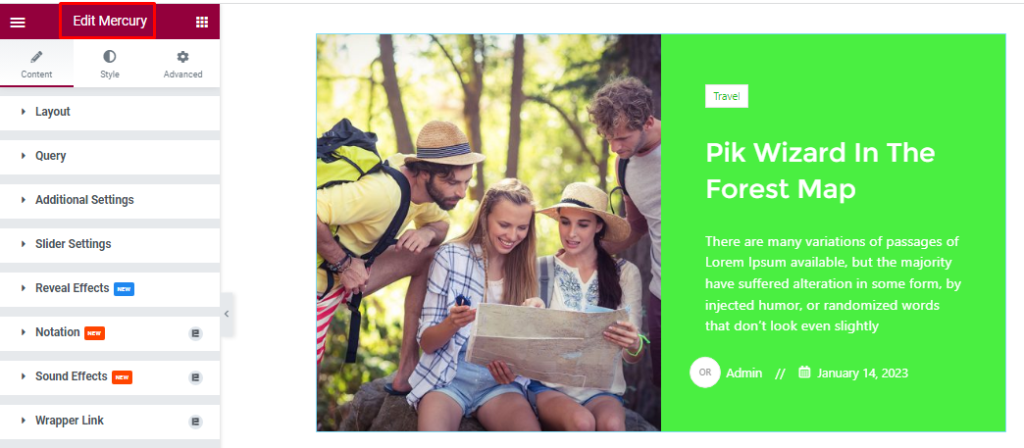
After Inserting the Mercury Slider widget, you can go for the customization or skip to the next step.
Set CSS ID
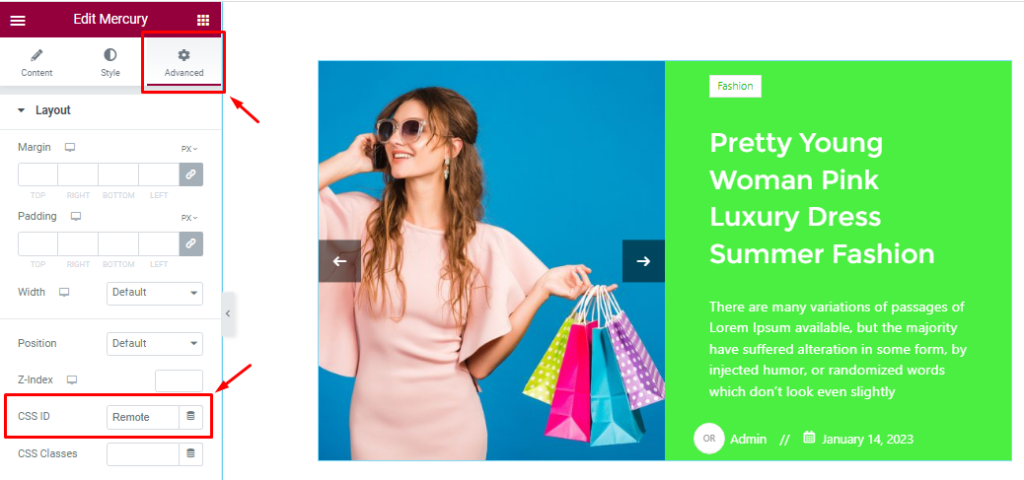
Go to Advanced > CSS ID on the Mercury Slider and set an ID name like EX: ‘Remote’ as seen in the Advanced section. Copy the CSS ID for later use.
Insert The Remote Thumbs Widget
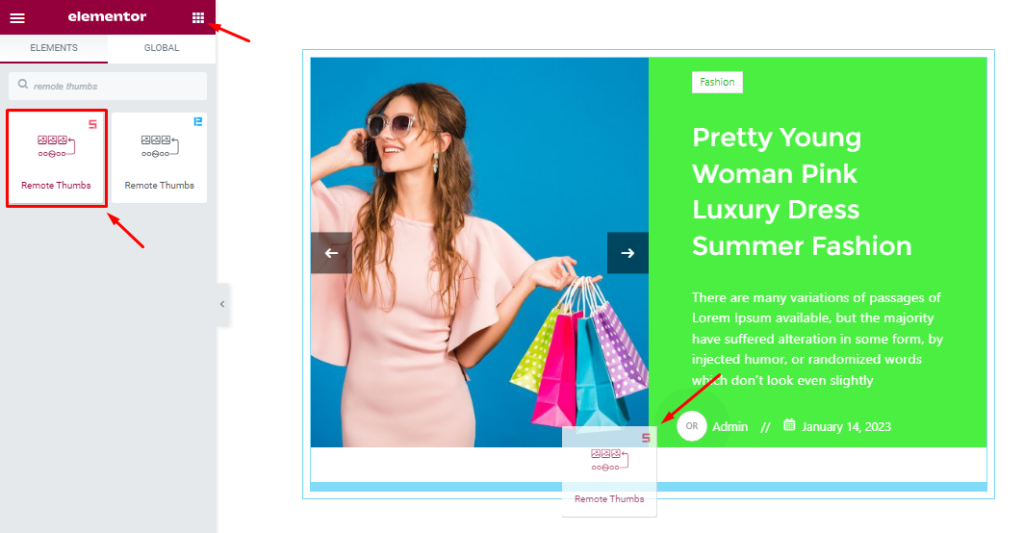
Insert the Remote Thumbs on the Page where you want to work with. Select Remote Thumbs Drag it and drop it on the page. Although we dropped the widget right below the slider, you can place it wherever you want inside the page and it will function normally. That’s why it’s called a remote widget.
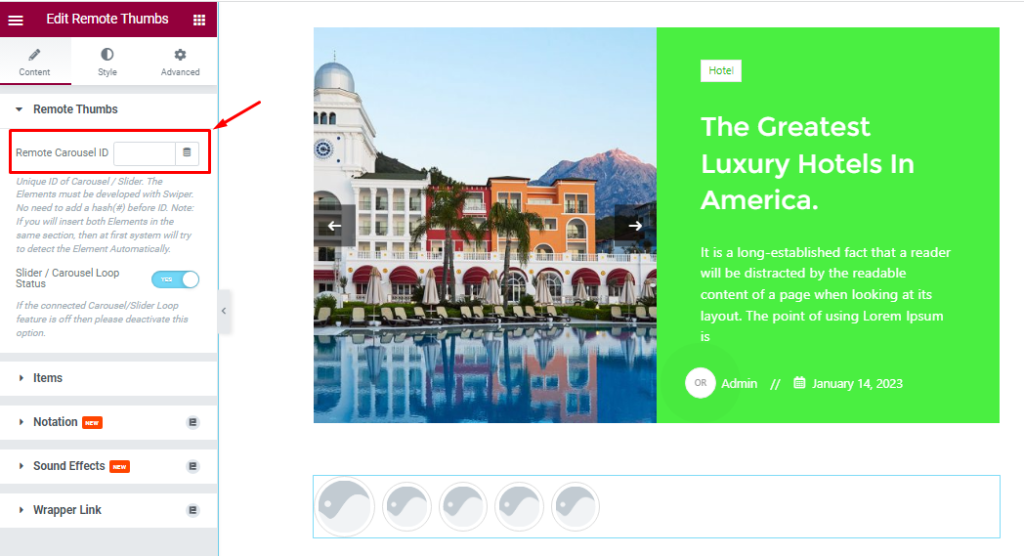
After inserting the widget then you should enter the Remote Thumbs Carousel CSS ID that you had copied from the slider part. Once you do that, the thumbs will be linked with the carousel and start sliding with the slider.
Let’s Work With The Content Tab
Remote Thumbs Section Customizations
Go to Content > Remote Thumbs.
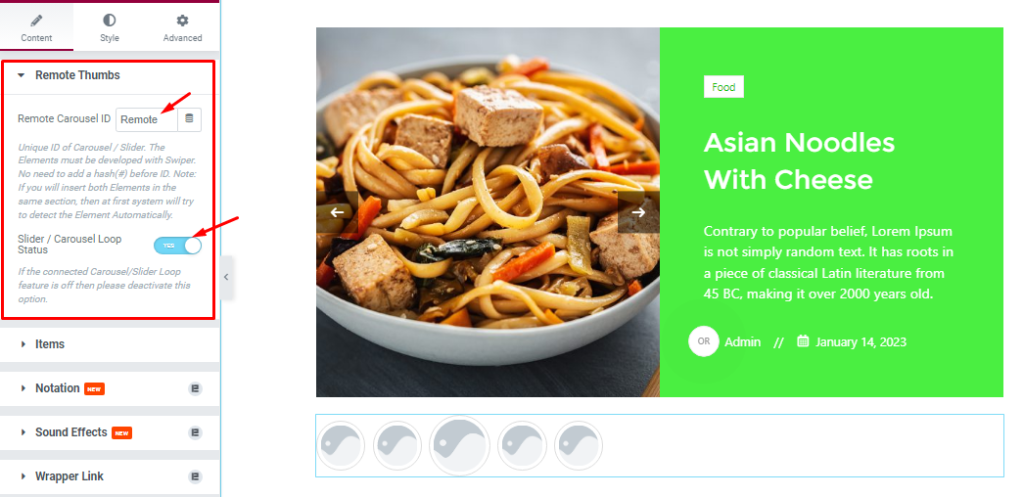
You already have configured the Remote Carousel ID. Now, the Slider/ Carousel Loop Status switcher is responsible for syncing with the loop settings of the carousel/slider when turned on for ease of usage. Turn it off in case the loop is deactivated in the target slider/carousel.
Item Section Customizations
Go to Content > Items
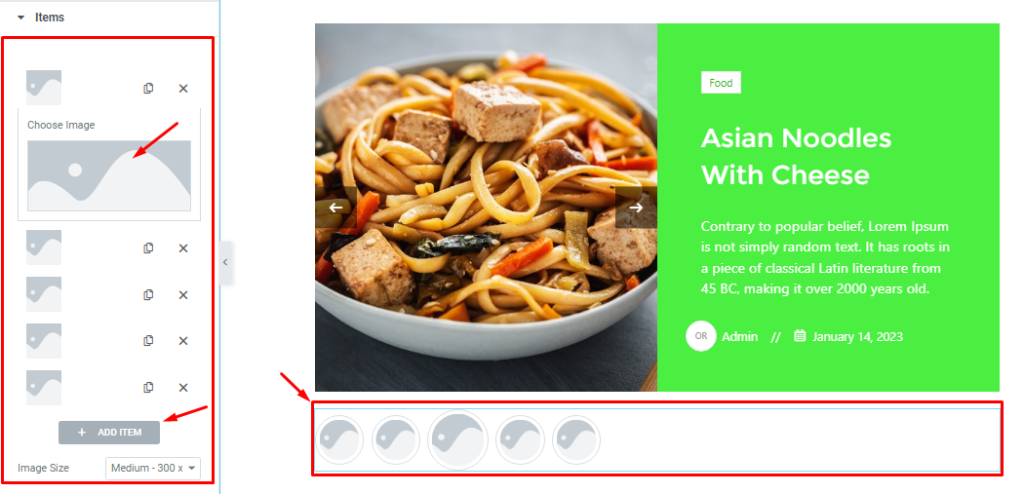
Add item images here based on your carousel item. Choose images from your computer, and select the same image as you have on your carousel it will look much better for display.
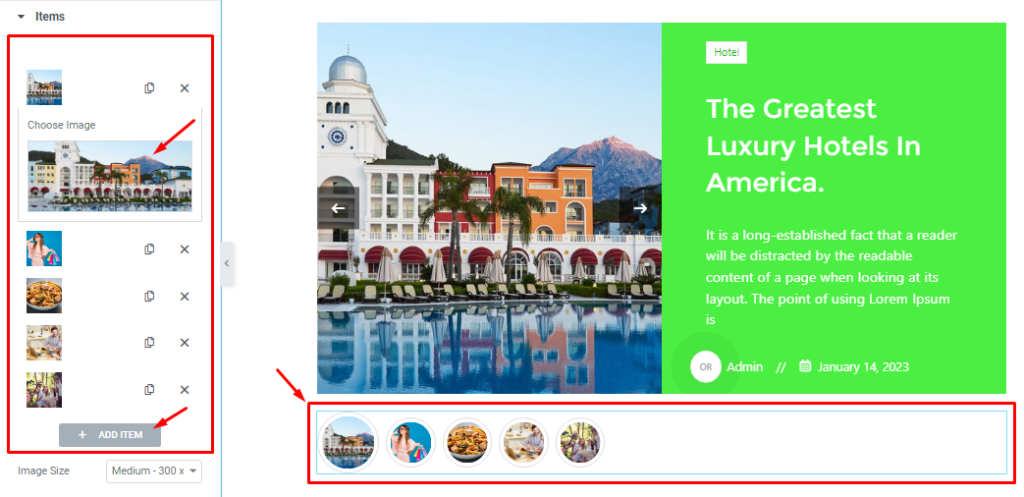
For ease of use, these thumbs are configured to sync with the images used in the slider. So, you do not have to follow any sequence, just keep adding images to the thumbs and each will auto-link with the respected slider item.
Work With Style Tab
Customize Of The Remote Thumbs Section
Go to Style > Remote Thumbs
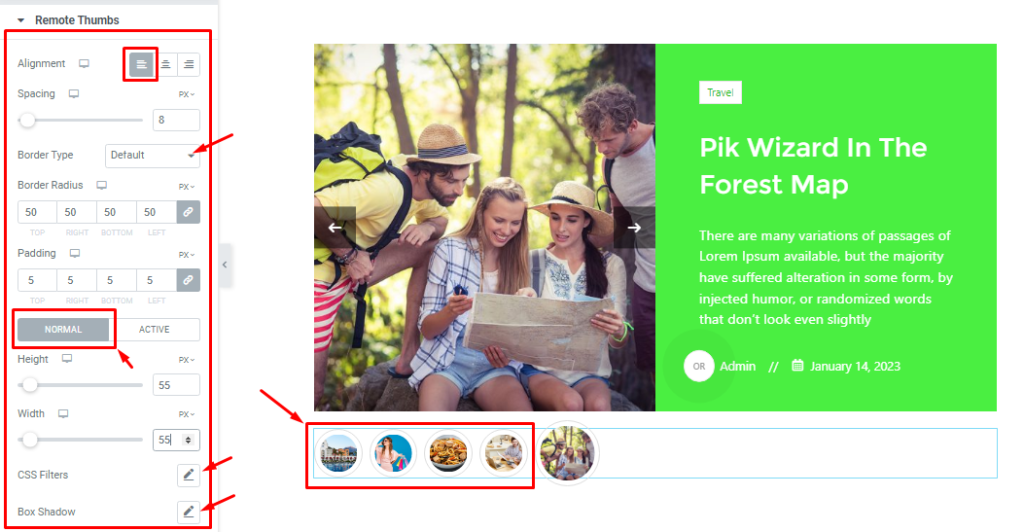
Here, you will find all sorts of options like Alignment for texts, Spacing between each item, Border Type, Border Radius, and Padding.
And there have two modes ( Normal, and Activate ) you can select the Height and Width of the Items for both modes, and lets you create a more detailed interface of the thumbs.
Also, you will find a CSS Filters option so you can edit image color parameters as you want. And, a Box Shadow option will let you create a 3D-like view of the thumbs.
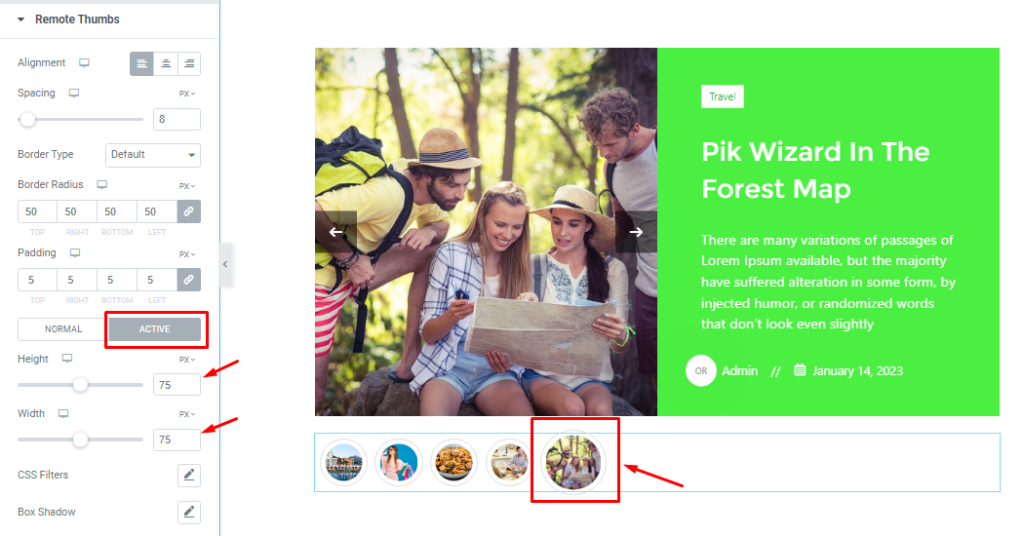
In Active mode, you will get the same set of options as the normal mode to create hover effects.
All done! You have successfully customized the Remote Thumbs widget on your website.
Please go through the demo page to view a more practical implementation of the widget.
Thanks for staying with us.