Easy Digital Downloads ( EDD ) is a complete eCommerce solution for selling digital products on WordPress. This documentation will show you how to customize the Easy Digital Downloads widget by Element Pack Pro.
Install EDD Plugin from WordPress Dashboard
Go to WordPress Dashboard > Plugins
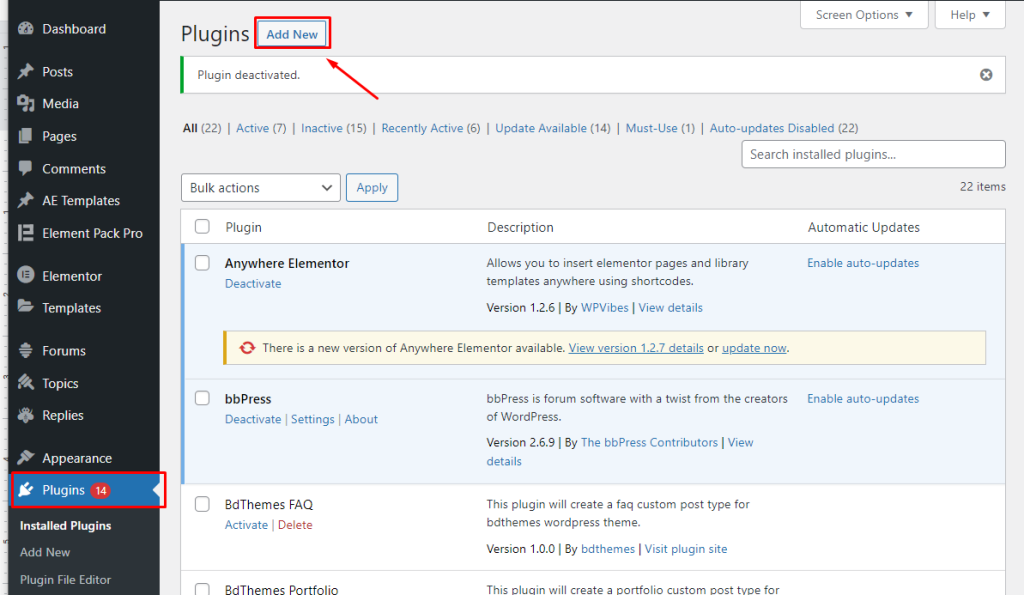
To add the EDD plugin through the WordPress dashboard, go to the Plugins tab and click on Add New.
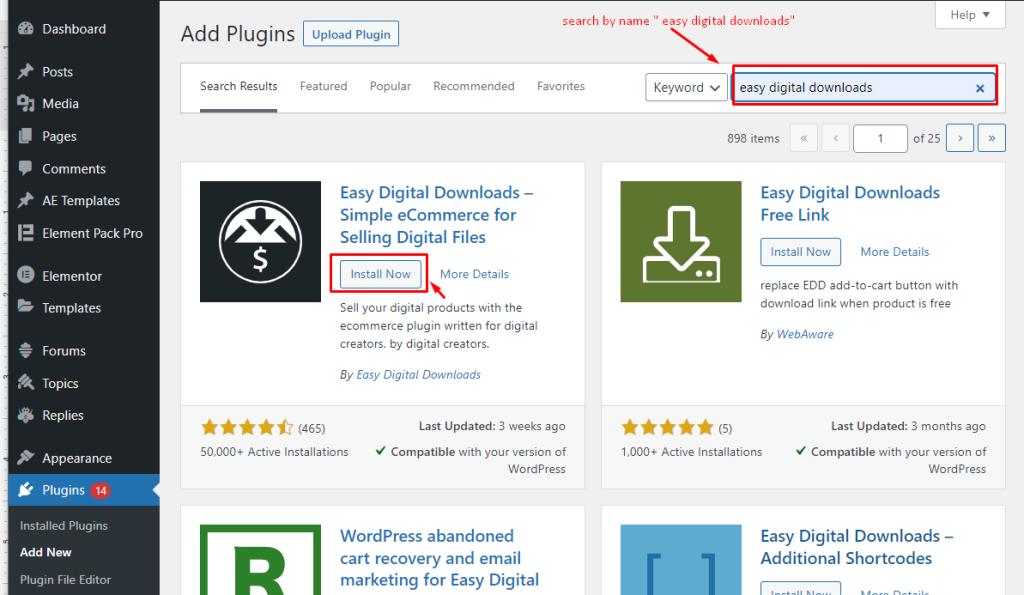
Now search the plugin by its name, “easy digital downloads”, and click the Install Now button.
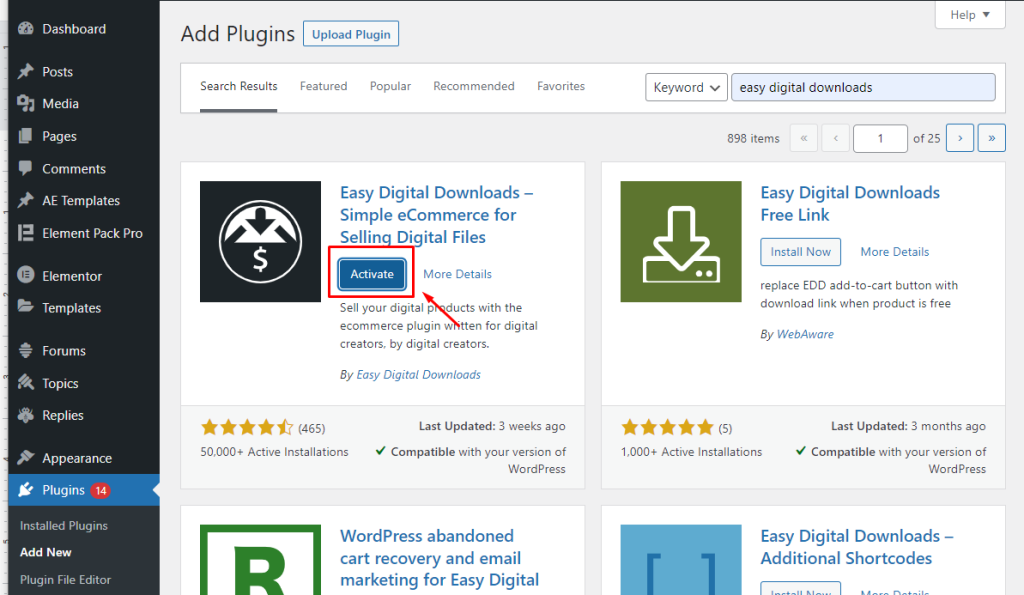
Installing takes a few seconds. Then click on the activate button and wait a few moments to finish.
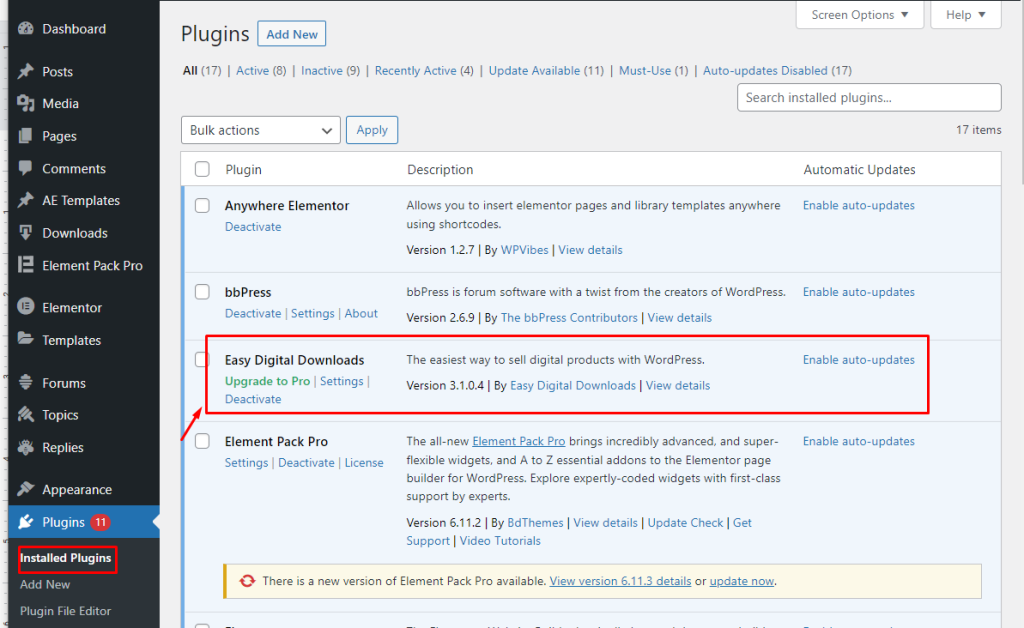
After activating the plugin, it should be listed under your WordPress dashboard’s “Installed Plugins” section.
(Alternative) Install the plugin from Element Pack Pro Dashboard
Go to WordPress Dashboard > Element pack > 3rd Party widgets
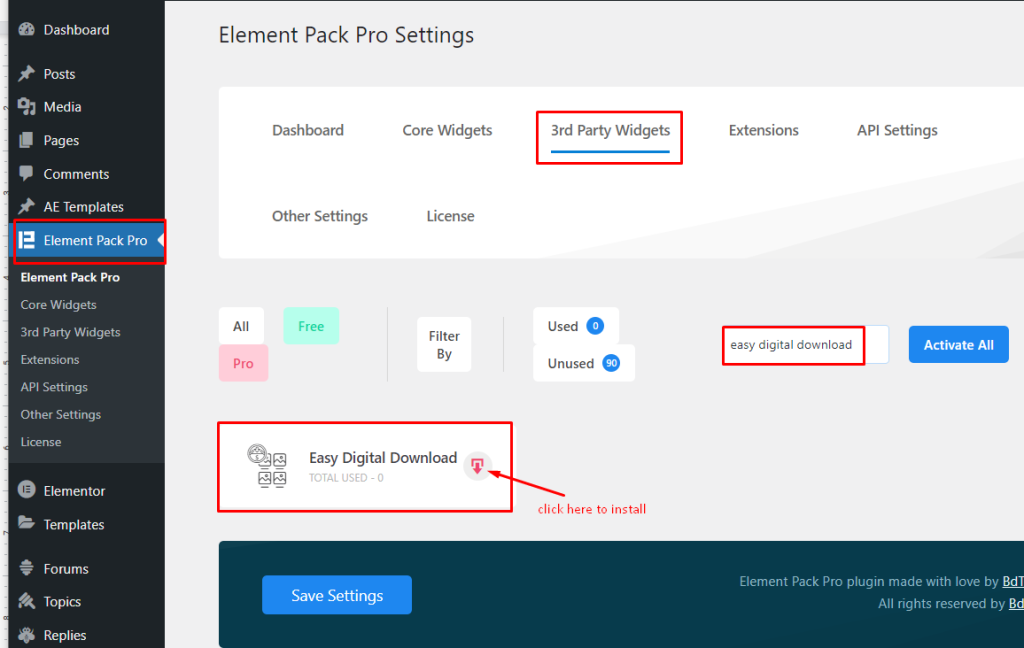
To install the EDD plugin through the Element Pack dashboard, please follow these steps:
- Go to the Element Pack dashboard
- Navigate to the “3rd Party Widgets” section
- You can either scroll through the list to find the EDD plugin or use the search bar by typing in “Easy Digital Downloads”
- Once you find the plugin, click on the download icon, as shown in the image provided.
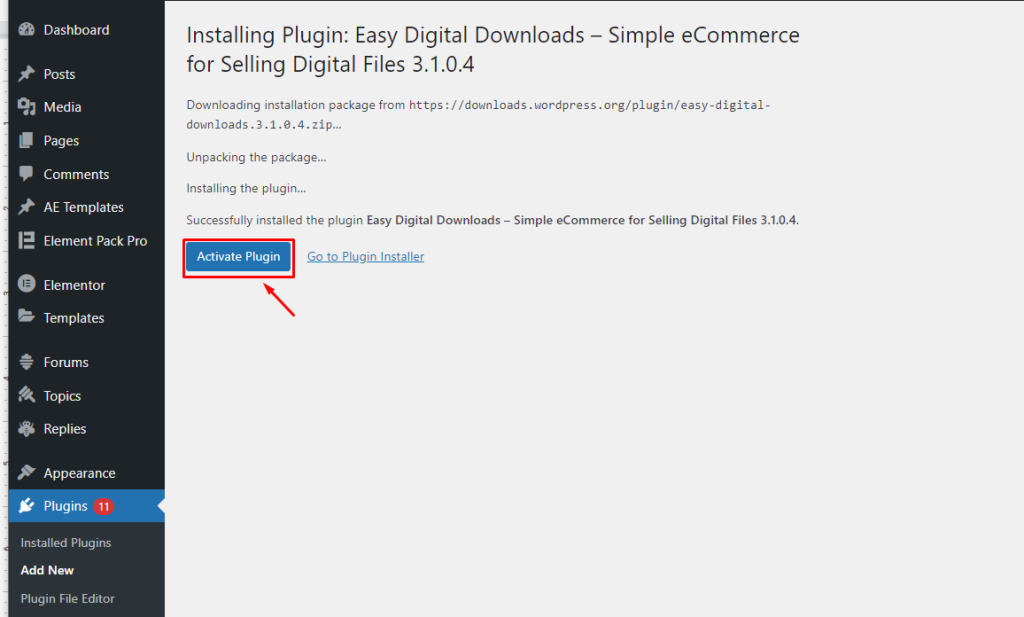
After clicking the download icon, you will be prompted with an “install” button. Click on it to begin the installation process. The installation process may take a few moments to complete. After finishing the installation process of “Easy Digital Downloads,” you will see a button labeled “Activate Plugin.” To make the plugin functional, you must click on this button.
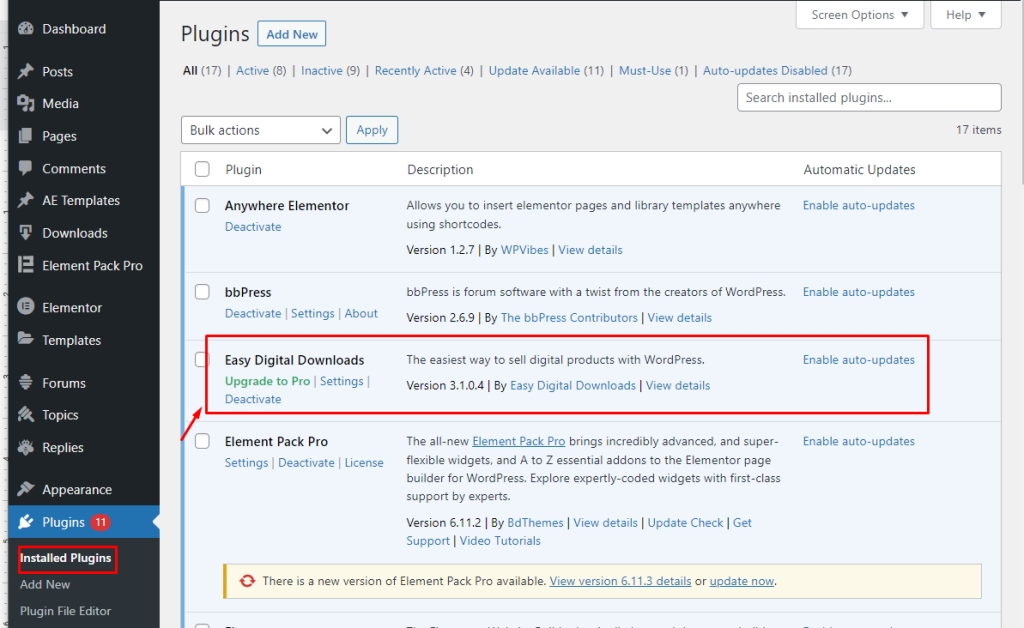
Ensure that the Easy Digital Downloads plugin is activated. Upon confirmation, the installation process is completed.
Inspect the Easy Digital Downloads (EDD) plugin.
To access the EDD features, go to the WordPress Dashboard and click on the “Downloads” option.
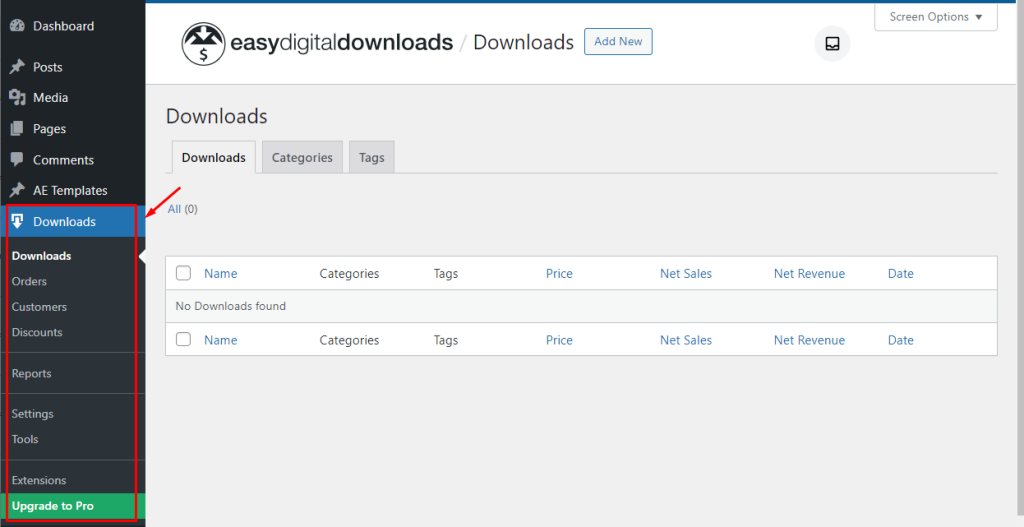
The Downloads option on the WordPress Dashboard will give you access to all the necessary features for managing and selling digital products using the Easy Digital Downloads (EDD) plugin.
Let’s have a look at the Downloads options
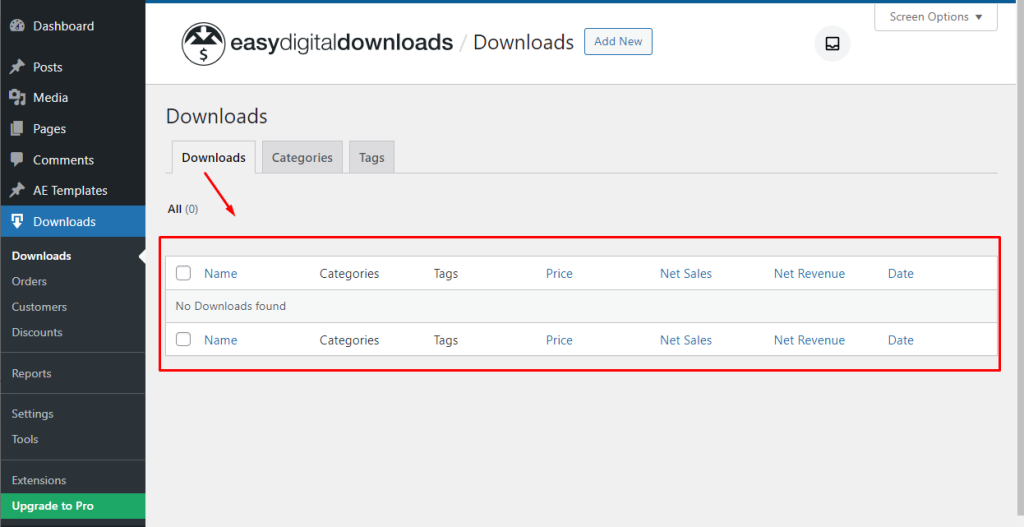
The “Downloads” section on the WordPress Dashboard lets you view all the information about your digital products, including how many products you have and their details in a table view. The information displayed includes the product name, category, tag, price, net sales, revenue, and date.
However, the table will be empty if you haven’t added any products yet.
Add Download Category
Go to Downloads > Categories
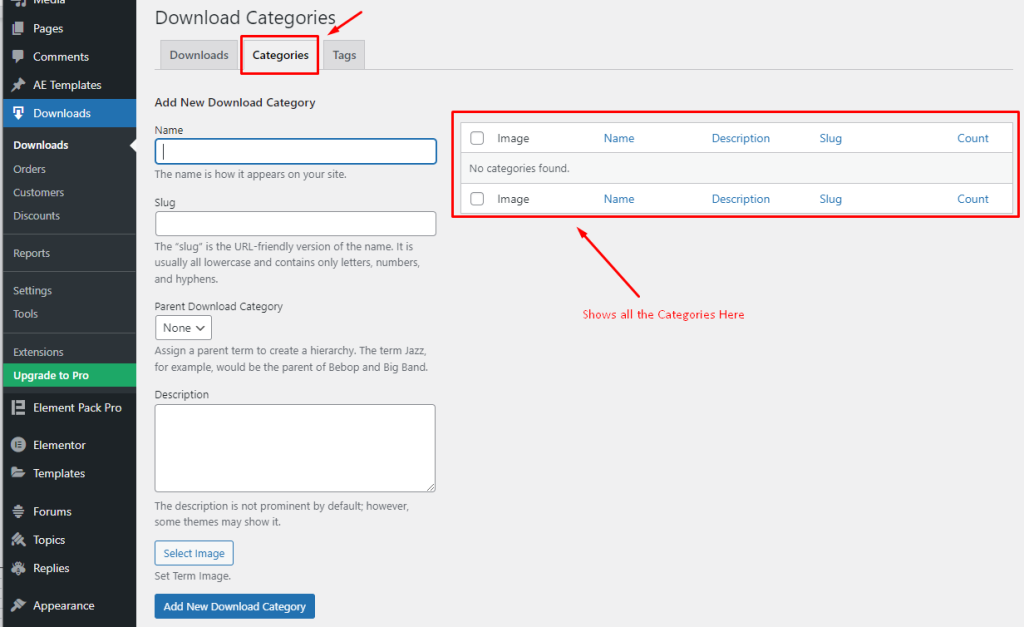
By default, it is showing blank as no categories have been created yet.
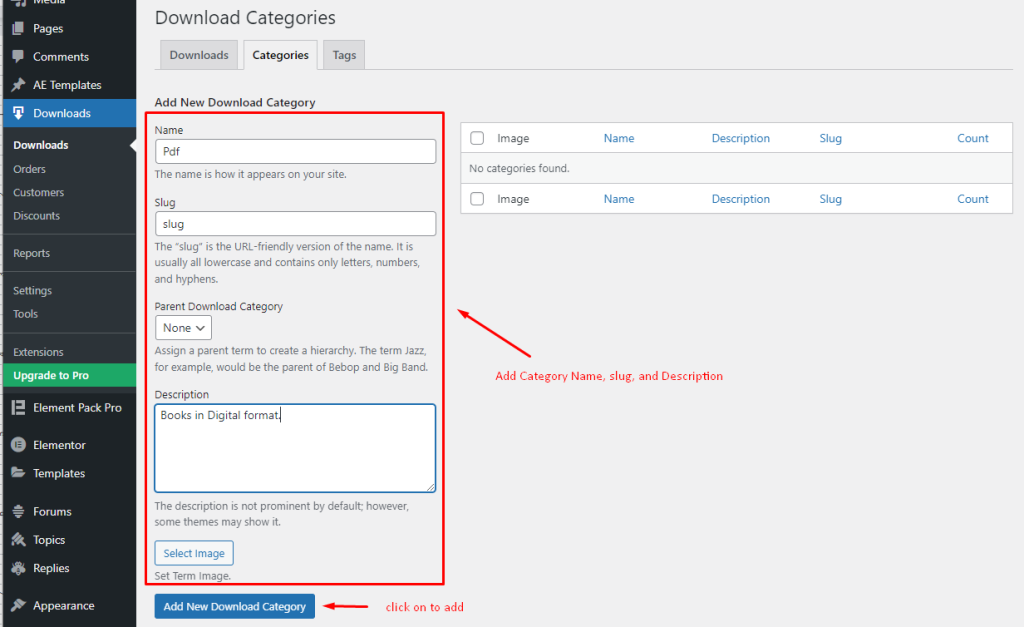
Provide Name, Slug, Parent Digital Category, Description, and optional Image for the category. Once all the information is provided, click the “Add New Download Category” button.
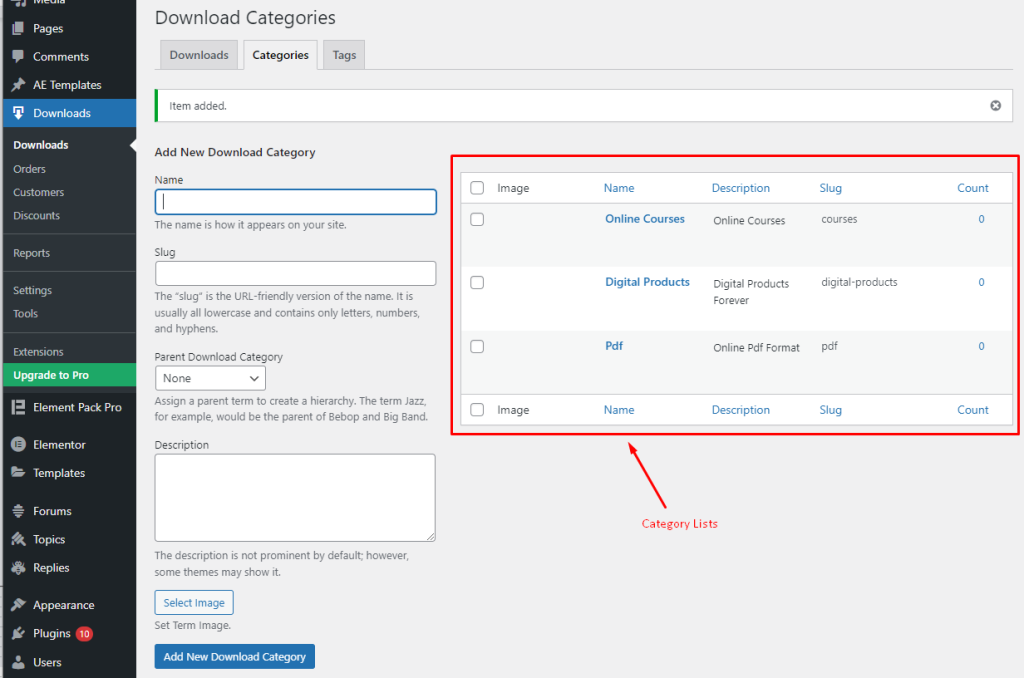
Once you have added the category, you can proceed to the next step in the process. This could include adding product details, pricing, and images.
Let’s add Tags for Easy Digital Downloads
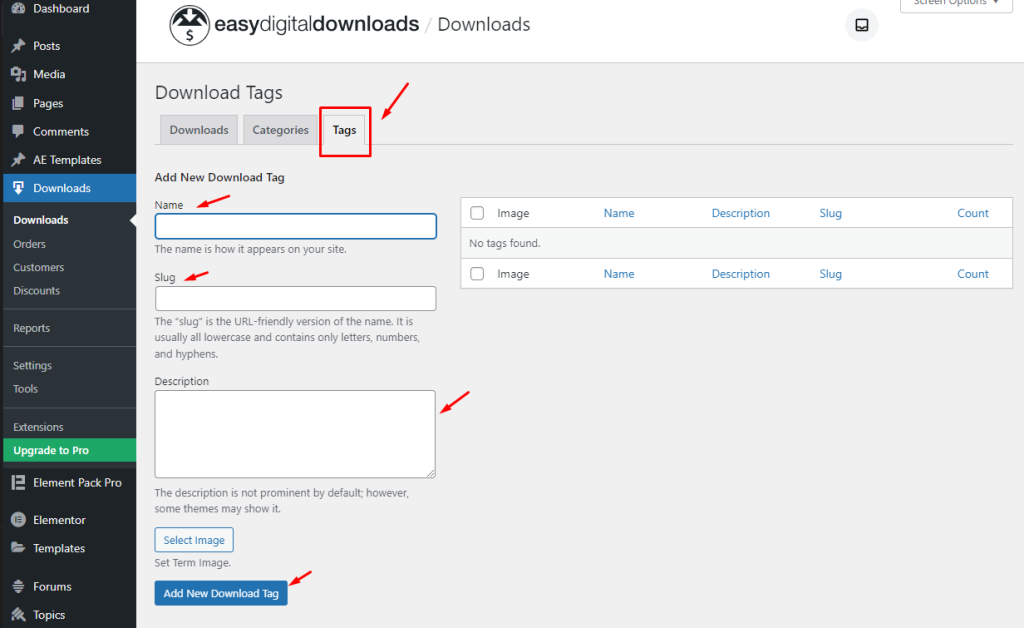
This section allows you to add tags for downloadable products. You can add a name, slug, description, and feature Image for each tag. Then click on the Add New Download Tag button to add the tag.
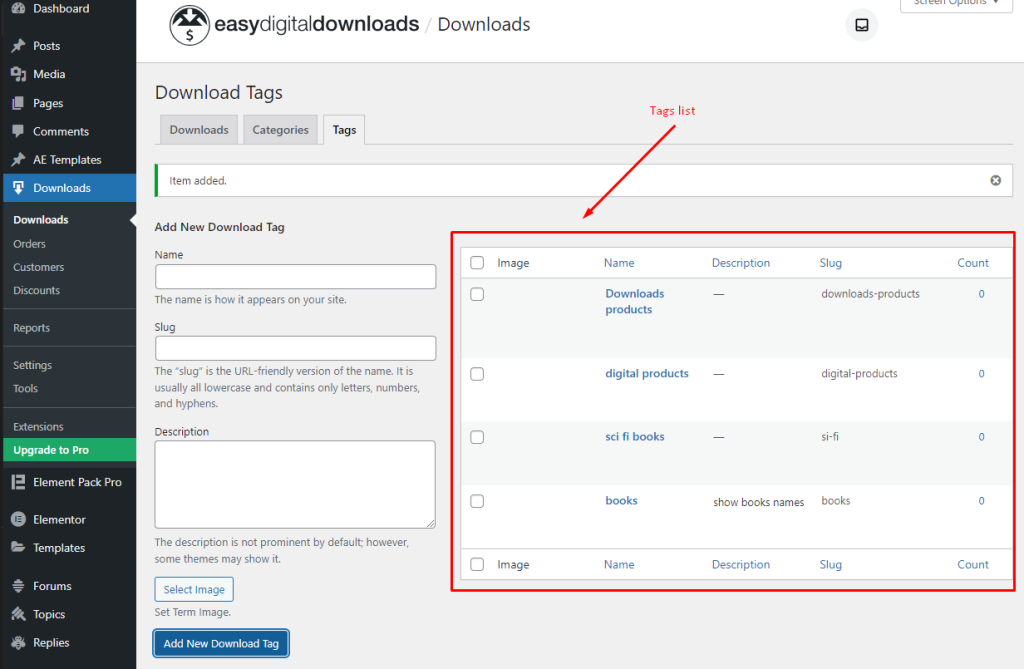
On the right side of the tags page, this list shows all the tags that you have created and allows you to view and manage them easily.
Creating Products (Digital Downloads / Services )
To begin creating a product, click the Downloads link in the left column of the WordPress dashboard. On the resulting page, you’ll see an Add New button at the top of the page.
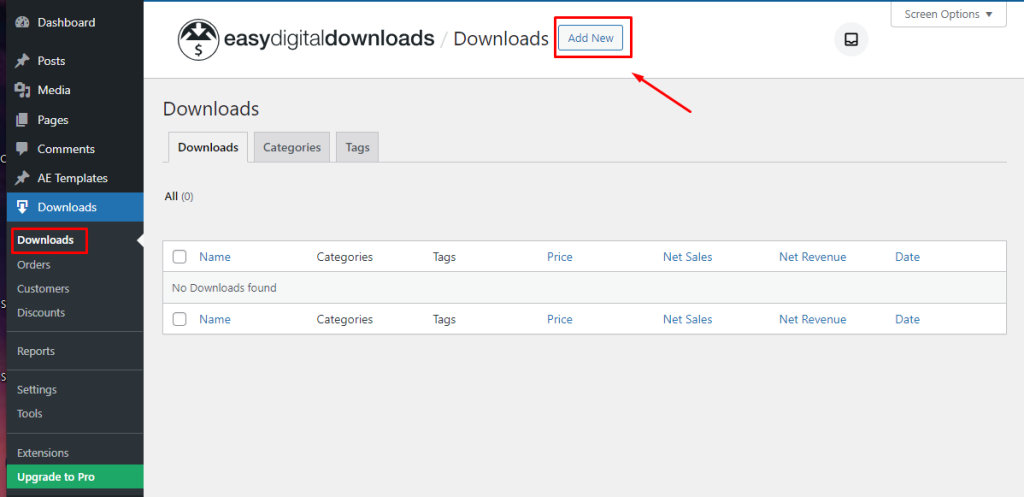
Clicking Add New will take you to a page where you can fill in information about your product.
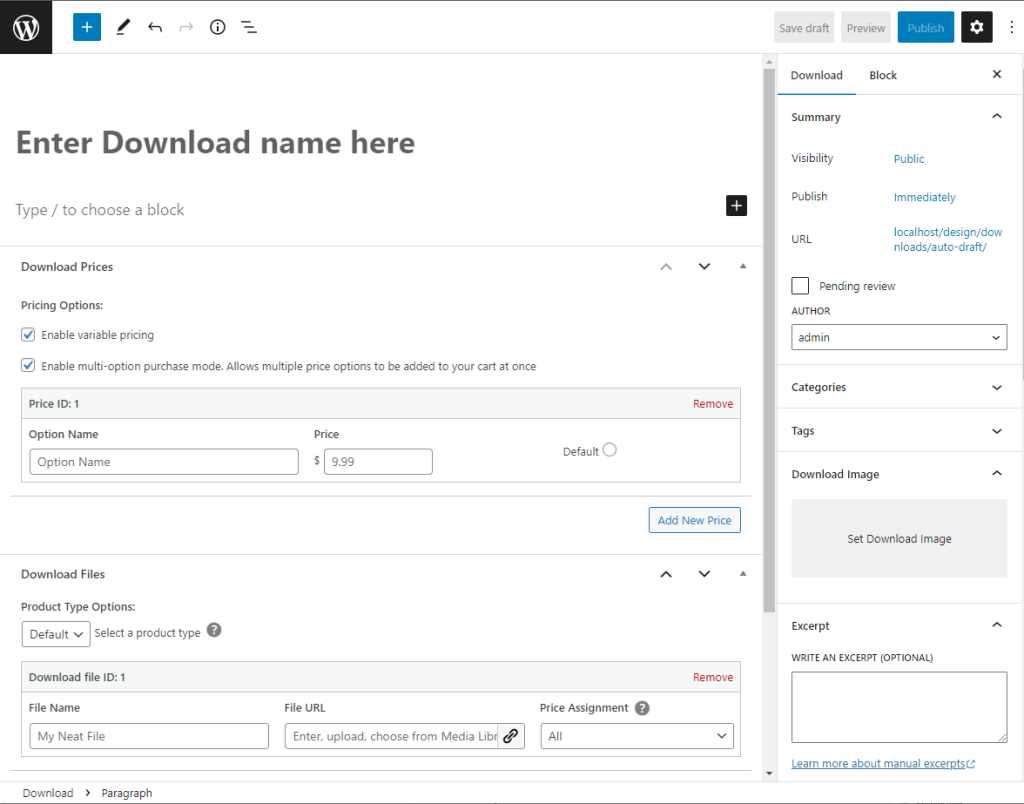
On this page, the options available include details such as product name, description, price range, file upload, and lots more.
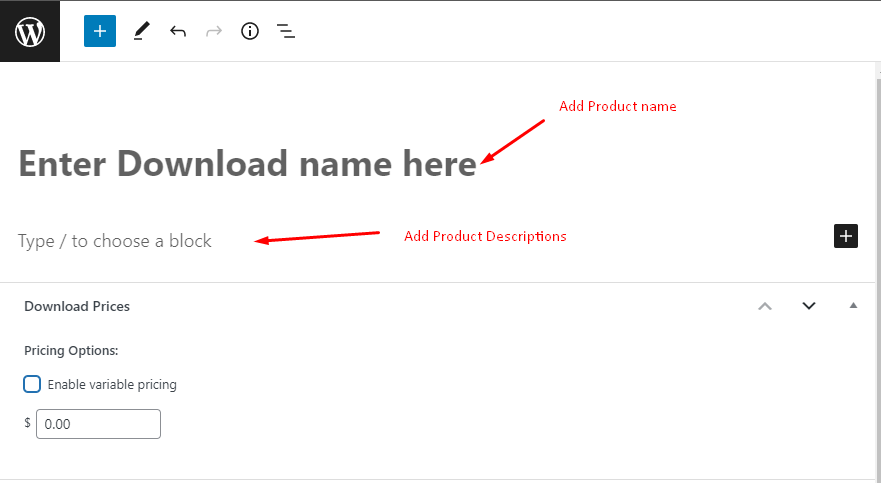
First, enter a title and then some descriptive content about your product. You may include images in the description if you wish.

There’s a box called Download Prices, and there’s a text box to input a price.

Here, you need to add file links (add them from the media library). The Product Type Options can be set to Default or Bundle.
Then type in the File Name and File URL fields. You may change the File Name to anything you wish but don’t change the File URL.

Here, you can provide instructions on using your digital Products.
Go through all Download Options
There will be more options on your right-hand side panel. Please follow them through.
Product Categories
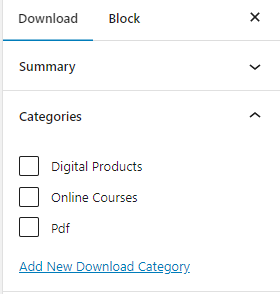
You can select the category for the product you are adding here.
Product Tags
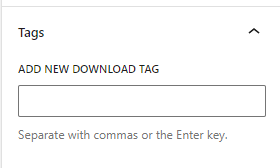
Here you can add tags for your products. Add as many Tags as you need for one product.
Add Download Image
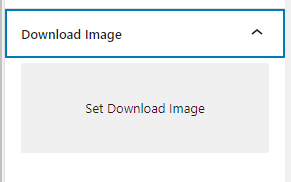
Here you can add your Product Image. Setting product image is most important to Identify the product.
Add Excerpt of Product
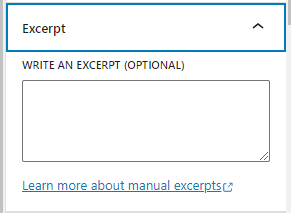
A product excerpt is a brief description or summary of the key features and benefits of a product.
Take a look at Download Settings
Set File Download Limit
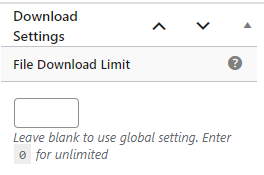
In this section, you can set the limit of your download. A file download limit is a restriction placed on the number of times a user or group of users can download a particular file.
The limit can also be set for a specific time period, after which the limit is reset.
Set Refunds
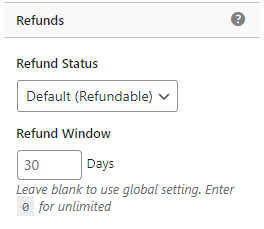
You can set Refund Status for the product. There are two options Refundable, Non- Refundable for Refund Status. You can refund your product within 30 days limit by default. If you want, you can add more days to the limit.
Select Buttons options
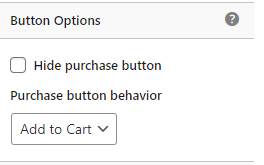
If you want, you can hide the purchase button.
You can also change the purchase Button behavior. You can set it “Add to Cart” or “ Buy Now”.
Purchase Shortcode
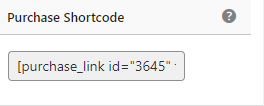
Here you will get a purchase shortcode for your product. You can use it anywhere you want.
By following this way you can add your product, and you can set all the settings for your product.
Video Assist
Watch the video to get visual descriptions on the Easy Digital Download widget.
Thanks for being with us.
