

In this documentation, we will guide you through the Bulk AI Metadata Generation feature of Sigma Media Manager, helping you understand how to configure and use it effectively. Throughout this guide, we’ll cover how to generate titles, captions, alt text, and descriptions for multiple images at once using AI, so you can save time and maintain a well-organized, SEO-friendly media library with ease.
Configuring Settings for AI Metadata Generation
The Bulk AI Metadata Generation feature is a pro feature of the Sigma Media Manager plugin, and that’s why you need to install and activate the Pro version plugin on your WP site. Just follow the documentation on how to install and activate the Pro version plugin.
Let’s Describe the AI Metadata Generation Settings
Before using the AI Metadata Generation feature, you need to configure the required settings first. To access the settings, follow these steps:
Go to WP Dashboard > Settings > Sigma Media Manager > General Settings. Then, scroll down to find the AI Settings section. From here, you can configure all the settings related to AI Image Metadata Generation.
Let’s take a look at the available options:
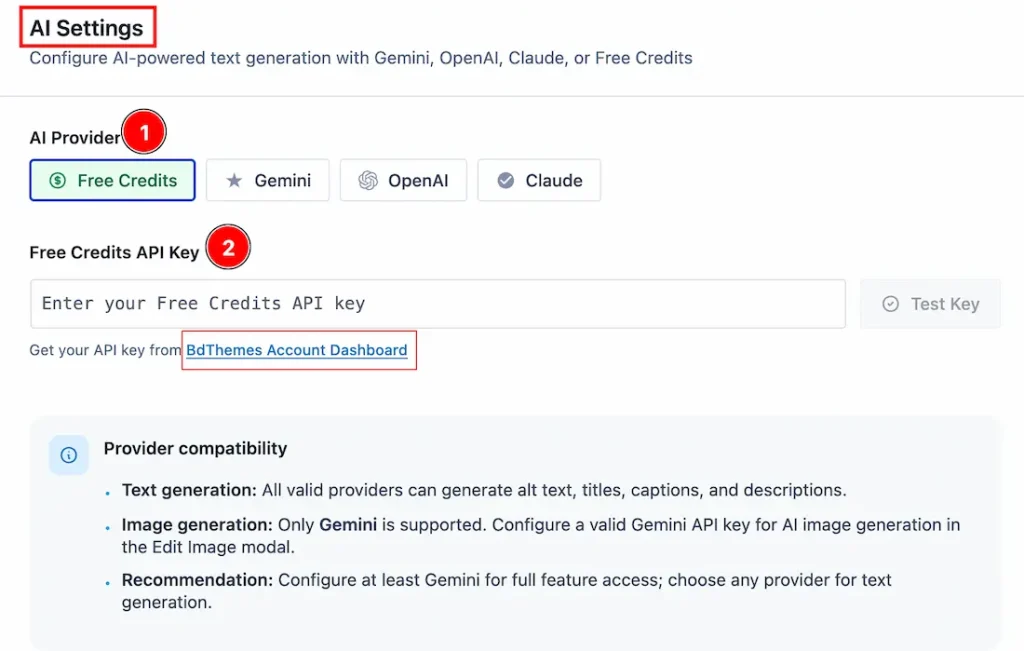
1. AI Provider: Choose your preferred AI provider from the available options: Free Credits, Gemini, OpenAI, or Claude AI.
2. Free Credit API Key: You can obtain the Free Credit API key from your BdThemes account dashboard. Simply click on the provided link, and it will redirect you to your BdThemes account, where you can request a free credit API key.
Now, let’s see what happens when you select an AI Provider other than the Free Credits option.
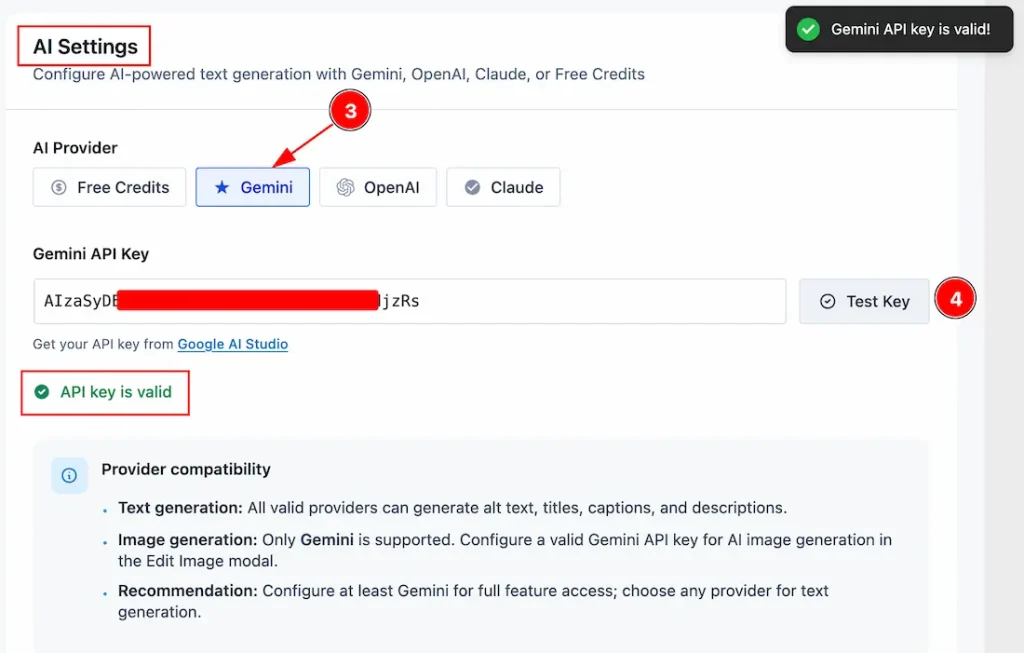
3. Gemini: Here, we have selected the Gemini AI provider as an example.
4. Test Key: Enter your AI provider’s API key and click the Test Key button to verify whether the key is valid. If the validation is successful, you will see a confirmation message below the API key input field stating that the API Key is valid, and you can proceed to the next steps.
If you want, then you can choose your preferred AI Provider (like OpenAI and Claude) and set up the settings.
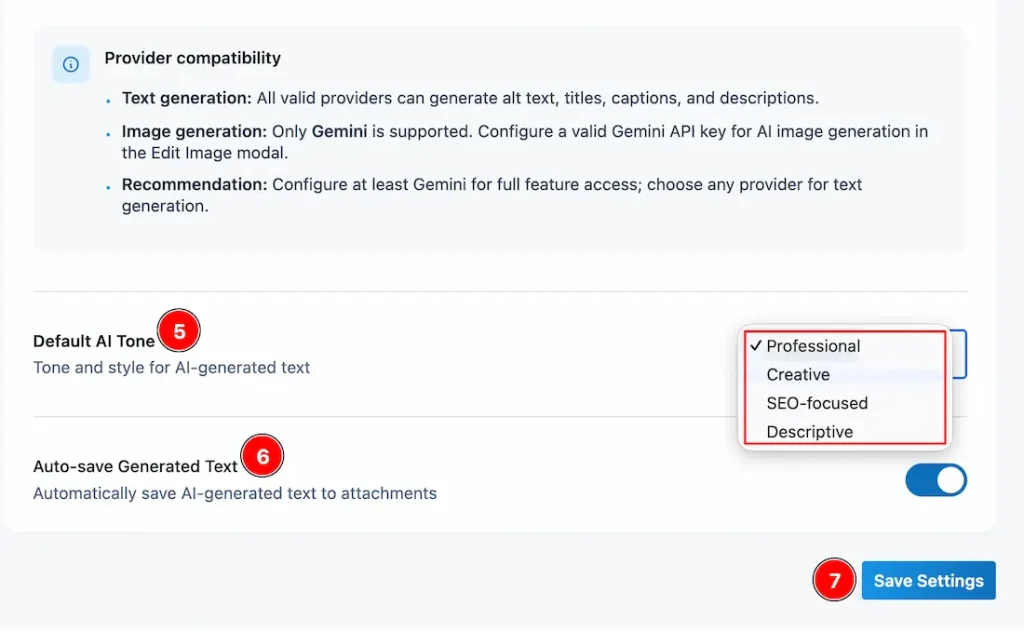
5. Default AI Tone: This option allows you to define the tone and style of the AI-generated text. Several tone options are available, including Professional, Creative, SEO-focused, and Descriptive. You can choose your preferred tone and set it as the default.
6. Auto-save Generated Text: Enable this switcher to automatically save the AI-generated text to your media attachments.
7. Save Settings: After making your changes, be sure to click the Save Settings button to apply and store the updated configurations.
How AI Metadata Generation Works
On Single Image
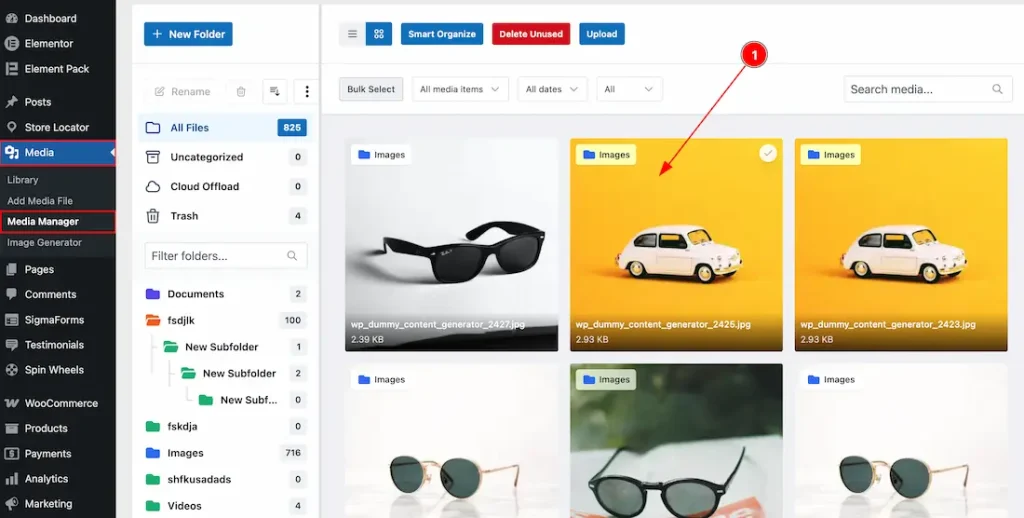
1. After configuring the AI settings, navigate to WP Dashboard > Media > Media Manager. Here, you will find the Media Manager Dashboard, where all your media files are organized. From there, select the image for which you want to generate metadata.
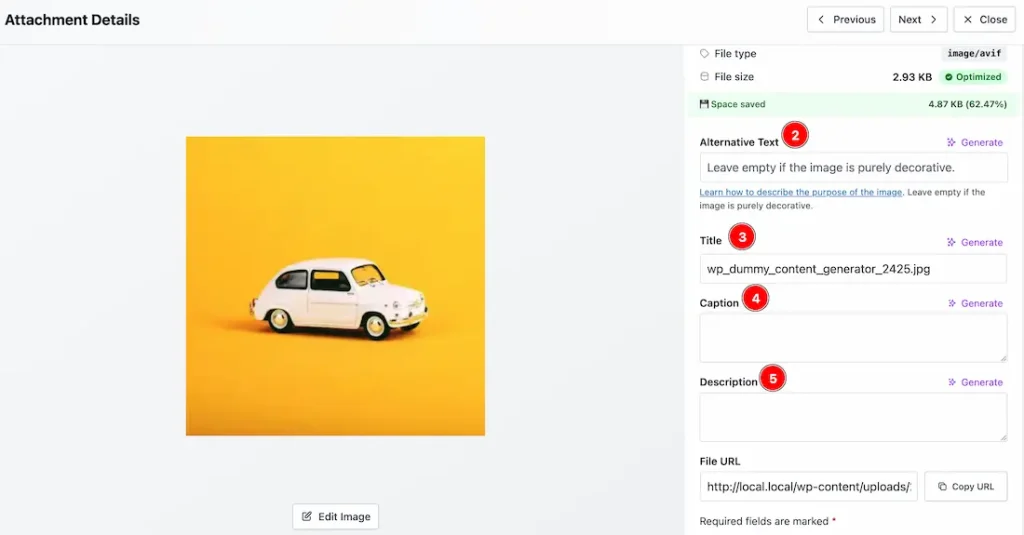
The selected image will open in a lightbox, where you can view and update different metadata fields using the Generate button available beside each option. The available information fields are:
- Alternative Text: Generate alternative text for your image easily by clicking the Generate button.
- Title: Generate a suitable title for your image by clicking the Generate button.
- Caption: Generate an image caption instantly by clicking the Generate button.
- Description: Generate an AI-powered image description in this field by clicking the Generate button.
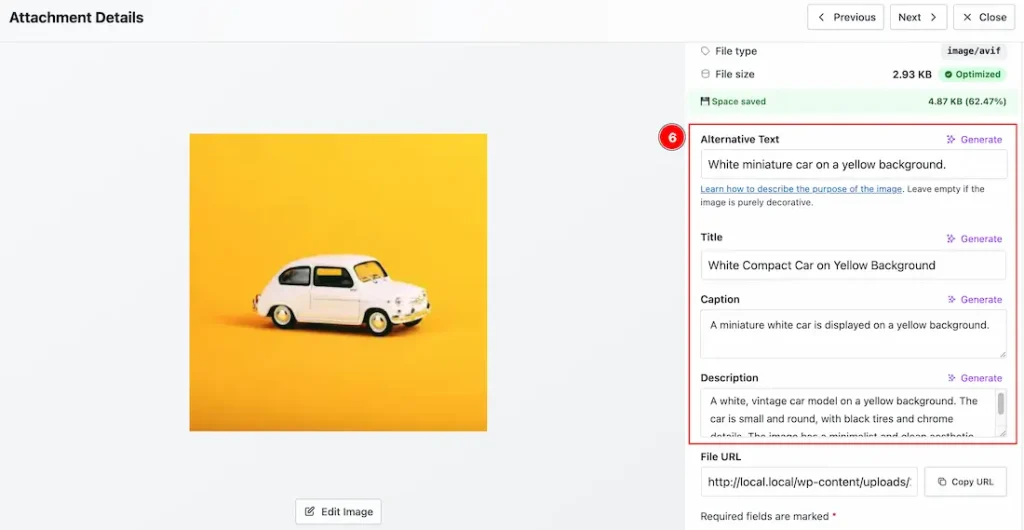
6. After clicking the generate button for all fields, you can see that it automatically generated and saved the content for the media file.
On Bulk Images
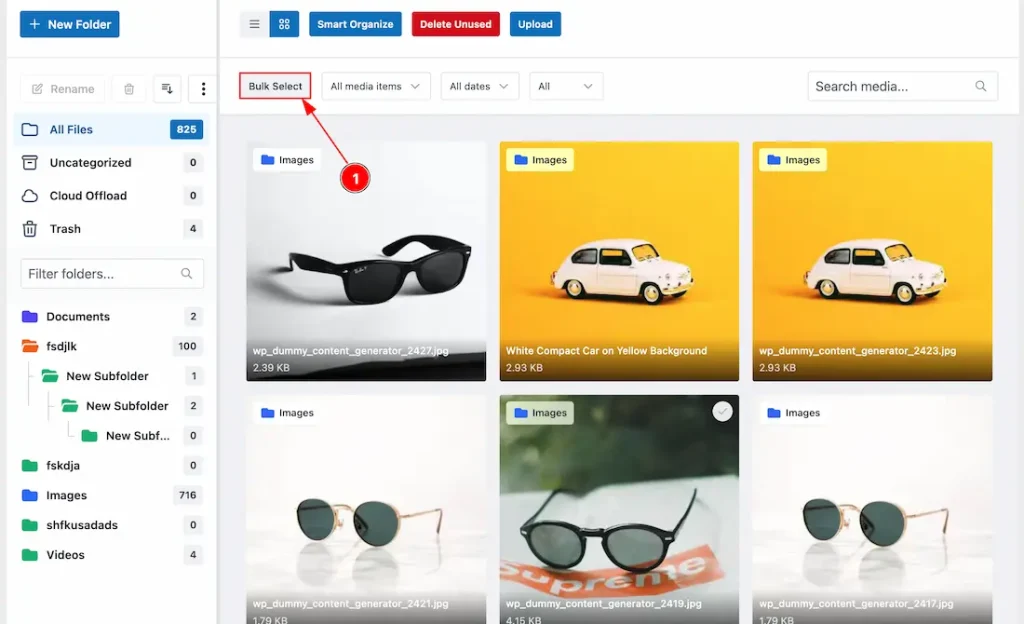
1. After configuring the AI settings, navigate to WP Dashboard > Media > Media Manager. Here, you will see the Media Manager Dashboard, where all your media files are organized. From there, select the folder containing the media files for which you want to generate metadata.
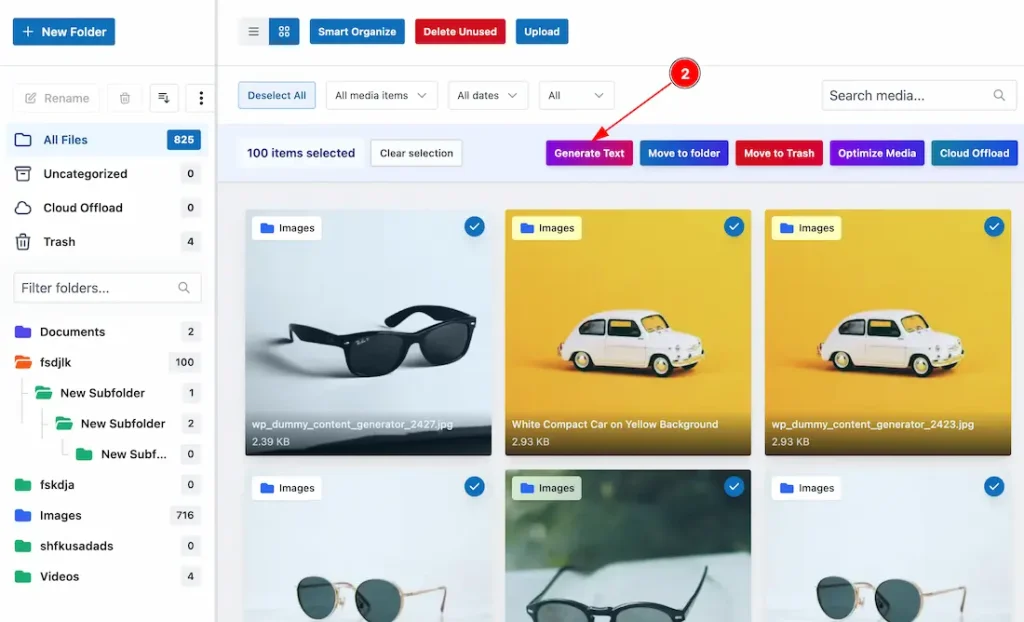
2. Then, click on the “generate text” button, and a new pop-up will appear.
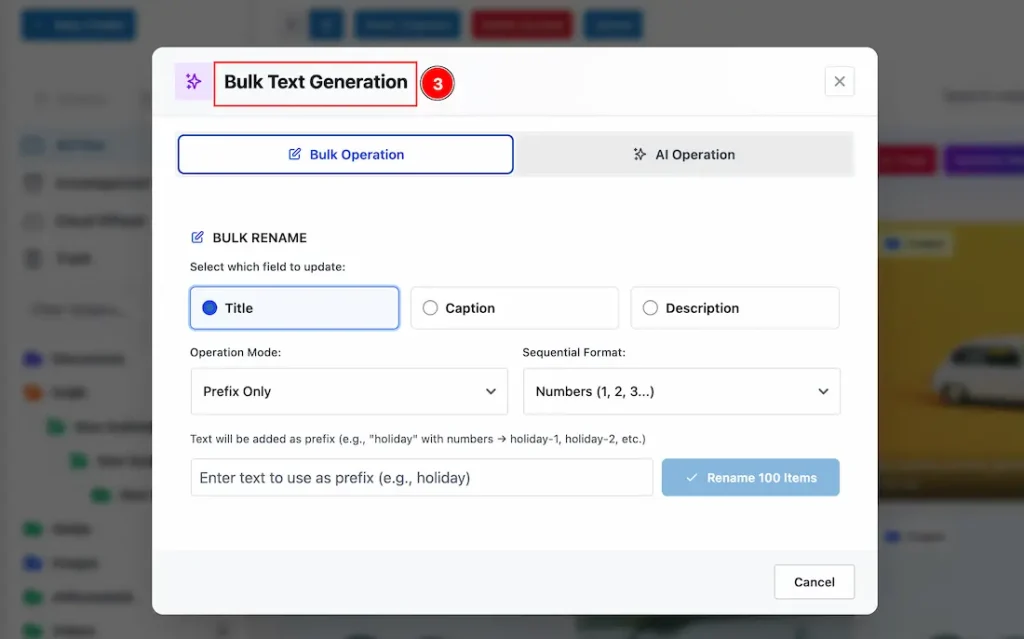
- This is the pop-up that appears when you click the Generate Text button. Here, you will find two types of bulk generation options for AI Metadata: Bulk Operation and AI Operation.
- Bulk Operation: Bulk Operation allows you to apply actions such as renaming by title, caption, or description to multiple media files at once, instead of updating them individually.
- AI Operation: AI Operation uses built-in artificial intelligence to automatically generate metadata for your media files.
Let’s explore each option one by one.
Bulk Operation
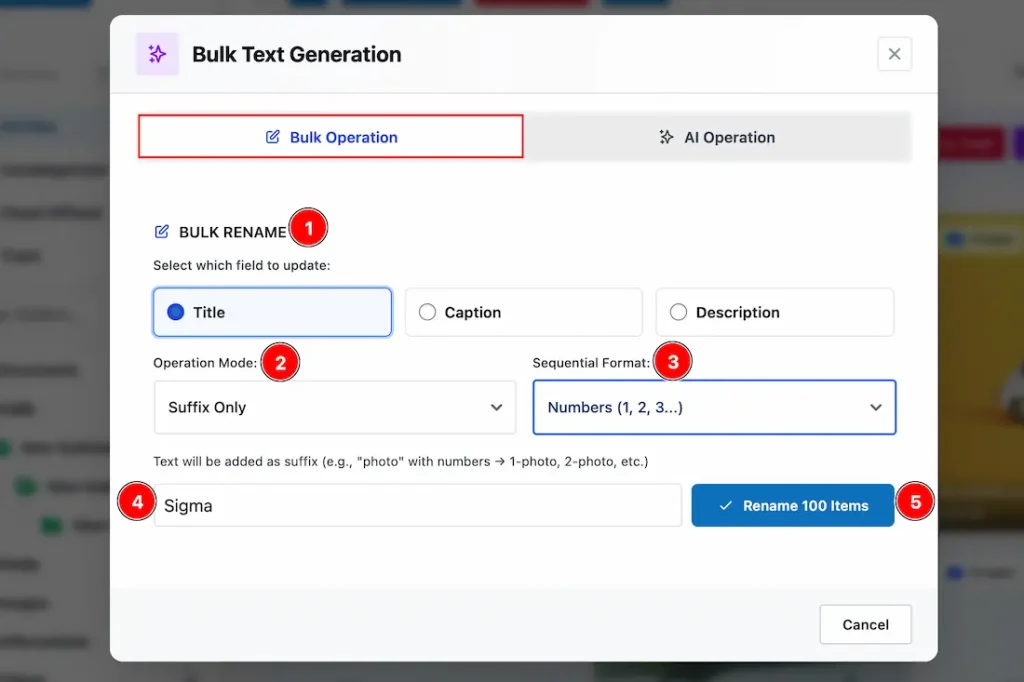
1. Bulk Rename: With this option, you can select the field you want to update. Available fields include Title, Caption, and Description. You can choose one at a time and update it accordingly.
2. Operation Mode: This option allows you to define how the renaming should be applied. You can select Prefix Only, Suffix Only, or Both Prefix & Suffix.
3. Sequential Format: Choose the format for sequential naming from Number, Lowercase, or Uppercase options.
4. Title: Enter the text you want to use as the base title for renaming the media files.
5. Rename: Click this button to apply the renaming process to all selected media files at once.
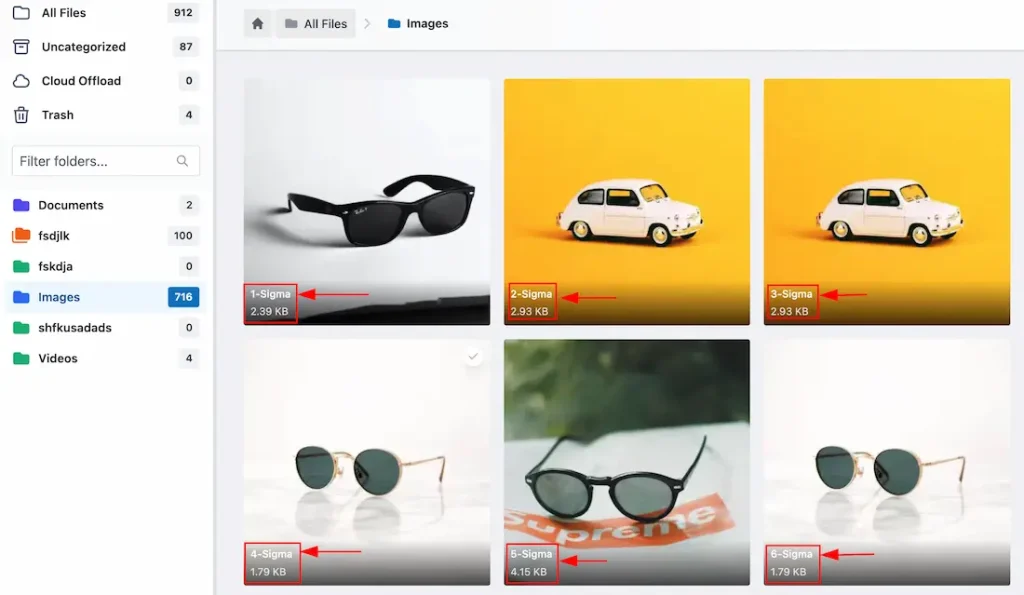
This is the visual you will see after updating the title. Since the suffix option has been enabled, the suffix appears before the title.
You can follow the same process to rename the caption and description fields as well.
AI Operation
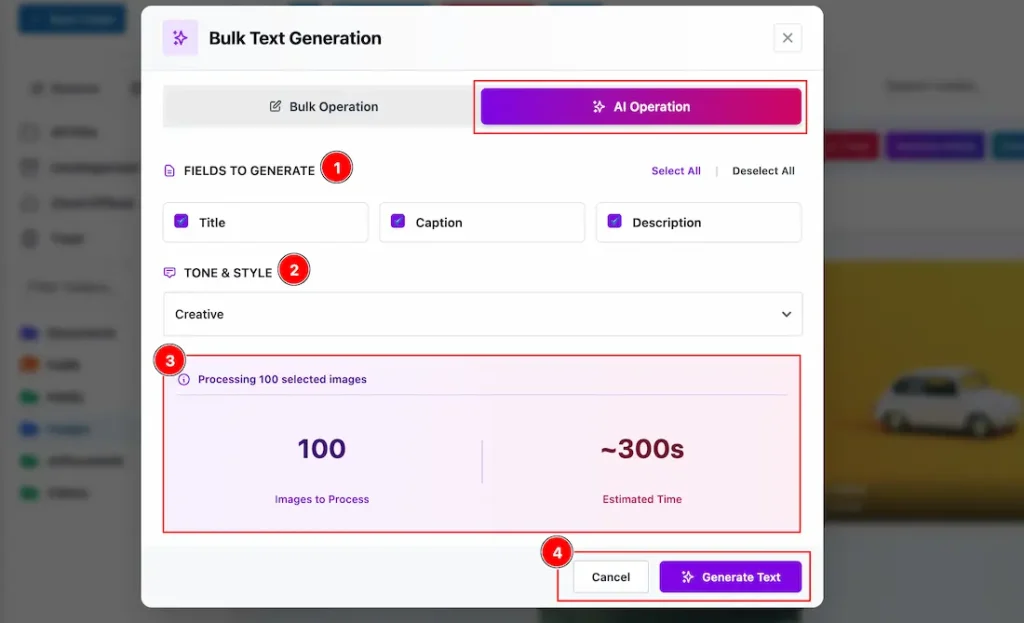
1. Fields to Generate: You can select the fields you want to generate using AI. You may choose all options together—Title, Caption, and Description to generate complete metadata in one go.
2. Tone Style: This option allows you to define the tone and style of the AI-generated content. You can choose from Professional, Creative, SEO-focused, or Descriptive, depending on your requirement.
3. Here, you will see a summary of the number of images selected for generation along with the estimated time required to complete the process.
4. You can either click Generate Text to proceed with the generation or choose Cancel to close the process.
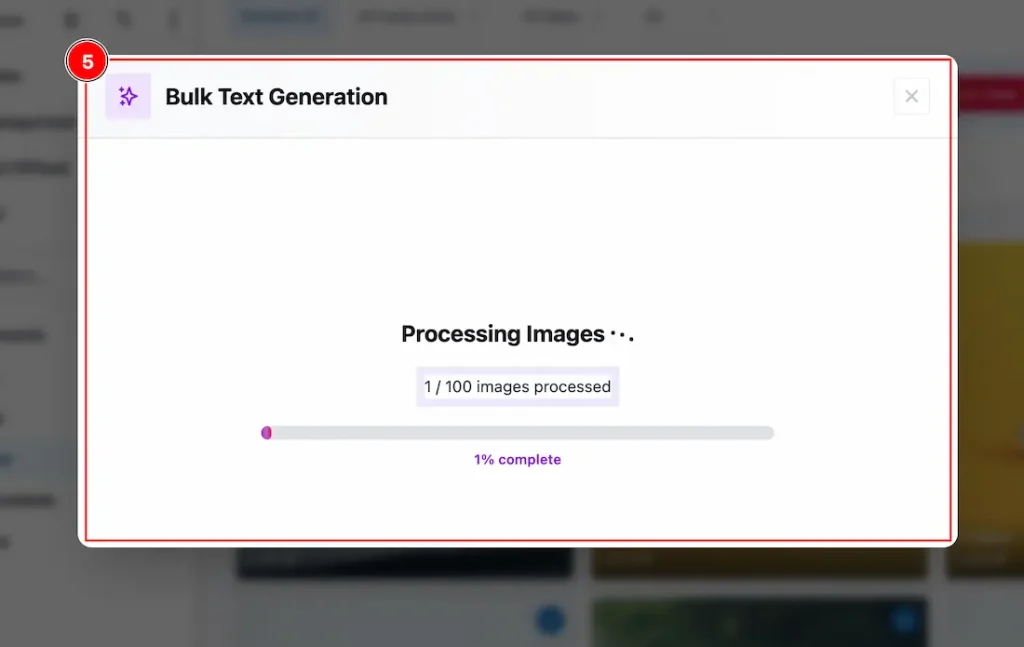
This is the pop-up visual you will see when you click on the “Generate Text” Button.
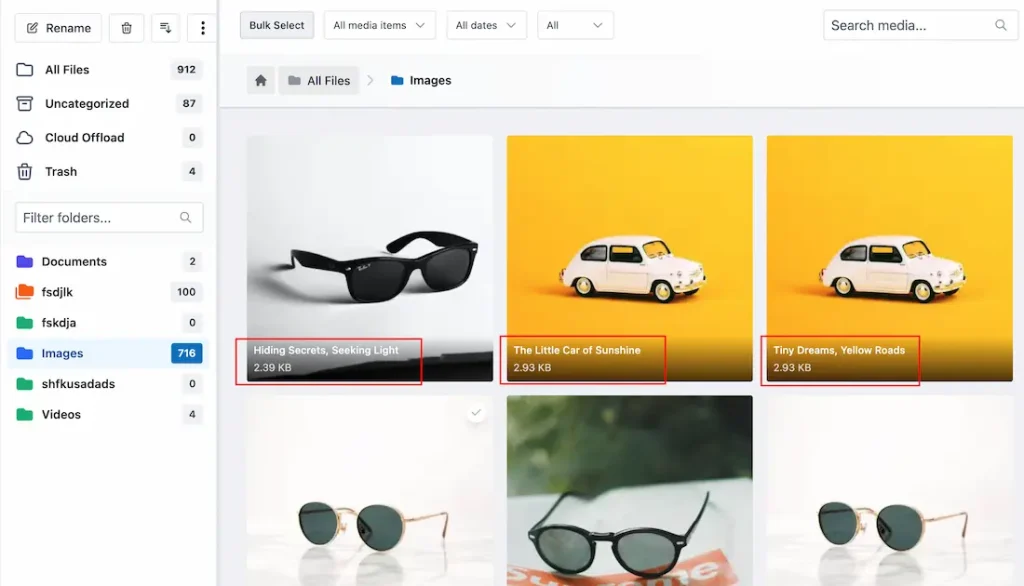
After the generation is complete, you will see the images updated with AI-generated titles. Since you selected all three options, you can verify the results by clicking on the generated image.

By clicking on the image, a lightbox will open where you can view all the selected AI-generated text together.
From this view, you also have the option to generate Alternative Text if needed.
All done, you have successfully customized the Sigma Media Manager AI Metadata Generation Feature on your WordPress site.
Video Assist
The video will come soon. If you want, you can try the Pro plugin features directly from here.
Thanks for staying with us.