Wondering how to make pricing table in Elementor? You have landed just in the right place.
Do you know, a pricing table can boost your conversion by up to 10%? It’s just a fact and you can do more than that.
Designing a pricing Table in Elementor is so easy if you use Element Pack Pro.
We have clean, minimal ready blocks for you to create an amazing pricing table for your webpage.
In this blog post, we’ll share how you can create a dynamic pricing table in easy simple steps. No coding required.
Let’s check out how to make a pricing table in Elementor with Element Pack Pro.
How To Make Pricing Table In Elementor
While creating a pricing table with Elementor, you need to follow 4 major steps.
Step 1: Account Login
if you aren’t already login to wordpress please login first.
After that, add a new page and select ‘Edit with Elementor’.
Step 2: Creating a Pricing Table
You can create a pricing table manually which is a bit of hassle.
Or download pricing table elementor free from Element Pack Pro.
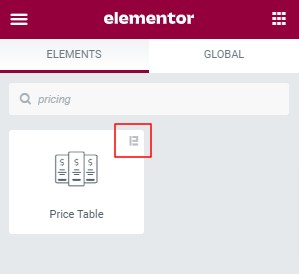
Our “Pricing Table” element will help you successfully design a dynamic pricing table.
All you need to do is install the plugin. Once the installation is done, drag the element to the canvas.
You will find an “e” on the top corner of the plugin if it is successfully installed.
Step 3: Customizing Content
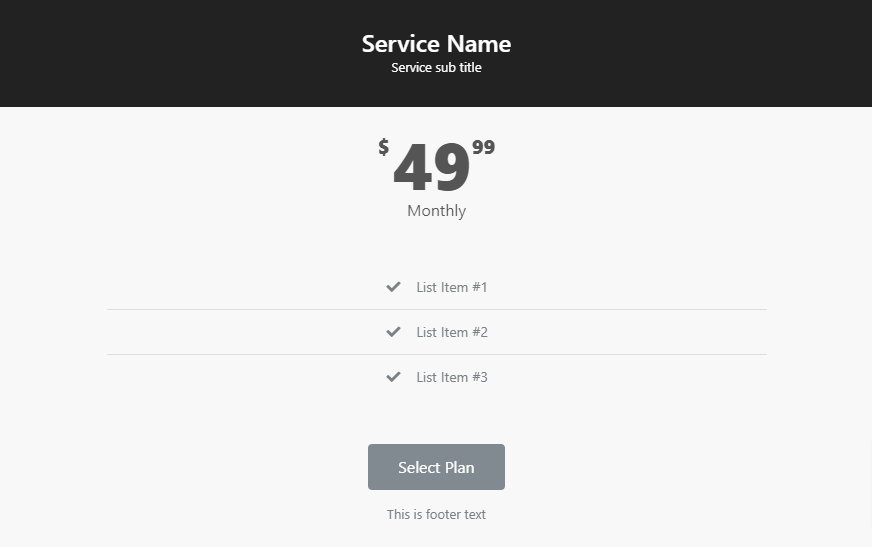
The element is designed in a complete set. All you need to do is change the contents and add more if needed.
The best part is, you don’t have to manually insert any text or button element. Everything is right there for you.
You can add a ribbon to a specific table to promote that pricing highly.
Step 4: Styling the Pricing Table
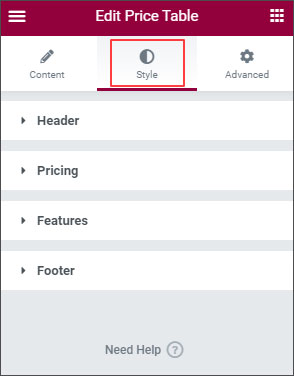
The next part is to style up your pricing table. Select a table, you’ll find the ‘style’ tab next to the ‘Content’ tab.
You can customize from changing color to hovering, add divider or elegant entrance, you name it.
And if you are a pro web designer, check out the Advanced Section. All the high configurations are there.
Elementor Pricing Table Template
Here are some Elementor pricing table templates we created using the Element Pack Pro. We have included the basic steps for guidance.
The Classic Pricing Table Template

A basic table that looks modern and neat by using some design options like border and shadow effects.
Avoid adding too many fancy features. List three main features to help visitors easily tell different plans and pick the best one.
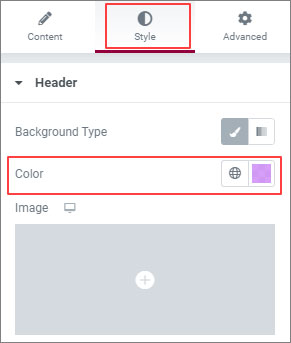
Background Color
To bold out your pricing table, set a background color to each individual pricing element. Select the element and follow the steps.
- Styles > Header > Background > Color
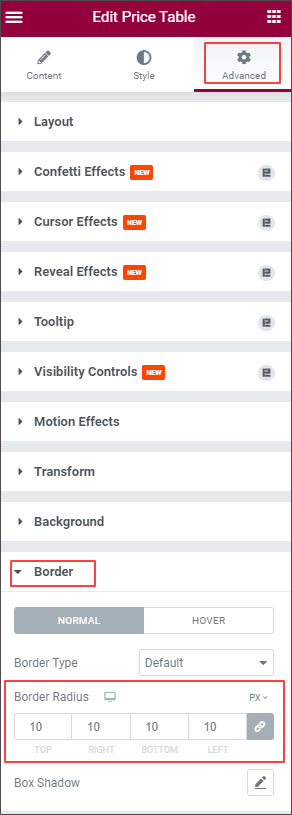
Border Radius
Changing border radius will give your pricing table an outstanding look.
- Advanced > Border > Border Radius > 10 (Set the number as you like)
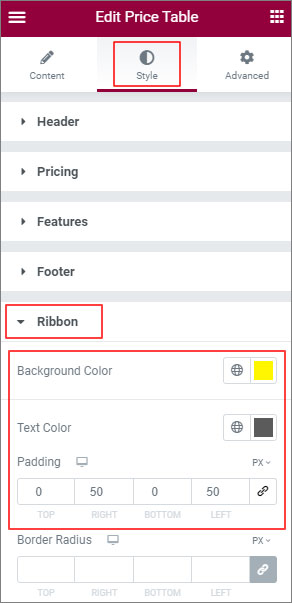
Ribbon
Standout one pricing table than other ones by using a ribbon. This will help you sell out your most promising pricing plan.
- Select the pricing table element
- Set Content > Ribbon > Horizontal= 100 > Vertical= 59 > Rotate= 55
- Style > Ribbon > BG color= #FFF600
- Padding Left= 50 > Right= 50
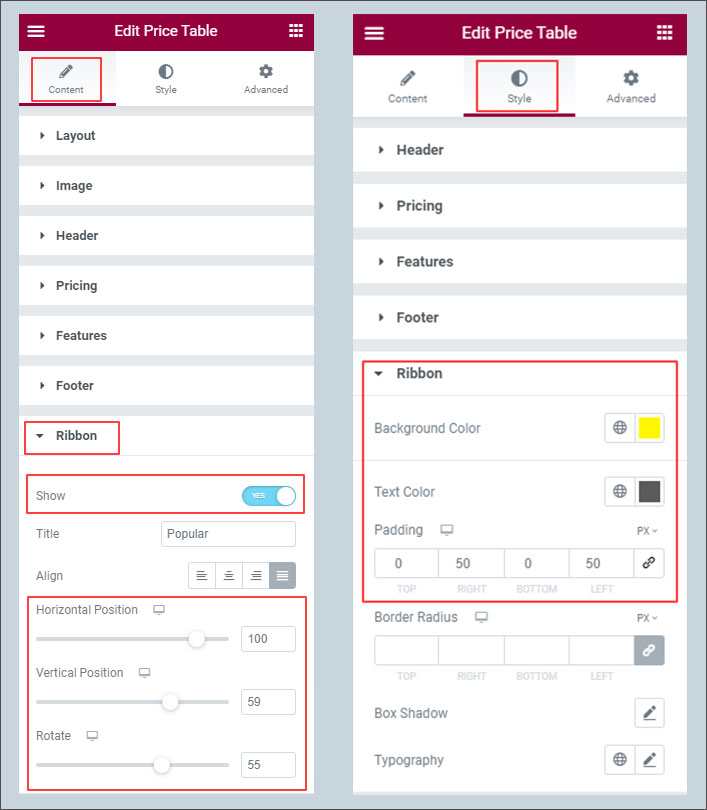
Image Background Pricing Table Template

This template is a bit unique. With colorful images in the background makes it eye catchy.
Just adding a background image with a matching color changes the look of any website. It is appealing as well as mesmerizing.
You can choose dark shade images or light ones just as we did.
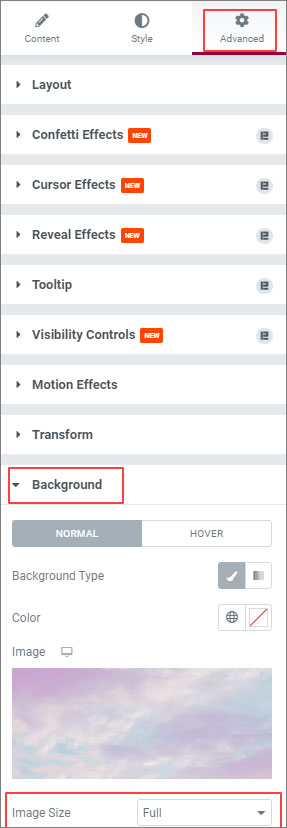
Set Background Image
Adding a background image to the individual pricing table can make it look more appealing and clickable.
- Advanced > Background > Image > Image link or upload of your choice
- Image size= Full
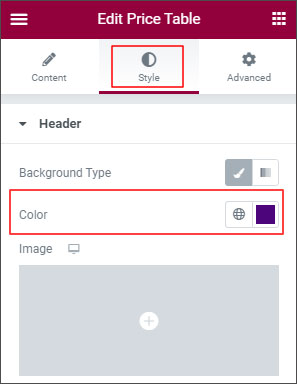
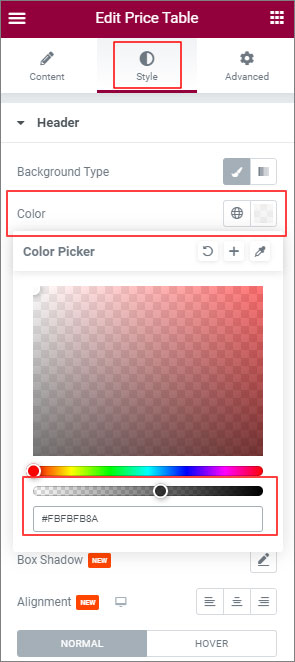
Header Color
Setting a solid color to the header will help your header text improvise.
- Style > Header > Color
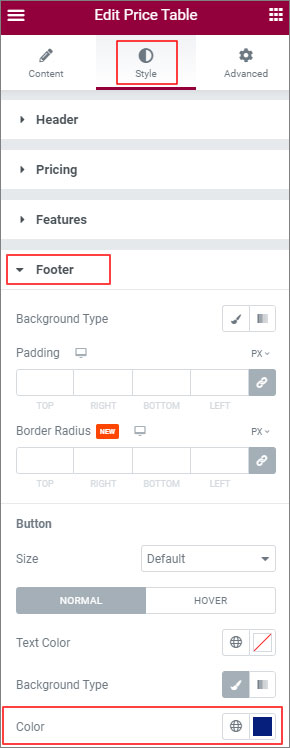
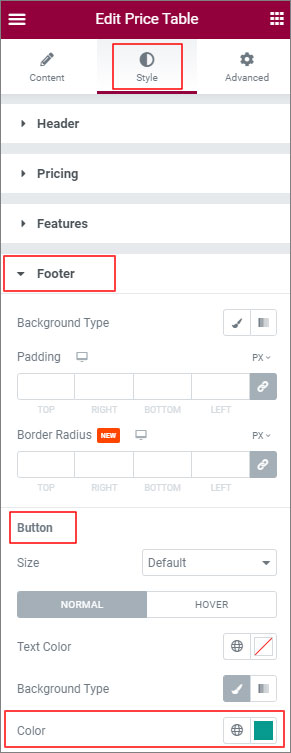
Button Style
To pop-out your pricing button, you can style it up a bit and make it more clickable.
- Style > Footer > Button > Color
Opacity Pricing Table Template
An opacity pricing table makes certain elements of the table appear more transparent or see-through. This gives the table a more modern and sleek look.
But it’s important not to overdo it and make sure the table is still easy to read and use.
Section Background
This kind of pricing table looks beautiful if it is full width.
- Select the Section
- Section > Layout > Full Width
- Style > Background > Image

Pricing Table
- Advanced > Layout > Margin-Left > 20
- Advanced > Layout > Margin-Right > 20
- Advanced > Background > Color = Opacity 50%
Border
To discriminate, using a border would be a great help. And box shadow gives the pricing table effect of floating.
- Advanced > Border > Border Radius = 10
- Border Shadow = Default

To get more interactive pricing table designs, try our template library now!! if you are totally beginner, then our demo can be at great help.
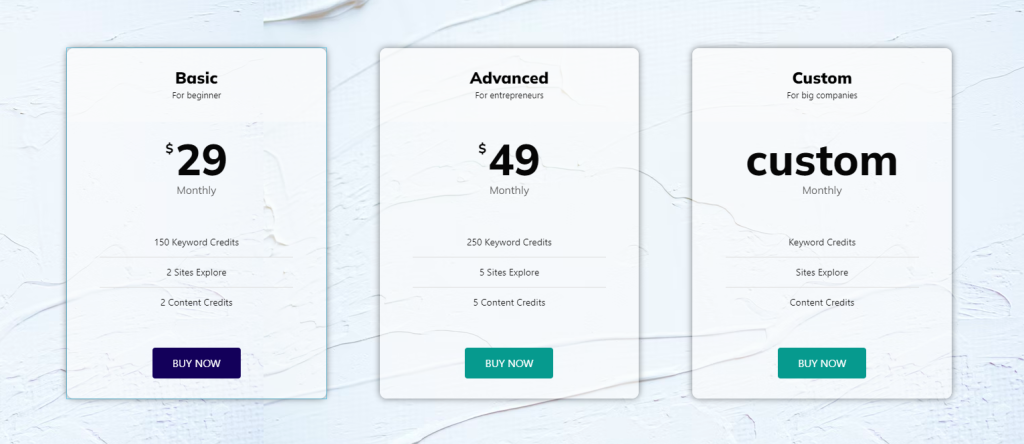
The Single Focus Pricing Table Template
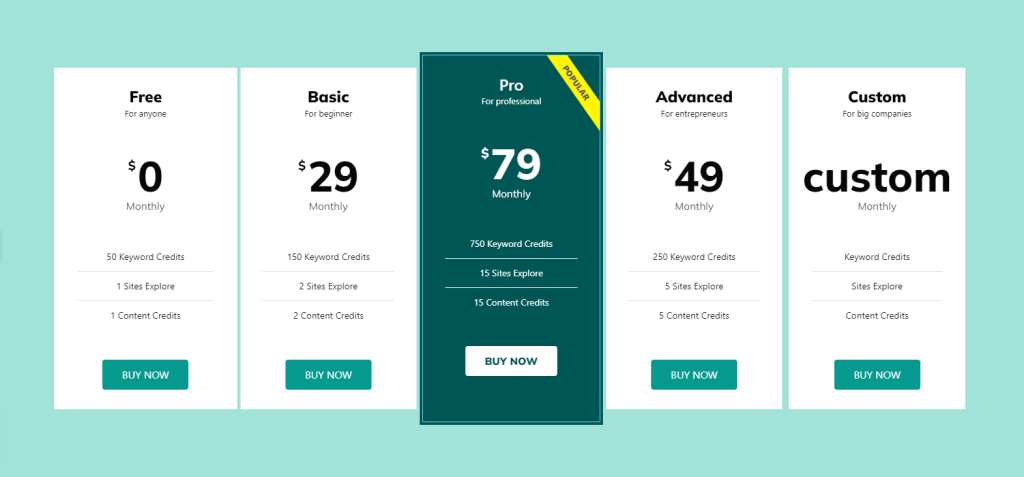
If you have more than three plans, choose the following pricing table design. This will give your audience to take the step of your choice.
Too many pricing plans might confuse the visitor. So if you have multiple pricing plans, highlight the best one. Keep it in the middle or one side and change the color.
Section Background
When there are more than three pricing plans, it is better to make the section full width.
- Section > Layout > Full Width
- Style > Background > Color

All Pricing Table
Set all the pricing tables with the same color and same fonts.
- Pricing Table 1 > Advanced > Background > color > #ffffff
- Style > Button > color > #069A8E
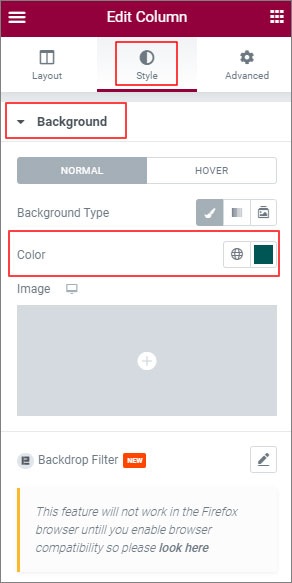
Special Table
To make the special table pop out, you can set the column background the same as table color.
- Select Column > Edit Column> Set background color > #005555
- Select Element > Advanced > Background > color > #005555
- Advanced > padding-bottom > 40
- Style > Button > color > #ffffff
- Advanced > Border > Type > Solid > Color > #A1E3D8
Ribbon
Ribbon is used to showcase the most demanding pricing table among all. You can use as we did or change as you like.
- Content > Ribbon > Horizontal= 100 > Vertical= 59 > Rotate > 55
- Style > Ribbon > BG color > #FFF600
Pop-Out Pricing Table Template
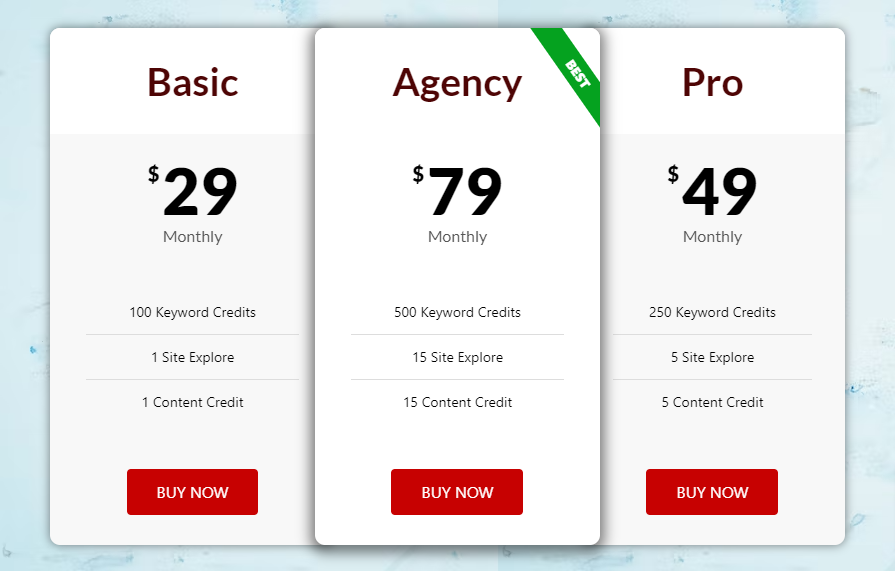
Pop-Out pricing table is where one table stands out more than others. This design is very sharp as the best one catches the eye more than other ones.
Though it is tricky, you can create this type of dynamic pricing table much faster with Element Pack Pro.
Get the round edges
Adding a border radius along with box-shadow makes it look like floating.
- Advanced > Border > Border Radius > 10
- Advanced > Border > Border Shadow = Default
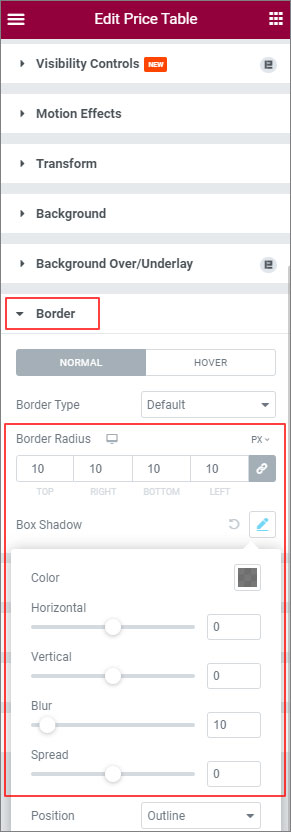
Middle Pricing Table
To make it stand out as a special one, you need some setups.
- Advanced > Border> Border Shadow> blur = 13 > Spread = 5
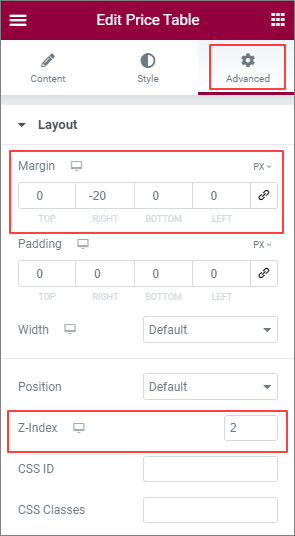
- Advanced > Layout > Margin= 20
- Advanced > Layout > Z-index = 2
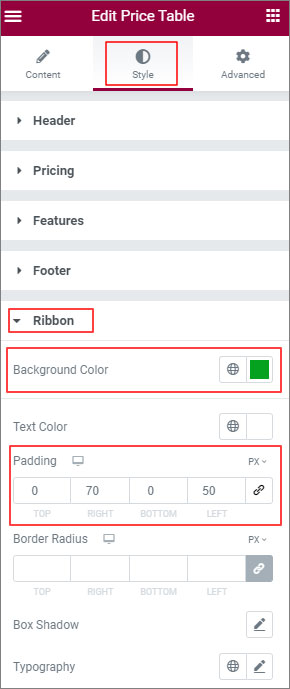
Ribbon
- Content > Ribbon > Horizontal= 100 > Vertical= 59 > Rotate > 55
- Style > Ribbon > BG color
Verdict
The Elementor Pricing Table tool creates pricing pages for WordPress sites. But to make a good pricing table, you need to consider many things.
Targeted audience, highlight important features, clear package names, show the best deal, and make the CTA noticeable etc.
Element Pack Pro makes it easy to customize with icons, images, and hover effects. With it, you can create a good-looking pricing table that converts visitors into customers.
Hope our guide on how to make pricing table in Elementor was very helpful to you. For more, check out our step-by-step guide on creating any type of website!
Frequently Asked Questions
Elementor Pricing Slider widget allows you to create an interactive pricing table with a slider.
To be specific, it is just one pricing table that has a slider. And when you slide, the pricing amount and features change.
A price model determines how a product or service will be priced. It considers factors such as the cost of production, competition, target audience, and value proposition.
It can take many forms, such as subscription-based pricing, usage-based pricing, tiered pricing, or value-based pricing.
Choosing the right price model can help businesses attract customers, increase revenue, and optimize profitability.
Before diving into designing a pricing table, there are some crucial points to consider. This ensures your audience gets what they look for.
Decide Pricing
Deciding the pricing for your product or service is one of the most important factors to consider. Determine how many pricing tiers you want to offer, what features to include in each tier, and how much to charge for each plan.
Focus Important Features
It is always important to highlight the most important features of each pricing plan. Consider what features are most valuable to your target audience and make sure they stand out on the pricing table.
Proper Package Names
Right package names for pricing tiers make a big difference on how effective your pricing table is. Make sure the names are clear, easy to understand, and accurately reflect the features included in each plan.
Emphasis Best Deal
Make sure your best price stands out on your pricing table. This encourages users to sign up for the plan that offers the most value.
Make Your CTA Noticeable
A call to action (CTA) button on your pricing table is the game changer turning your audience into customers. Make sure the button is noticeable, clear, and encourages users to take action. Consider using contrasting colors or bold text to make it stand out from the rest of the pricing table.
Setting your pricing depends on many factors, including business model, competition, target audience, and the value you offer. Here are some facts to consider when setting your pricing:
- Research what your competitors are charging for similar products or services.
- Determine your costs for producing, marketing, and delivering your product or service.
- Establish what pricing strategy aligns with your business model.
- Decide how many pricing tiers to offer and what features and benefits each tier includes.
- Test, monitor and adjust your pricing over time to stay competitive. It is better to change depending on the needs of your customers.
Yes, you can use custom icons and images in your Elementor pricing table. Elementor provides several options to upload your own icons and images.
Just select the pricing table element in Elementor, go to the Style tab, and choose the image or icon option. Upload your custom image or icon and adjust according to your pricing table design.
To add hover effects, select the pricing table element in Elementor, go to the ‘Style tab’, and choose the hover effect option.
From there, you can choose from several hover effect options, including color overlay, border, and shadow effects.
There are several payment gateway plugins available for WordPress, such as PayPal, Stripe, and WooCommerce. First of all, install and activate the payment gateway plugin of your choice.
Set up your payment gateway settings and connect it to your pricing table using a call-to-action button or checkout link.
Currently Elementor offers Free plan and four paid plans. You can install the free plan from WordPress Dashboard. The paid plans are- Essentials plan is 59 USD/year, Advanced plan 99 USD/year, Expert plan 199 USD/year, and Agency plan 399 USD/year.