

Making a cost estimation calculator using Elementor can provide quite useful for your website, especially if you are running a WooCommerce business site or a package planning website with lots of product combinations.
We have seen tech, cloth, cosmetics, grocery, and banking websites offering a cost estimation calculator on their homepage to help the visitors. It comes in handy to quickly fix your budget and choose what you are buying in the store.
Now, it’s not a difficult task to build your very own cost estimation calculator using Elementor as you have our Element Pack Pro plugin installed. We have a special calculator plugin that makes it even easier to design your own calculator with full customizations.
In this article, we will show how to do it. Let’s begin!
Has the Cost Estimation Calculator any worth?
For a typical WooCommerce website, people usually spend a decent amount of time shopping.
More than once, they find products they are looking for and want to see how they would cost including VAT and shipping.
Unless you have something like a cost estimation calculator using Elementor, it will affect the users who did not find a suitable way to estimate the product prices.
So, in order to boost your user experience, you can use our custom cost estimation calculator plugin brought to you by Element Pack Pro.
So, in order to make the cost estimation calculator, you must have-
- A WordPress site with Elementor page builder installed
- Element Pack Pro plugin
- Advanced Calculator widget (enabled from the dashboard)
If all preparations are done, we can move forward towards the main goal.
Make Cost Estimation Calculator using Elementor and Element Pack
Let’s design the calculator manually using the widget from Element Pack. This will be a step-by-step process so you are advised to follow along.
Now, let’s start-
Step-1: Insert Advanced Calculator & Setup Calculator Fields
To make the cost estimation calculator using Elementor, the first thing we have to do is get the Advanced Calculator widget inside the target page.
First Of All
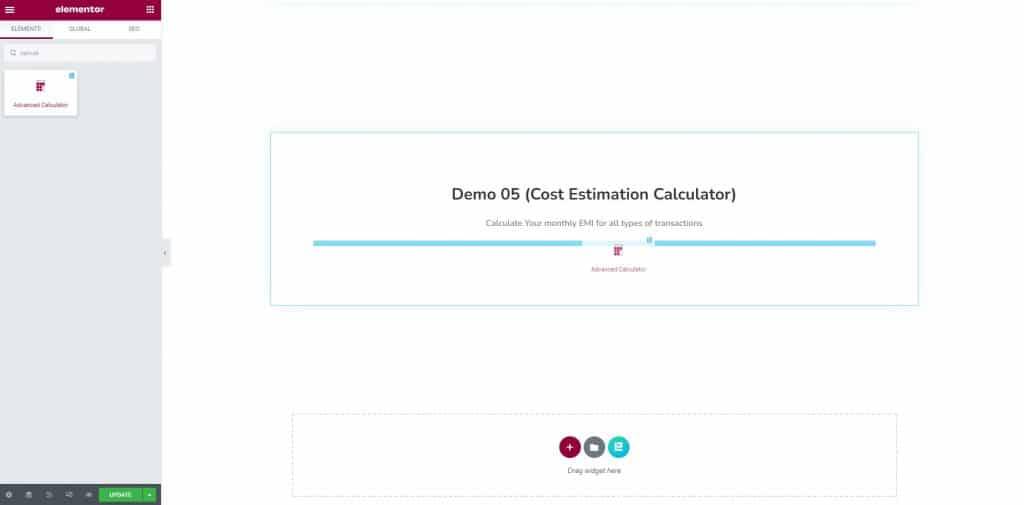
Simply, type the name of our widget on the widget menu inside the Elementor page editor and drag it inside the page. As you can see, we made a section first in order to display the calculator nicely on the page.
After That
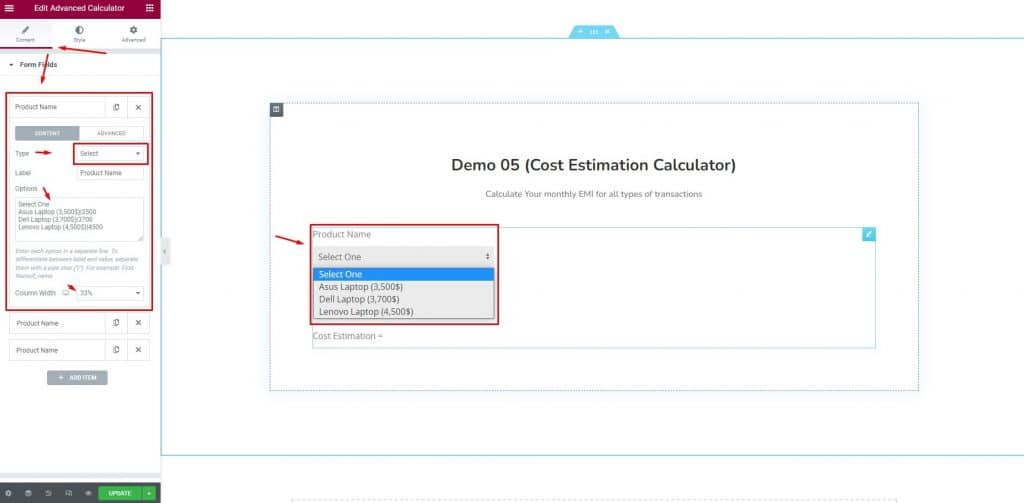
Let’s build the calculator fields one by one. First comes the Products. Click on the Add Item button and start customizing the field.
Here, we choose the field type “Select”, set a label as “Product Name”, and inserted our products in the options field.
Note that each new line means a new option here and you must use the “|” sign before the value in order to add it to the calculation.
Take this as the very first field of the cost estimation calculator using Elementor.
Then Similarly
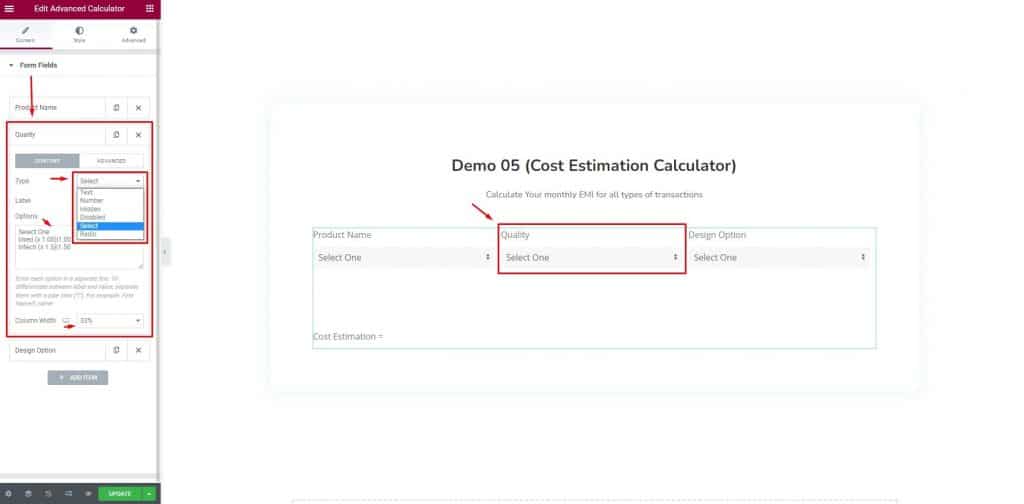
We will be going with the exact same settings for the 2nd and 3rd fields. The type goes “Select” and we will put different labels for them with different value sets.
We are setting the column width to 33% to fit 3 fields in 1 row.
For Next
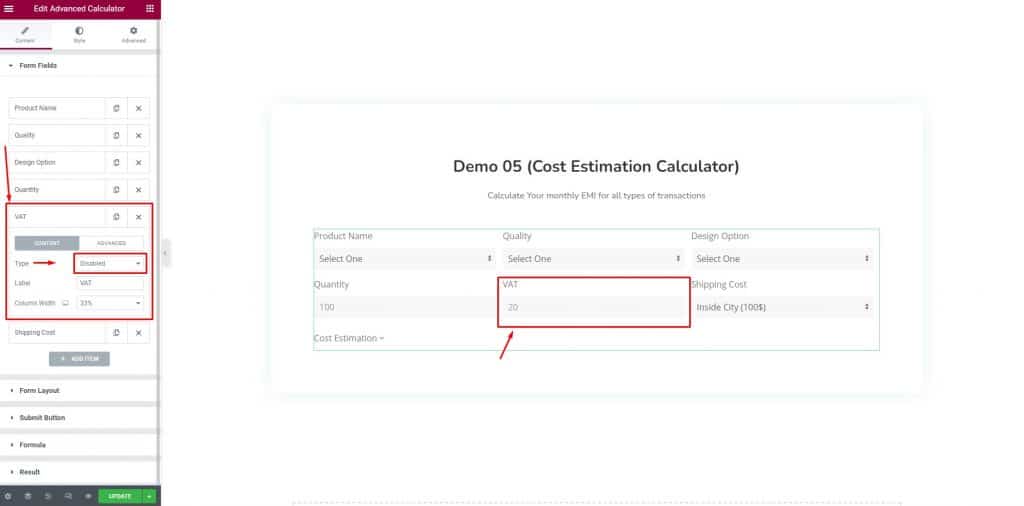
We have taken 3 more fields below to fulfill our requirements for the cost estimation calculator using Elementor.
Here, the quantity field is the Number type field that requires you to choose a number for the amount of product you want to purchase.
Again, the VAT field is a Disabled type calculator field that doesn’t take inputs from the third party. That means, it’s a fixed cost to be added to the final cost of the product.
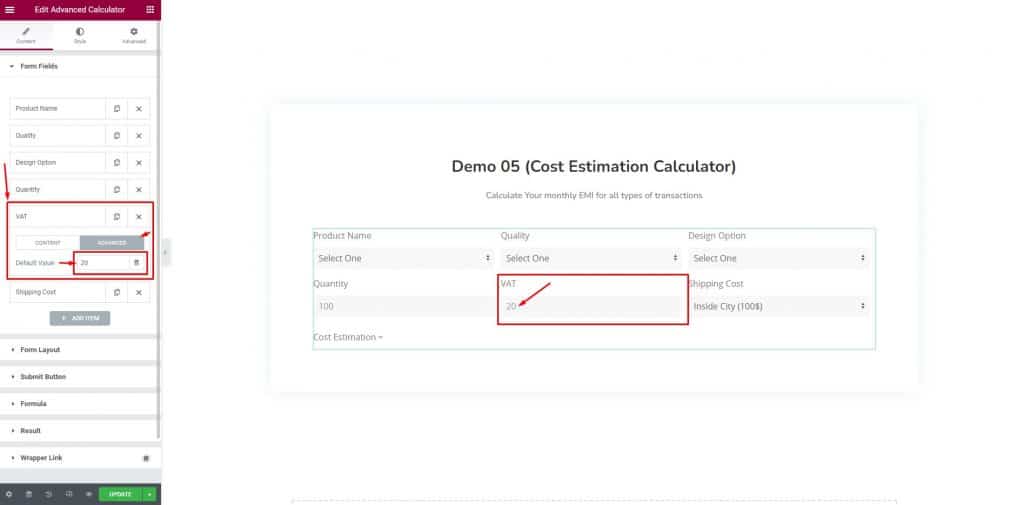
You will just have to go to the Advanced subsection to insert a default value that will be fixed for this part of the calculator.
Don't Forget To

Go to the content tab of the Advanced Calculator widget and set the alignment for the content. We are keeping it left-side aligned for a better classical view.
Step-2: Formula For The Cost Estimation Calculator Using Elementor
This is the most important step.
From the beginning of making the form fields to this step here, the calculator is still not ready to function unless we include a formula.
The formula can be any logical equation from a wide range of selection. Here’s a list of the available formula that you can work with.
Anyway.
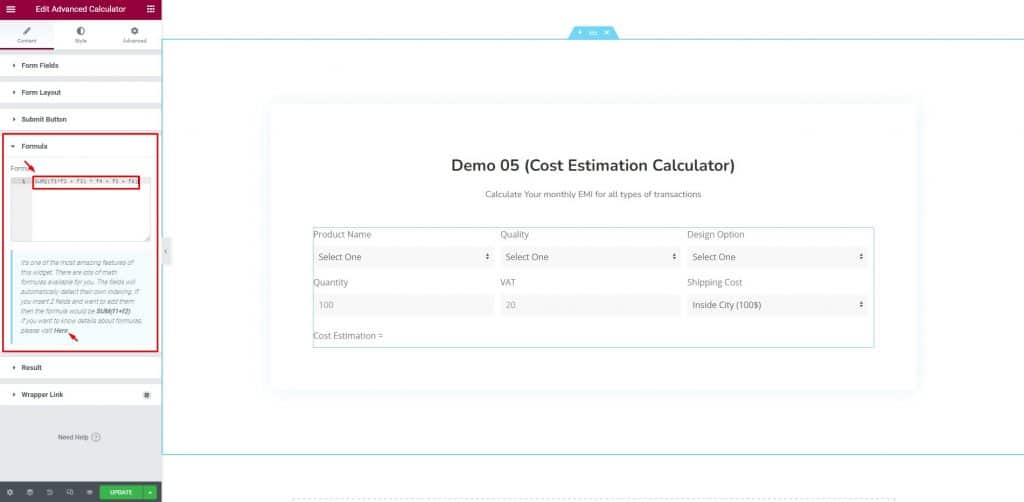
We have inserted the working formula for the cost estimation calculator we have just designed. Once you insert the formula, it will operate right away.
Step-3: Other Customizations To The Cost Estimation Calculator
Our main goal is already achieved. But, the calculator looks plain and dull with no colors whatsoever.
So, now we will customize the appearance of the calculator using lots of variables.
For Now
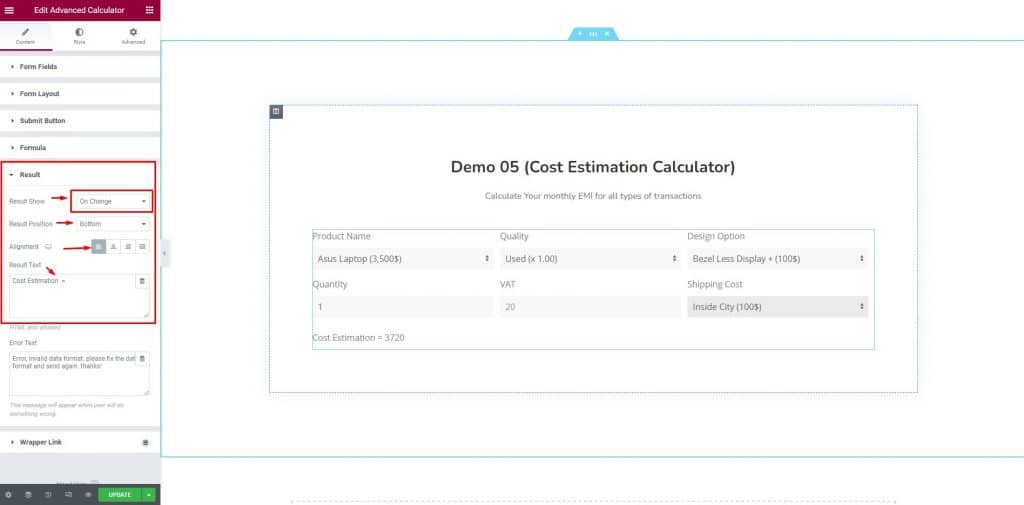
Click on the Result section and select the option “On Change” for the Result Show option. This means the result will be formed just by using the calculator, no need to push any button.
Then we will show the result at the bottom with left-side alignment and a custom text for it.
After That
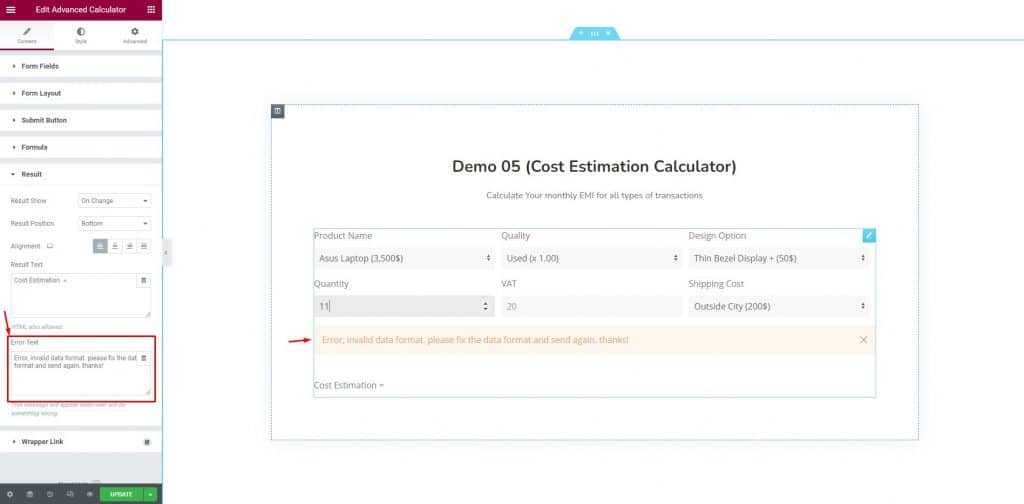
We will put some text in the bottom field to display in case of an error. The error may happen due to the wrong formula or wrong input.
Now we have come to the last part of the making of a cost calculator plugin using Elementor.
Step-4: Let's Add Colors
Now all you have to do is, move on to the style part of the widget and start making changes in appearance according to your needs.
First Of All
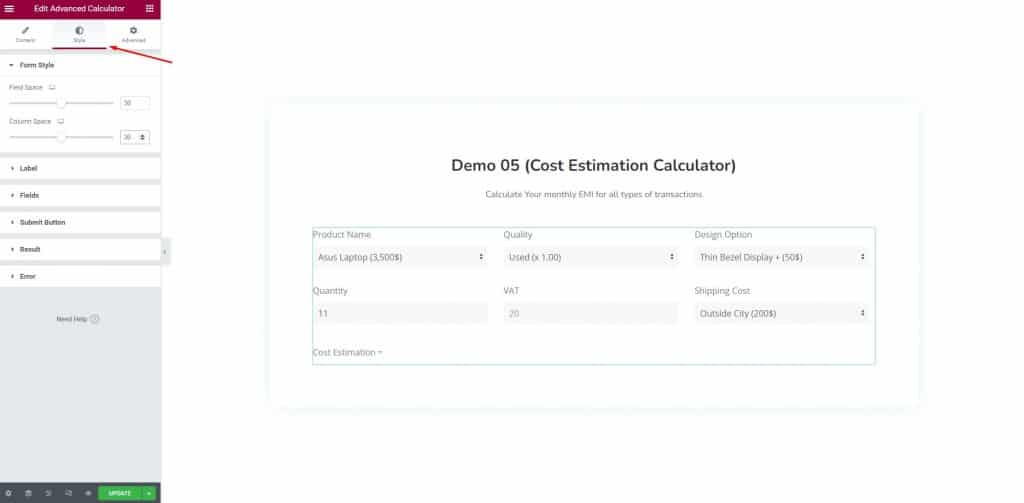
We will change the parameters from the Form Style section by adjusting the field space and column space.
After That
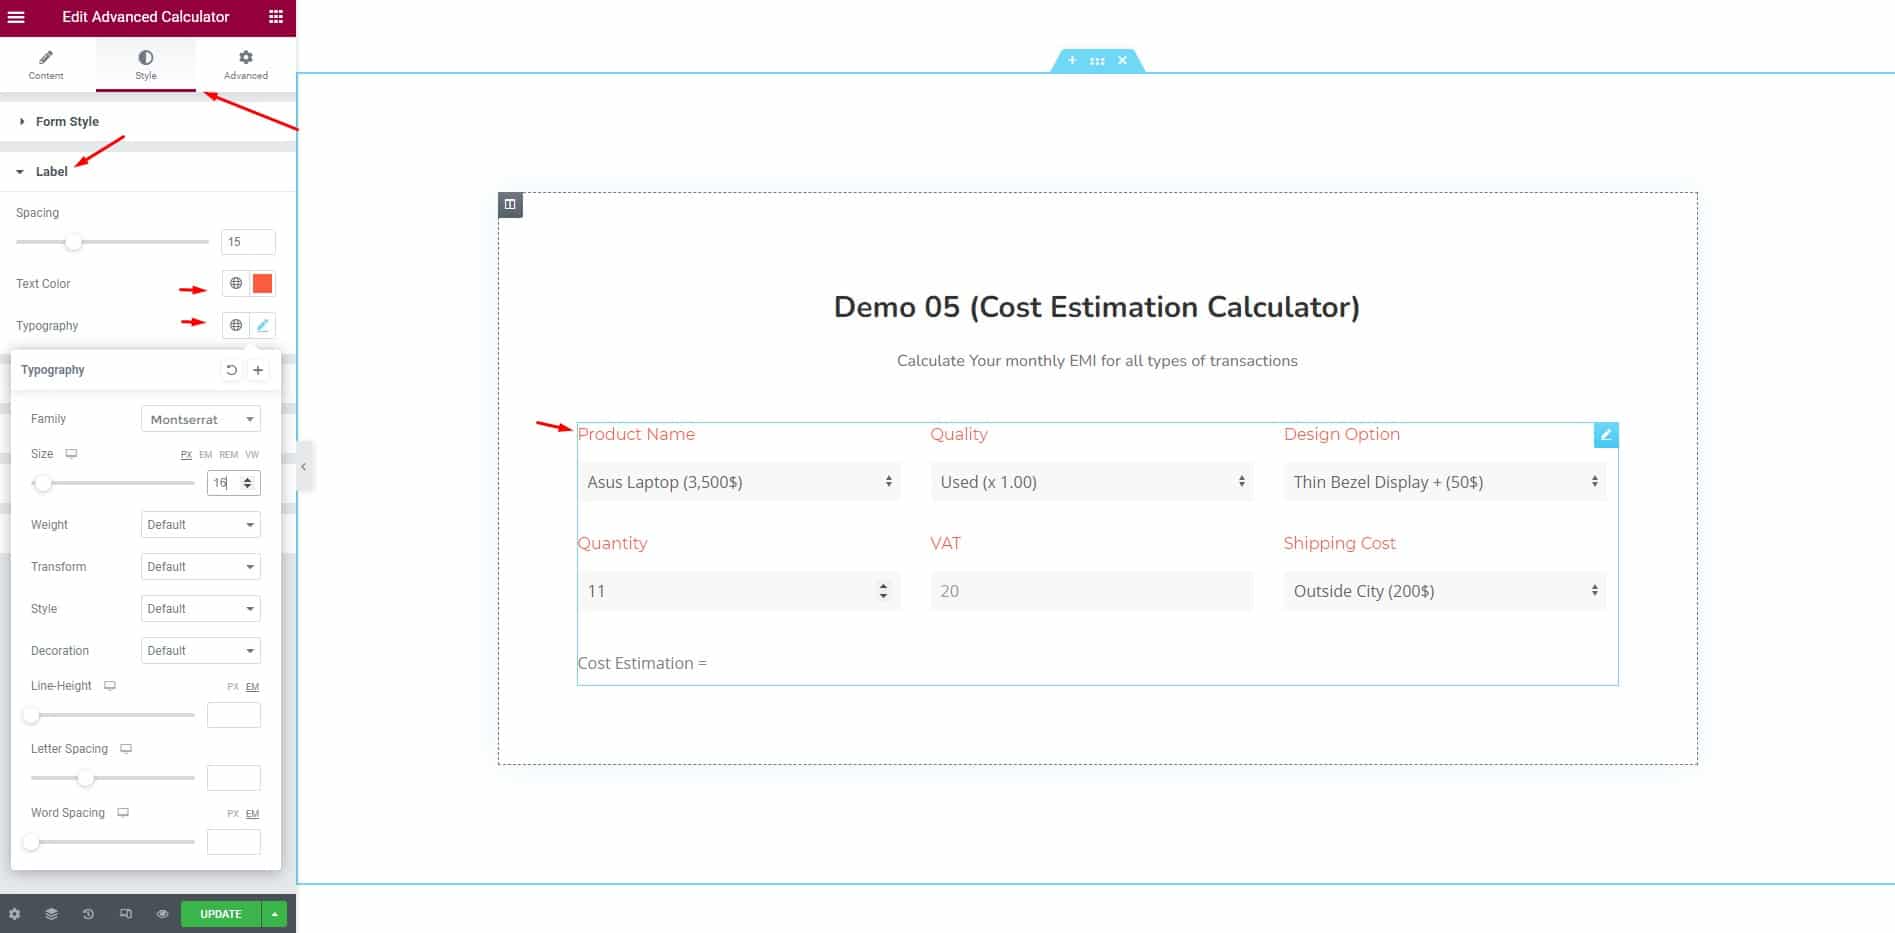
We can change the label color and typography from the next section for the cost estimation calculator using Elementor.
Here, you can go for a unique font for the labels to make things different from the rest of the market.
In The Next Step
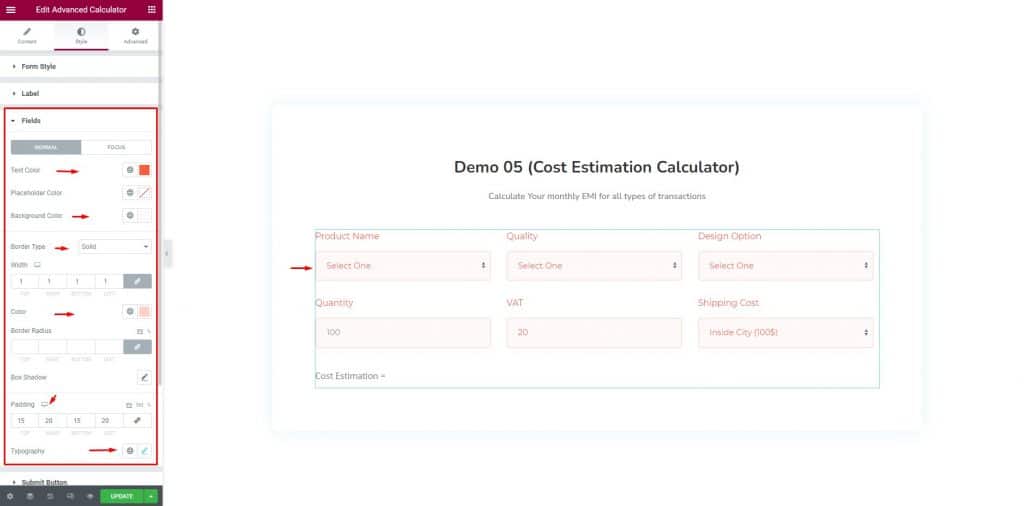
We customized the input fields by using a bright text color, very thin background color, a thin border, and some padding.
We also changed the font using the typography option for the cost estimation calculator using Elementor.
Then Again
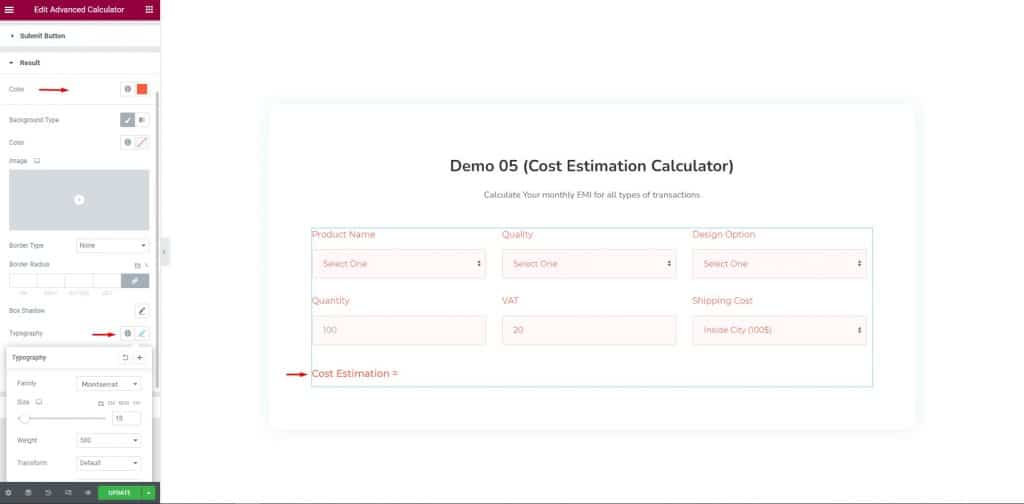
We made changes to the result text by applying a similar color tone for the text and typography.
Looks pretty smooth so far, right?
And Lastly
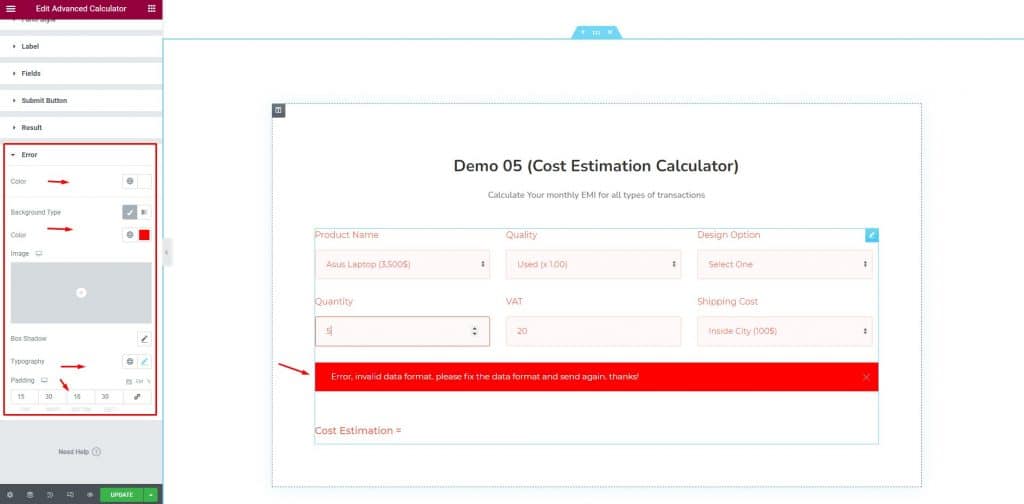
The error text now has a new label color and is painted in red for the banner.
We added some padding around the texts and changed the font a bit to match the rest.
Now, your cost estimation calculator using Elementor is ready for display.
Conclusion
This blog aims to let you use the Elementor page builder plugin and Element Pack to build decent calculator plugins as per your requirements.
Hopefully, you learned the whole thing.
Thanks for sticking with us to the finish line.
This blog is presented by BdThemes.


